Step-by-Step Guide to Teaching the Leave It Command
Master the 'Leave It' command with our step-by-step guide. Learn how to build impulse control, keep your dog safe, and stop unwanted grabbing today.
Introduction to Impulse Control
Teaching your dog the 'Leave It' command is not just a neat party trick; it is a fundamental, lifesaving skill. Whether your dog is about to eat a dropped medication pill, snatch a dangerous chicken bone from the sidewalk, or lunge toward an unfamiliar dog, a reliable 'Leave It' cue gives you immediate remote control over your dog's mouth and focus. In this comprehensive, step-by-step guide, we will break down the exact methodology used by professional dog trainers to build ironclad impulse control from scratch. By the end of this guide, your dog will understand that ignoring a temptation actually yields a far better reward.
Understanding Impulse Control vs. Basic Obedience
Before diving into the mechanics, it is crucial to understand the difference between basic obedience and impulse control. Obedience is about performing a known behavior on cue, such as sitting when asked. Impulse control, however, is about teaching your dog to regulate their own emotions and desires. When a dog sees a piece of food on the floor, their natural instinct is to consume it. Asking them to 'Leave It' requires them to override that primal drive. According to the behavioral guidelines published by the ASPCA, positive reinforcement remains the gold standard for shaping these complex cognitive behaviors without inducing fear or anxiety. We are not punishing the dog for wanting the item; we are rewarding them for making the choice to look away from it.
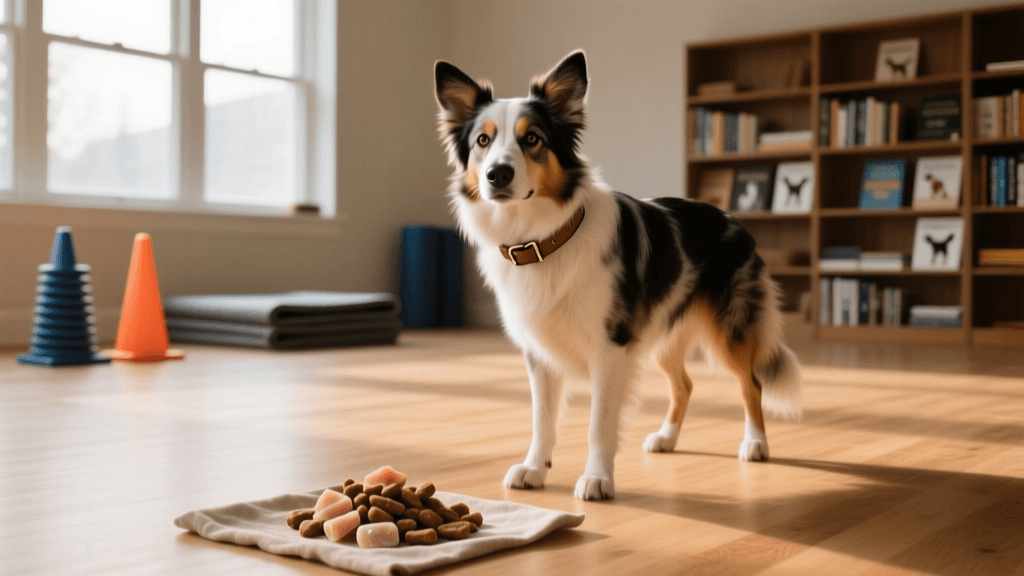
Preparation: Setting Up Your Training Environment
Success in dog training is heavily dependent on setup. Before you begin, ensure you are in a low-distraction environment, such as a quiet living room or a hallway. You will need two types of treats: a 'low-value' treat for the decoy, and a 'high-value' treat for the reward. Never reward your dog with the exact same item you asked them to leave, as this can create confusion about whether they are eventually allowed to eat it. Furthermore, veterinary behaviorists at VCA Animal Hospitals note that consistency, timing, and high-value reinforcement are the most critical factors in successfully modifying a dog's natural foraging instincts.
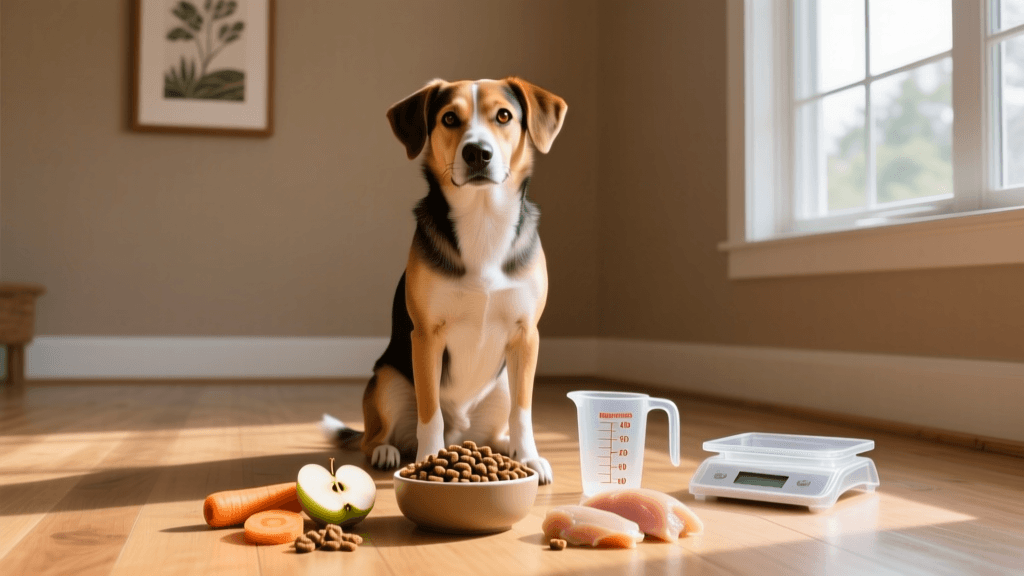
The Treat Hierarchy: Choosing Your Currency
Not all treats are created equal. To effectively teach impulse control, you must understand what motivates your dog. Below is a structured table to help you categorize your training treats.
| Treat Level | Examples | Best Used For |
|---|---|---|
| Low-Value | Dry kibble, plain cheerios, plain biscuits | The 'decoy' item in your hand or on the floor. |
| Medium-Value | Commercial soft treats, carrots, apples | Initial learning phases in low-distraction rooms. |
| High-Value | Boiled chicken, freeze-dried liver, cheese | The 'reward' for leaving the decoy, and for proofing outdoors. |
Step 1: The Closed Fist Exercise (Building the Foundation)
The first step is to introduce the concept that backing away from a temptation makes good things happen. Take a low-value treat (like a piece of kibble) and place it inside your closed fist. Present your fist to your dog at their nose level. Your dog will likely sniff, lick, and paw at your hand. Ignore all of these behaviors. Do not pull your hand away, and do not say anything. Simply wait. The exact second your dog pulls their nose away from your hand and makes eye contact with you, mark the behavior with a clicker or a verbal 'Yes!' and immediately reward them with a high-value treat (like boiled chicken) from your other hand. Repeat this process 15 to 20 times per session, keeping sessions under 5 minutes to prevent mental fatigue.
Step 2: The Open Hand Progression
Once your dog reliably stops sniffing your closed fist and immediately looks at you, it is time to increase the difficulty. Place the low-value decoy treat in your palm and leave your hand completely open. Present it to your dog. If your dog dives for the treat, calmly close your fist to block access. Wait for them to back off and look at you. When they do, mark with a 'Yes!' and reward from your other hand. If your dog successfully ignores the open palm for a full two seconds, mark and reward. The goal here is to teach the dog that an open hand is not an invitation to grab, but rather a puzzle that requires patience. The American Kennel Club (AKC) stresses the importance of this foundational patience before ever introducing verbal cues, ensuring the dog understands the mechanics of the choice first.
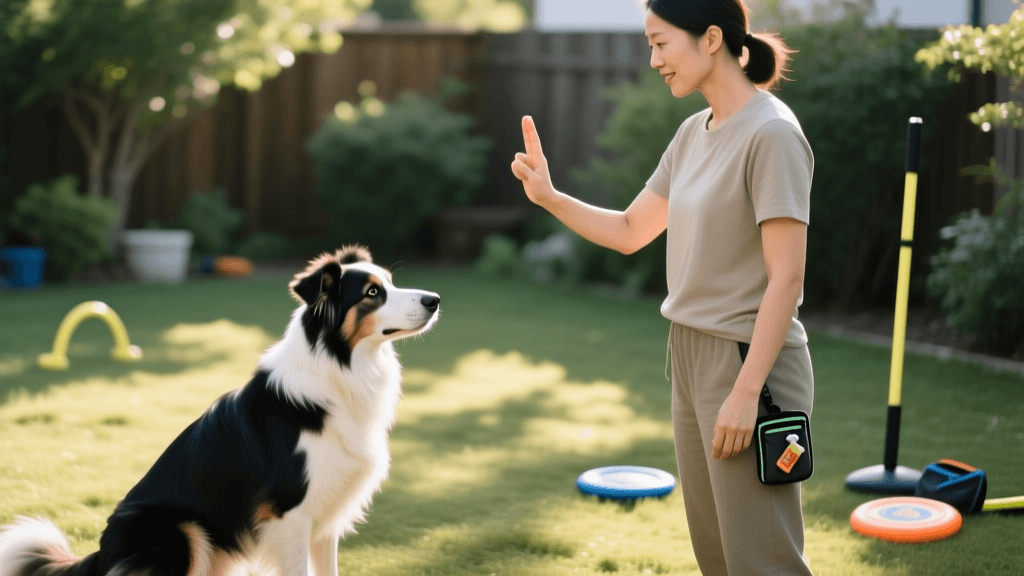
Step 3: Adding the Verbal Cue
Only after your dog has mastered the open-hand exercise should you introduce the verbal cue 'Leave It'. Say the phrase clearly and calmly exactly one time, right before you present your open hand. If the dog ignores the treat and looks at you, mark and reward heavily. If they lunge for it, close your hand, wait for them to settle, and try again without repeating the verbal cue. Repeating 'Leave It, Leave It, Leave It' teaches the dog that the command is merely background noise and that they only need to comply on the third or fourth repetition. Say it once, enforce the boundary by closing your hand if necessary, and reward the correct choice.
Step 4: The Floor Drop Challenge
Moving the exercise from your hand to the floor is a massive leap in difficulty for a dog. Sit on the floor with your dog. Place a low-value treat on the ground and immediately cover it with your shoe or your hand. Give your 'Leave It' cue. If your dog stares at your shoe, wait. The moment they look up at your face, mark and reward with a high-value treat from your hand. Gradually reduce the coverage: move your shoe to the side so the treat is partially visible, then fully visible. If the dog makes a mistake and grabs the decoy, you have moved too fast. Simply reset the exercise, cover the treat again, and take a step back in your training progression. Always remember the golden rule of impulse control: the reward for leaving the item must always be of higher value than the item itself.
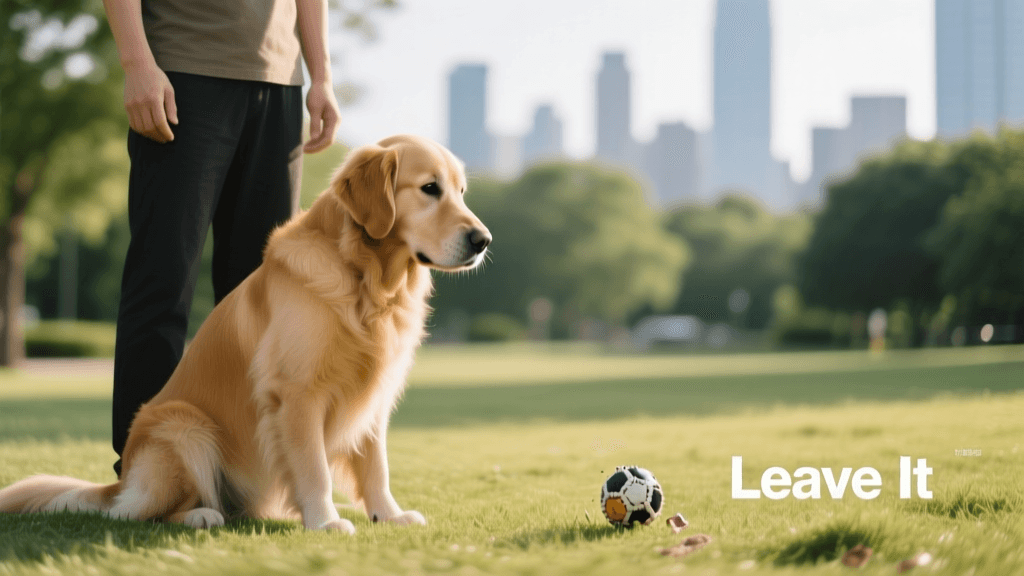
Step 5: Adding Leash Pressure and Real-World Proofing
Once your dog can reliably leave a treat on the living room floor, it is time to proof the behavior in the real world. Attach a standard 6-foot leash to your dog's harness. Drop a decoy treat on the ground while you are standing. If your dog pulls toward it, use the leash to gently restrict their forward movement—do not yank or jerk the leash, simply hold it steady so they cannot reach the item. Wait for them to realize they cannot get the treat and look back at you. Mark and reward. Practice this on walks, deliberately placing safe decoy items (like a piece of dry kibble) on your path. This simulates real-life scenarios where your dog might encounter dropped food or hazardous debris.
Impulse control is not about suppressing a dog's natural drives; it is about teaching them that patience and looking to their handler yields a far greater reward than giving in to their immediate instincts.
Troubleshooting Common Roadblocks
Even with a structured plan, you may encounter hurdles. Here is how to address the most common issues:
- My dog ignores the high-value reward: You are likely training in an environment that is too stimulating. Move to a quieter room, or upgrade your reward to something irresistible, such as real meat or a favorite squeaky toy.
- My dog only obeys when they see the reward in my hand: You have accidentally created a 'bribe' rather than a 'reward'. Begin hiding the high-value treats in a pouch or your pocket, only producing them after the dog has successfully complied with the 'Leave It' cue.
- My dog grabs the item before I can say 'Leave It': Your timing is too slow, or your environment is not properly managed. Use a leash to prevent access to forbidden items while your dog is still in the learning phase, ensuring they cannot self-reward by eating the contraband.
Conclusion
Teaching a reliable 'Leave It' command requires patience, precise timing, and a deep understanding of your dog's motivations. By breaking the process down into manageable steps—starting with the closed fist, progressing to the floor, and eventually proofing on a leash—you are building a cognitive framework that will keep your dog safe for the rest of their life. Remember to keep your training sessions short, positive, and heavily rewarded. With consistent practice and the right treat hierarchy, your dog will learn that the best choice they can make is to look away from the temptation and look to you instead.
robin-maitland
All our authors care for dogs every day — read more of their work on the authors page.