Step-by-Step Guide to Teaching Your Dog the Place Command
Learn how to teach your dog the place command with our step-by-step guide. Includes gear tips, timing, and a weekly training schedule for success.
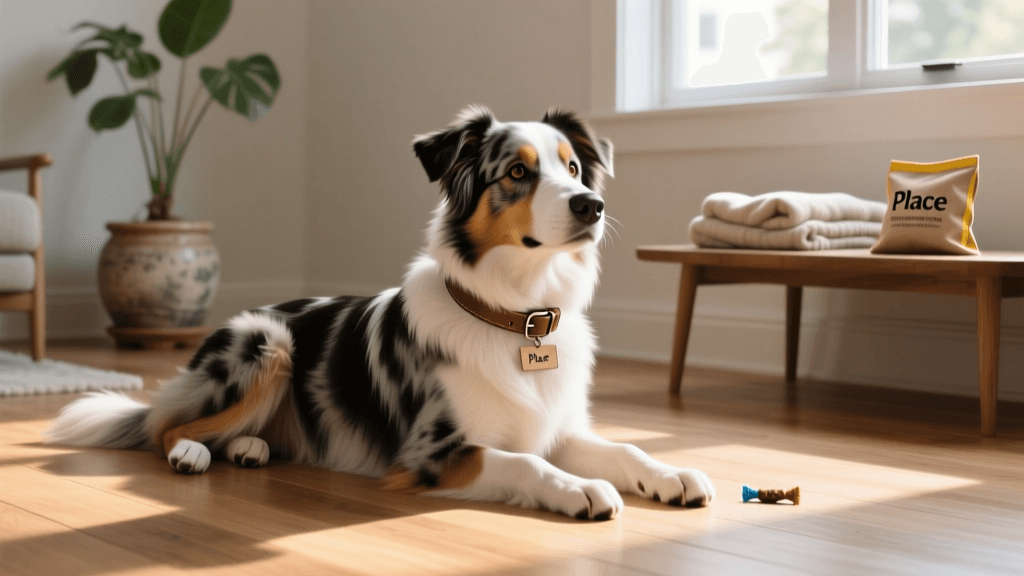
Introduction to Mat Training and the "Place" Command
Teaching your dog the "place" command is one of the most valuable skills you can instill for lifelong behavioral conditioning. Unlike the "down" or "sit" commands, which dictate a specific physical posture, the "place" command dictates a specific location. When you cue your dog to go to their place, they are free to stand, sit, lie down, or stretch, provided all four paws remain on their designated mat or cot. This flexibility makes it an incredibly effective tool for managing anxiety, preventing door-dashing, and stopping nuisance begging during mealtimes.
According to behavioral experts cited by the ASPCA, positive reinforcement training that utilizes clear environmental boundaries helps dogs feel secure and reduces impulse control issues. By giving your dog a designated "job" and a safe zone, you are actively lowering their cognitive load in high-stress environments. This step-by-step guide will walk you through the exact methodology, gear requirements, and weekly progression needed to achieve a reliable, distraction-proof "place" command.
Essential Gear for Success
Before beginning your training sessions, gathering the right equipment is crucial. Using the proper tools will accelerate your dog's understanding and ensure your training sessions are efficient and rewarding.
- Elevated Training Cot: While a flat mat works, an elevated cot provides a much clearer visual and tactile boundary for the dog. The Kuranda PVC Chewproof Dog Bed (approx. $120 for a 44x28 inch medium/large size) is an industry standard. It elevates the dog 8 inches off the ground, making it obvious when they have broken their "place."
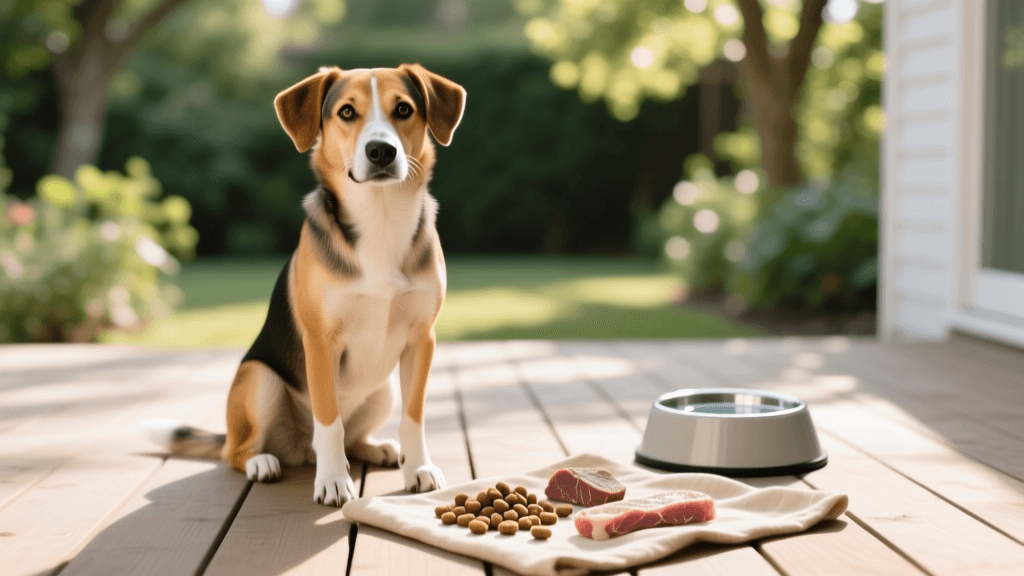
- High-Value Training Treats: You need treats that are small, soft, and low in calories to prevent overfeeding during repetitive 15-minute sessions. Zuke's Mini Naturals (approx. $8 per 16oz bag) are excellent, containing only 3 calories per treat and offering a high-value scent that keeps dogs engaged.
- Duration-Building Toy: For long-duration stays, you need a pacifier toy. The KONG Classic (approx. $15, Medium size for 20-50 lb dogs) stuffed with a mixture of plain pumpkin puree and kibble, then frozen for 4 hours, will keep your dog anchored to their mat for 15 to 20 minutes.
- Long Training Lead: A Mendota 15-Foot Cotton Training Lead (approx. $15) allows you to practice distance safely without the dog feeling the restrictive pressure of a standard 6-foot leash.
Phase 1: Luring and Marking the Behavior
The first phase is all about teaching the dog that the mat is the most rewarding place in the room. Keep your initial sessions to 5 minutes, conducting 2 to 3 sessions per day.
- Positioning: Stand directly next to the training cot with your dog on a leash to prevent wandering.
- The Lure: Hold a Zuke's treat between your thumb and index finger, exactly one inch from your dog's nose.
- The Movement: Slowly move your hand from the dog's nose down toward the center of the cot. Follow the treat with their nose.
- The Mark: The exact millisecond all four of your dog's paws touch the fabric of the cot, use your marker word (a sharp, enthusiastic "Yes!") or a clicker.
- The Reward: Deliver the treat directly on the mat. This is a critical detail: if you deliver the treat off the mat, you are inadvertently rewarding the dog for leaving their place.
- The Reset: Toss a second treat a few feet away to reset the dog, then repeat the luring process.
Repeat this cycle 15 to 20 times per session. According to the Humane Society, keeping early training sessions short and highly rewarding prevents canine frustration and burnout.
Phase 2: Fading the Lure and Adding the Cue
Once your dog is eagerly stepping onto the mat following your lure, it is time to fade the food from your hand. If you skip this step, your dog will only perform the command when they see food, a common training pitfall known as "lure dependency."
Stand next to the cot with an empty hand. Point your index finger toward the center of the mat. When the dog steps onto the cot, mark with "Yes!" and then reach into your treat pouch to deliver the reward. Once the dog reliably follows the empty hand gesture 9 out of 10 times, introduce the verbal cue. Say the word "Place" exactly one second before you give the hand signal. The dog will begin to associate the auditory cue with the physical action. Over the next few days, gradually make your hand signal smaller and less exaggerated until a simple point of the finger is sufficient.
Phase 3: Building Duration and Distance (The 3 D's)
In dog training, the "3 D's" stand for Duration, Distance, and Distraction. You must train these variables one at a time. Never increase distance and distraction simultaneously, or your dog will fail and become confused.
Increasing Duration
Once the dog is on the mat, delay your marker word. Count "1-Mississippi, 2-Mississippi" in your head before marking and rewarding. Gradually increase this to 5 seconds, then 10 seconds, then 30 seconds. Introduce the release word "Free!" to let the dog know the exercise is over. Toss a treat off the mat when you say "Free!" to encourage them to leave the mat only when released.
Increasing Distance
When adding distance, the golden rule is to always return to the dog to deliver the reward. Do not call the dog off the mat to get their treat, as this teaches them that leaving the mat is the path to the reward. Give the "Place" cue, take one step back, immediately step back to the dog, mark "Yes!", and reward on the mat. Slowly increase your distance to three steps, then across the room, always returning to the cot to pay the dog.
Four-Week Training Progression Schedule
Use the following structured table to track your daily training goals. Adjust the timeline based on your individual dog's learning speed; some dogs may require an extra week in Phase 2 before moving forward.
| Week | Primary Focus | Target Duration | Target Distance | Reward Frequency |
|---|---|---|---|---|
| Week 1 | Luring & Marker Timing | 1 to 3 seconds | 0 feet (Next to mat) | Continuous (Every rep) |
| Week 2 | Fading Lure & Verbal Cue | 10 to 30 seconds | 1 to 3 steps away | Continuous (Every rep) |
| Week 3 | Duration Building | 1 to 5 minutes | Across the room | Variable (Random intervals) |
| Week 4 | Distraction Proofing | 10+ minutes | Out of sight (Briefly) | Variable & Jackpot rewards |
Phase 4: Proofing with Distractions
A dog that can hold a "place" in an empty living room may completely fail when the doorbell rings or guests enter. Proofing involves systematically introducing environmental triggers while the dog is on their cot.
Start with mild distractions. Drop a tennis ball on the floor three feet away from the cot. If the dog stays on the mat, mark and deliver a "jackpot" reward (3 to 4 treats at once). If the dog breaks the stay, calmly say "Oops," guide them back to the mat without rewarding, and lower the difficulty by dropping the ball from a lower height or further away.
Next, simulate real-life scenarios. Have a family member knock on the front door while the dog is on their place. The American Kennel Club emphasizes that managing a dog's environment during high-arousal events like guest arrivals is vital for preventing jumping and door-dashing. By anchoring the dog to their cot with a frozen KONG during these events, you replace frantic greeting behavior with a calm, settling behavior.
Troubleshooting Common Issues
My dog won't lie down on the mat, they just stand there.
This is perfectly fine! Remember, "place" is a location command, not a posture command. If your dog is standing quietly on the mat with all four paws on the fabric, they are successfully performing the command. If you specifically want them to lie down, you must give a secondary "down" cue once they are on the mat, and reward the down posture separately from the location.
My dog keeps creeping off the edge of the mat.
This usually happens with flat mats where the boundary is hard to feel. This is why an elevated cot like the Kuranda is highly recommended. The physical drop-off provides immediate tactile feedback to the dog. If you must use a flat mat, choose one with a thick, raised border or piping so the dog can feel the edge under their paws.
My dog falls asleep and then wakes up and walks away.
If you have not formally released the dog with your cue (e.g., "Free!" or "All Done!"), the training session is still active. Calmly walk the dog back to the mat, reset them, and give a low-value reward. Consistency is key; if you allow the dog to self-release without consequences, they will learn that the command is optional.
Conclusion
Mastering the "place" command requires patience, precise timing, and a structured progression plan. By investing in the right gear, utilizing high-value rewards, and systematically working through duration, distance, and distractions, you will transform your dog's impulse control. Not only does this command make living with your dog significantly easier, but it also provides them with a predictable, safe haven in an otherwise chaotic world. Stick to the four-week schedule, keep your sessions positive, and watch your dog's confidence and obedience flourish.
aaron-whyte
All our authors care for dogs every day — read more of their work on the authors page.