Step-by-Step Guide: Teach Your Dog Leave It and Drop It
Learn how to teach your dog the life-saving leave it and drop it commands with this step-by-step guide, including timing, treats, and troubleshooting.

Why Leave It and Drop It Are Life-Saving Commands
Every dog owner has experienced that heart-stopping moment when their furry friend snatches up something dangerous from the sidewalk or refuses to let go of a hazardous object. Whether it is a discarded chicken bone, a toxic houseplant, or a piece of sugar-free gum, the ability to control what your dog picks up and holds in their mouth is not just a neat trick; it is a vital safety skill. According to the ASPCA's list of foods dangerous to dogs, common household items like xylitol-sweetened treats, chocolate, onions, and grapes can cause severe gastrointestinal distress or even fatal organ failure. Teaching the 'leave it' and 'drop it' commands provides you with an emergency brake, potentially saving your dog's life and saving you thousands of dollars in emergency veterinary bills. While many novice owners confuse the two, 'leave it' is used before the dog acquires an item, whereas 'drop it' is used after the item is already in their mouth. This comprehensive, step-by-step training guide will walk you through the exact mechanics, timing, and reward structures needed to master both cues.
Preparation: What You Need Before Starting
Success in behavioral conditioning relies heavily on your environment and your tools. Before initiating your first training session, gather the following specific supplies to ensure smooth, frustration-free learning:
- High-Value Training Treats: You need treats that are aromatic, soft, and easily consumed in under two seconds. Zuke's Mini Naturals (approximately $8 per 6oz bag) or boiled, unseasoned chicken breast cut into pea-sized pieces are ideal. Budget roughly $10 to $15 a month for dedicated training treats.
- Low-Value Treats or Kibble: Use your dog's standard daily kibble for the 'decoy' item in the 'leave it' exercises. This creates a clear value disparity.
- Treat Pouch: A dedicated waist-clip treat pouch (like the Ruffwear Treat Trader, approx. $35) keeps your hands free and allows for sub-second reward delivery.
- Standard Leash: A 6-foot nylon or leather leash ($12 to $25). Avoid retractable leashes during training, as they teach the dog that pulling yields more distance, which directly contradicts impulse control training.
- Durable Chew Toy: A classic Kong rubber toy ($15) or a similar medium-resistance chew item is required for the 'drop it' sequence.
Ensure you train in a low-distraction environment, such as a quiet living room, before moving to the backyard or public sidewalks. Keep sessions strictly limited to 5 to 10 minutes to prevent cognitive fatigue.
Step-by-Step Guide to Teaching 'Leave It'
Phase 1: The Closed Fist (Impulse Control)
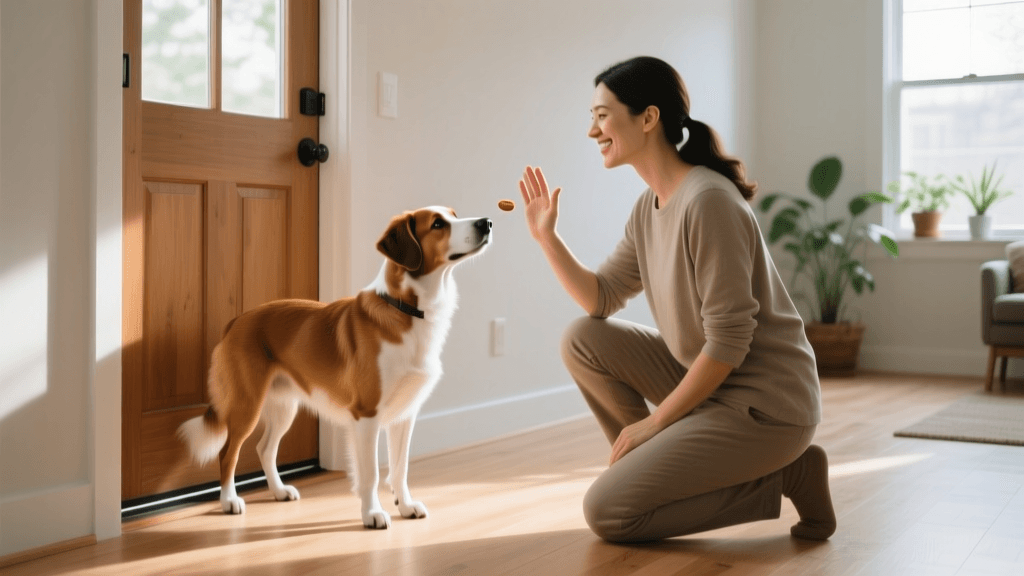
Place a piece of low-value kibble inside your closed fist and present it to your dog at nose level. Your dog will likely sniff, lick, and paw at your hand. Do absolutely nothing. Do not pull your hand away, and do not say 'no.' The moment your dog stops interacting with your hand and pulls their nose back even a fraction of an inch, immediately mark the behavior with a clicker or a verbal 'Yes!' and reward them with a high-value treat from your other hand or pouch. Never give them the decoy treat from the closed fist. Repeat this until the dog reliably backs away from the fist within 3 seconds of presentation.
Phase 2: The Open Hand
Once Phase 1 is mastered, place the low-value kibble in your open palm. If the dog dives for it, instantly close your fist. When they back off, open it again. The goal is for the dog to learn that moving toward the treat closes the hand, while looking away or looking up at your eyes opens the hand and earns a high-value reward. Introduce the verbal cue 'Leave it' exactly as the dog is turning their head away from the open palm.
Phase 3: The Floor Drop
Transition the exercise to the floor. Hold your dog's leash to prevent them from lunging. Drop the low-value kibble onto the floor and cover it with your shoe or hand. Say 'Leave it.' Uncover the treat. If the dog lunges, cover it immediately. If they maintain eye contact with you, reward heavily from your pouch. Gradually increase the distance by dropping the treat from a standing position, using your leash to enforce the boundary.
Phase 4: Real-World Proofing
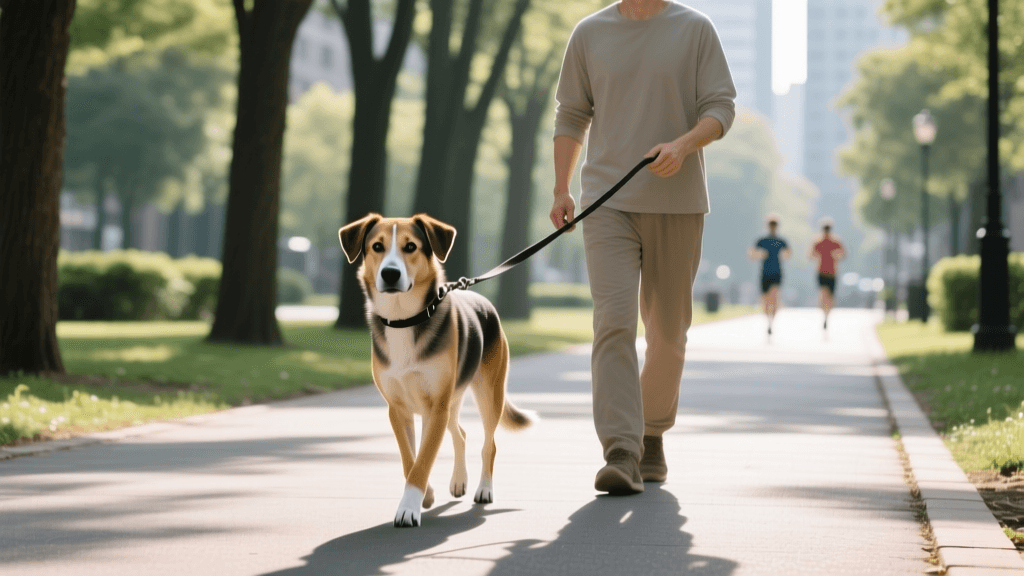
Take the show on the road. Walk your dog past a tempting item on the sidewalk (a wrapper or dry leaf). Say 'Leave it' as they notice it, and reward them for looking up at you and continuing to walk. Over time, fade the food rewards to a variable ratio schedule, rewarding every third or fourth successful 'leave it' to build a resilient habit.
Step-by-Step Guide to Teaching 'Drop It'
Phase 1: The Toy Trade
Initiate a game of tug or fetch with your dog's medium-value toy, such as the Kong Classic. Let them engage with the toy for 10 to 15 seconds. Then, present a high-value treat (like a piece of hot dog or cheese) directly to their nose. The dog will naturally open their mouth to eat the treat. The exact millisecond their teeth release the toy, say 'Yes!' and let them eat. Pick up the toy, then immediately give it back to them to restart the game. This teaches the dog that dropping an item does not mean the fun is over.
Phase 2: Adding the Verbal Cue
After 10 to 15 successful trades without a verbal cue, begin saying 'Drop it' right before you present the high-value treat to their nose. Dogs associate the cue with the action that immediately follows. Keep the exchange rate high; always give the treat and return the toy.
Phase 3: Fading the Lure and Adding Distance
Begin to delay the presentation of the treat. Say 'Drop it' and wait a half-second before showing the food. Eventually, ask for the drop, reward with food from your pouch, and then toss the toy for them to chase. This mimics real-world scenarios where you need the dog to drop a dangerous item so you can pick it up, but you still want to reward them with play or a different, safer activity.
Comparison Chart: 'Leave It' vs. 'Drop It'
| Command | Timing of Cue | Primary Use Case | Reward Strategy |
|---|---|---|---|
| Leave It | Before acquisition | Preventing ingestion of toxic foods, trash, or wildlife | High-value treat from the handler; decoy is never given |
| Drop It | After acquisition | Recovering stolen items, ending tug games safely, emergency drops | High-value treat or toy trade; original item can be returned |
Common Troubleshooting and Setbacks
Even with meticulous planning, you may encounter behavioral hurdles. If your dog is highly possessive or resource-guards high-value items, do not attempt to forcibly pry their jaws open. The American Veterinary Society of Animal Behavior (AVSAB) strongly advises against using punishment, dominance theory, or physical force in dog training, as these methods increase anxiety and aggression. Instead, manage the environment to prevent access to dangerous items until the 'drop it' trade is flawless with low-value toys.
If your dog fails the 'leave it' command on the floor, you have likely moved too fast through the phases. Return to the closed-fist exercise for three days to rebuild impulse control. Consistency is paramount; if you occasionally let your dog 'win' the forbidden item, you will create a slot-machine effect, where the dog learns that persistent lunging eventually pays off.
Conclusion
Mastering 'leave it' and 'drop it' transforms your walks from stressful patrols into enjoyable bonding experiences. By utilizing high-value rewards, precise timing, and progressive environmental distractions, you equip your dog with the cognitive tools to make safe choices. For further reading on building reliable obedience and recall, consult the American Kennel Club (AKC) training resources. Remember that impulse control is a muscle; the more you practice in controlled settings, the stronger your dog's default response will be when a real-world emergency arises.
tom-renshaw
All our authors care for dogs every day — read more of their work on the authors page.