Step-by-Step Guide to Stress-Free Car Travel With Dogs
Learn how to train your dog to love car rides with this step-by-step guide. Discover top safety restraints, timing tips, and motion sickness solutions.
Introduction: Transforming Car Rides into a Joyful Experience
For many dog owners, the dream of taking a scenic road trip with their furry best friend is quickly overshadowed by the reality of whining, pacing, drooling, or outright panic the moment the car keys are jingled. Whether you are heading to the veterinarian, the local park, or embarking on a cross-country adventure, car travel is an unavoidable part of life with your dog. Fortunately, a dog's reaction to car travel is not set in stone. Through patience, positive reinforcement, and a structured desensitization protocol, you can transform your dog's car anxiety into eager anticipation.
This comprehensive, step-by-step training guide will walk you through a proven four-week protocol to help your dog feel safe and relaxed in the vehicle. We will also cover the critical aspects of vehicular safety, essential gear, and how to manage canine motion sickness using expert-backed methods.
The Physics of Pet Travel Safety
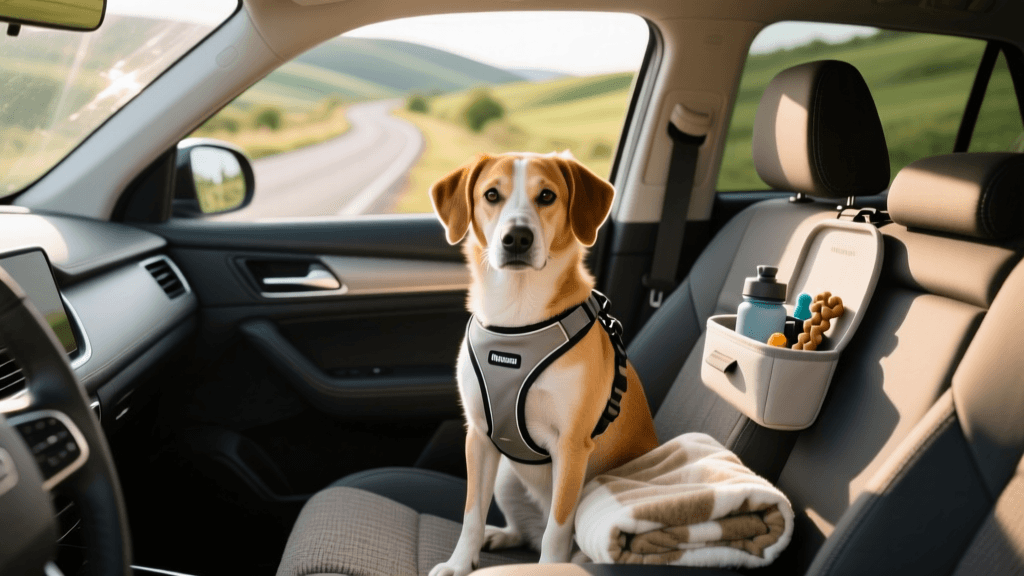
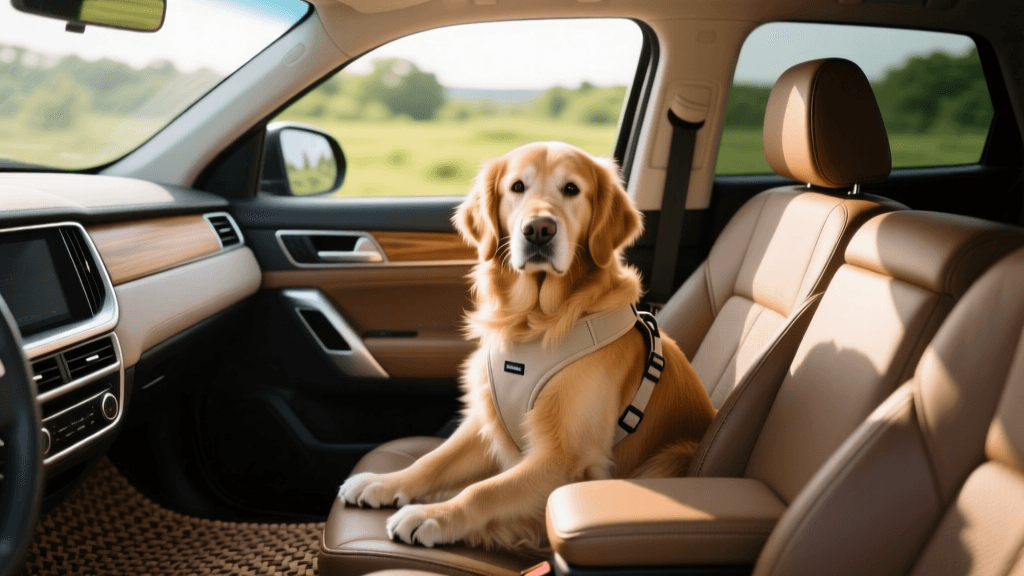
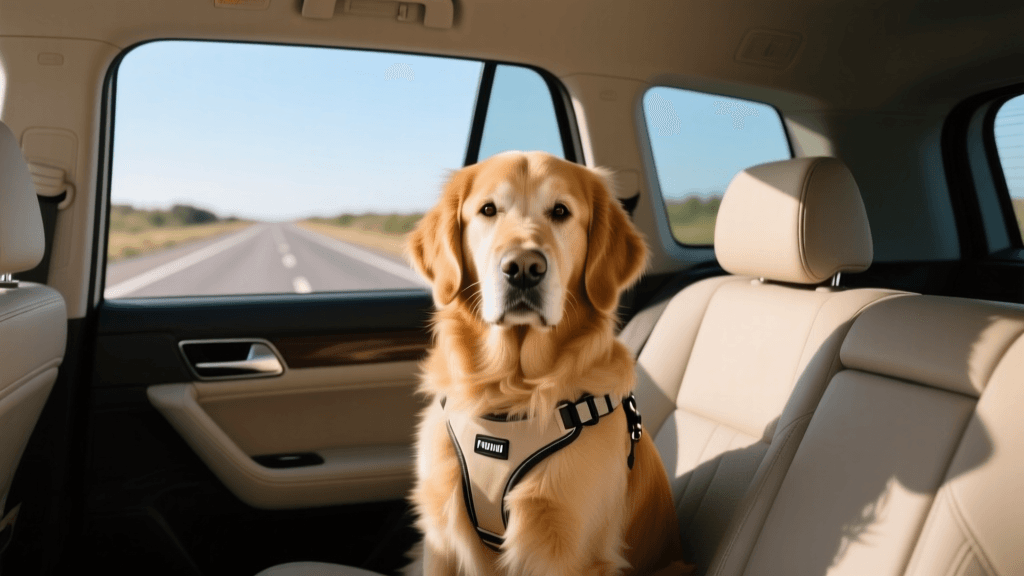
Before diving into the behavioral training, it is vital to understand why securing your dog is non-negotiable. Many owners mistakenly believe that a dog can simply sit in the backseat or rest on the floorboards safely. However, the physics of a vehicular collision tell a much more dangerous story. According to crash test research conducted by the Center for Pet Safety, an unrestrained 50-pound dog in a vehicle traveling at just 30 miles per hour will exert approximately 1,500 pounds of projectile force upon impact.
This immense force not only poses a fatal risk to your dog but also acts as a deadly projectile for human passengers in the vehicle. Furthermore, an unrestrained dog can easily become distracted, climb into the front seat, or interfere with the pedals, contributing to the very accidents that put them in danger. Proper restraint systems are the first step in creating a secure environment, which is the foundational requirement for behavioral relaxation.
Essential Gear: Canine Car Restraint Comparison
Choosing the right restraint system depends on your dog's size, your vehicle type, and your budget. Below is a comparison chart of the most common and effective car safety restraints for dogs.
| Restraint Type | Estimated Cost | Safety Rating | Best For |
|---|---|---|---|
| Crash-Tested Harness (e.g., Sleepypod Clickit Sport) | $80 - $110 | High (CPS Certified) | Medium to Large dogs; SUVs and Sedans |
| Crash-Tested Crate (e.g., Gunner G1 Kennel) | $500 - $800 | Maximum (5-Star) | All sizes; frequent travelers; highway driving |
| Seat Belt Tether (e.g., Kurgo Zipline) | $20 - $35 | Low (Prevents roaming, not crash-rated) | Low-speed city driving; passenger seat monitoring |
| Wire Vehicle Barrier | $40 - $70 | Moderate (Keeps dog in cargo area) | Large dogs in SUVs/Wagons; prevents driver distraction |
Note: Always look for independent crash-test certifications. The American Veterinary Medical Association (AVMA) strongly recommends using properly sized, crash-tested crates or certified harness systems secured directly to the vehicle's anchor points.
The 4-Week Step-by-Step Car Training Protocol
This protocol relies on classical conditioning and desensitization. You will need high-value treats (such as boiled chicken breast, freeze-dried liver, or Zuke's Mini Naturals), a lick mat, and a quiet environment. Keep training sessions short—no more than 5 to 10 minutes at a time—to prevent overwhelming your dog.
Week 1: Desensitization and the Parked Car
Goal: Remove the fear of the vehicle's interior without the pressure of movement.
Begin by parking your car in the driveway with the engine completely off and all doors wide open. Sit near the vehicle with your dog on a leash. Toss high-value treats onto the car floor and the seats, allowing your dog to enter and exit the vehicle voluntarily to retrieve them. Do not force your dog inside or close the doors. If your dog hesitates, toss the treats closer to the edge of the door frame. Repeat this 5-minute exercise twice a day for seven days. By the end of the week, your dog should willingly jump into the car expecting a reward.
Week 2: Creating Positive Associations with Closed Doors
Goal: Normalize the enclosed space and muffled sounds of the car interior.
Once your dog is comfortably entering the parked car, begin feeding them their regular meals inside the vehicle. Place their food bowl on the floor of the backseat or cargo area. After a few days of successful meals, gently close the car doors while they eat, and sit in the driver's seat reading a book. Keep the engine off. If your dog shows signs of stress (panting, whining, pawing at the glass), immediately open the doors and take a step back in your training. Introduce a lick mat smeared with dog-safe peanut butter or plain yogurt to encourage calming licking behaviors, which naturally release endorphins in canines.
Week 3: Sensory Acclimation (Engine and Climate Control)
Goal: Acclimate your dog to the vibrations, sounds, and temperature changes of a running vehicle.
With your dog securely fastened in their chosen restraint system (harness or crate), start the engine. Do not put the car in gear. Turn on the air conditioning or heater to simulate the sensory environment of a real drive. Play soft, classical music or specialized canine calming music to mask the sound of the engine. Sit in the driver's seat and offer treats through the center console or reach back to praise your dog calmly. Keep these sessions to 10 minutes. The vibration of the engine is often a primary trigger for anxiety, so allowing them to experience it while stationary and rewarded is crucial.
Week 4: Gradual Introduction to Movement
Goal: Build tolerance to the physical sensations of acceleration, turning, and braking.
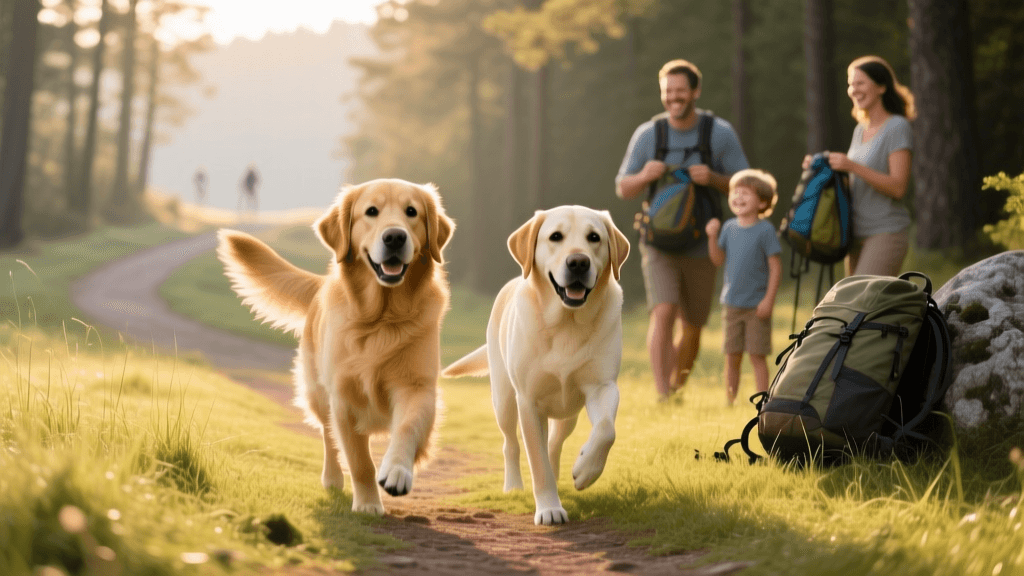
Begin with micro-trips. Put the car in gear, back out of the driveway, and immediately pull back in. Turn off the engine, unclip your dog, and go inside for a play session. The next day, drive to the end of the street and back. Gradually increase the distance over the next two weeks, ensuring that the destination is always somewhere your dog loves, such as a local park or a drive-thru that offers pet treats. Avoid using the car exclusively for trips to the veterinarian during this training phase, as this will reinforce negative associations.
Managing Canine Motion Sickness and Anxiety
Even with excellent behavioral training, some dogs suffer from physiological motion sickness. Puppies are especially prone to this because the structures in their inner ear that control balance are not fully developed. While many dogs outgrow this by age one, others require intervention.
According to the American Kennel Club, signs of motion sickness include excessive drooling, smacking lips, whining, lethargy, and vomiting. To combat this, ensure your dog faces forward and use a harness that elevates them slightly to look out the window, which helps align their visual and vestibular systems. Avoid feeding your dog a large meal within two hours of travel.
If natural remedies like ginger chews or pheromone sprays (such as Adaptil Transport, which costs around $25) are insufficient, consult your veterinarian. They can prescribe highly effective, non-drowsy anti-nausea medications like Cerenia (maropitant citrate), which blocks the vomiting center in the brain and allows your dog to experience car rides without the physical discomfort that often triggers secondary behavioral anxiety.
Your Ultimate Road Trip Packing List
Once your dog is a confident car traveler, preparation is the key to a smooth journey. Always keep a dedicated travel kit in your vehicle containing the following items:
- Collapsible Silicone Water Bowl: Essential for quick hydration stops every two hours.
- Extra Leash and Harness: In case your primary gear gets soiled or damaged.
- Enzymatic Stain Remover: For quick cleanup of unexpected motion sickness accidents.
- Updated ID Tags and Microchip Info: Ensure your contact information is current before crossing state lines.
- Canine First-Aid Kit: Including gauze, antiseptic wipes, tweezers, and a digital thermometer.
Conclusion
Training your dog to enjoy car travel is an investment in your shared quality of life. By prioritizing crash-tested safety gear, following a methodical four-week desensitization protocol, and addressing physiological motion sickness, you can turn a stressful chore into one of the most rewarding aspects of dog ownership. Remember that patience is your greatest tool; celebrate the small victories, and soon enough, the sound of the car keys will be met with a wagging tail rather than a hiding spot under the bed.
robin-maitland
All our authors care for dogs every day — read more of their work on the authors page.