Step-by-Step Leash Training: How to Stop Dog Pulling
Learn how to stop your dog from pulling with our step-by-step leash training guide. Includes gear recommendations, timing tips, and expert techniques.
The Ultimate Step-by-Step Guide to Loose Leash Walking
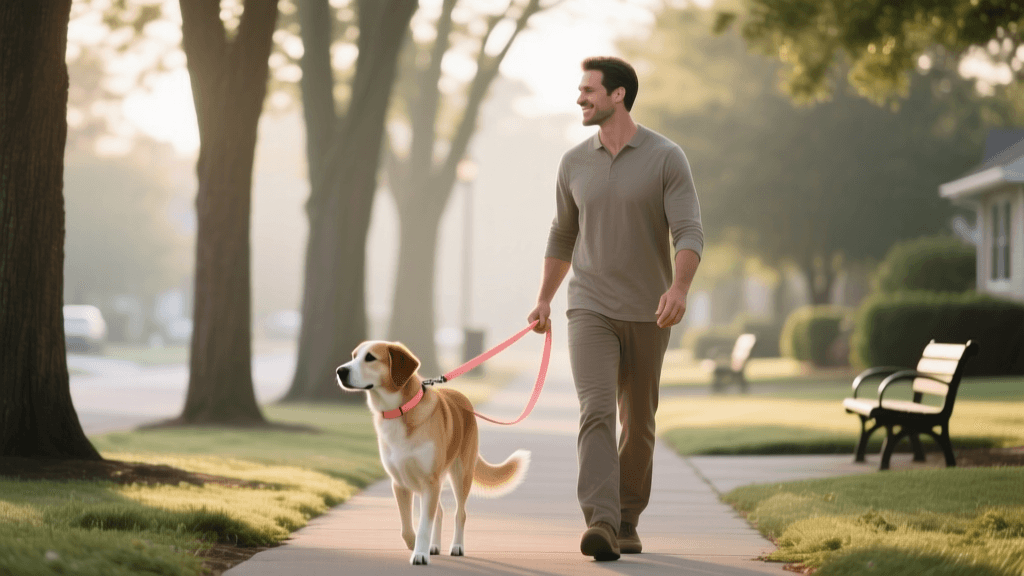
Walking your dog should be a relaxing, bonding experience, but if your dog constantly pulls, it quickly becomes a frustrating and physically exhausting chore. Loose leash walking is not an innate canine behavior; dogs naturally walk faster than humans and are driven to explore their environment by pulling toward interesting scents and sights. To change this behavior, we must use operant conditioning to teach them that walking politely by our side is far more rewarding than forging ahead.
This comprehensive, step-by-step leash training guide will walk you through the exact methodology used by professional dog trainers. We will cover the essential gear you need, the specific timing required for rewards, and actionable steps to transform your dog from a chaotic puller into a polite walking companion.
The Science Behind Leash Pulling
Before diving into the steps, it is crucial to understand why dogs pull. In the canine world, pulling gets them exactly what they want: forward movement and access to environmental rewards (like a fascinating fire hydrant or a neighboring dog). When a dog pulls and the owner follows, the dog learns that tension on the leash equals forward progress. Our goal in loose leash training is to reverse this contingency. We must teach the dog that a slack leash is the only key that unlocks forward movement, while tension on the leash acts as a brake.
Essential Gear for Leash Training Success
You cannot effectively train a dog to stop pulling if you are using the wrong equipment. Retractable leashes, for instance, teach dogs to pull because they must apply tension to get more line. Similarly, aversive tools like prong or choke collars can cause physical harm and increase anxiety, which the Humane Society of the United States strongly advises against, noting that positive reinforcement and proper harnesses are safer and more effective for behavioral modification.
Here is the exact gear you need to invest in before starting your training journey:
| Gear Type | Recommended Product | Estimated Cost | Why It Works |
|---|---|---|---|
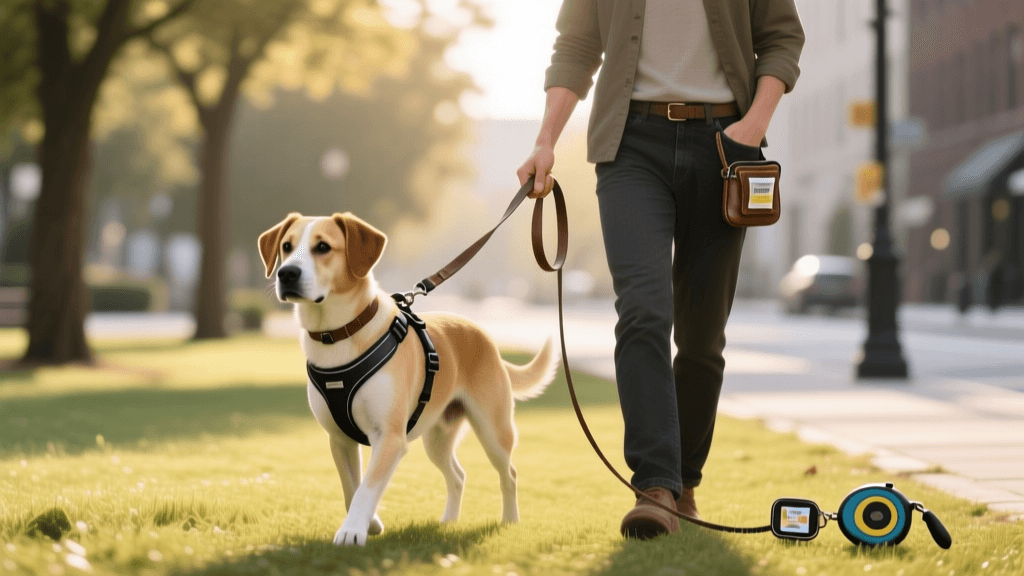
| Front-Clip Harness | Ruffwear Front Range Harness | $39.95 | The front chest clip gently redirects the dog's momentum back toward you when they pull, preventing them from leveraging their chest weight. |
| Standard Leash | Mendota 6-Foot Nylon Leash | $15.00 | A fixed 6-foot length provides enough slack for the 'sweet spot' but prevents the dog from wandering too far. Never use retractable leashes for training. |
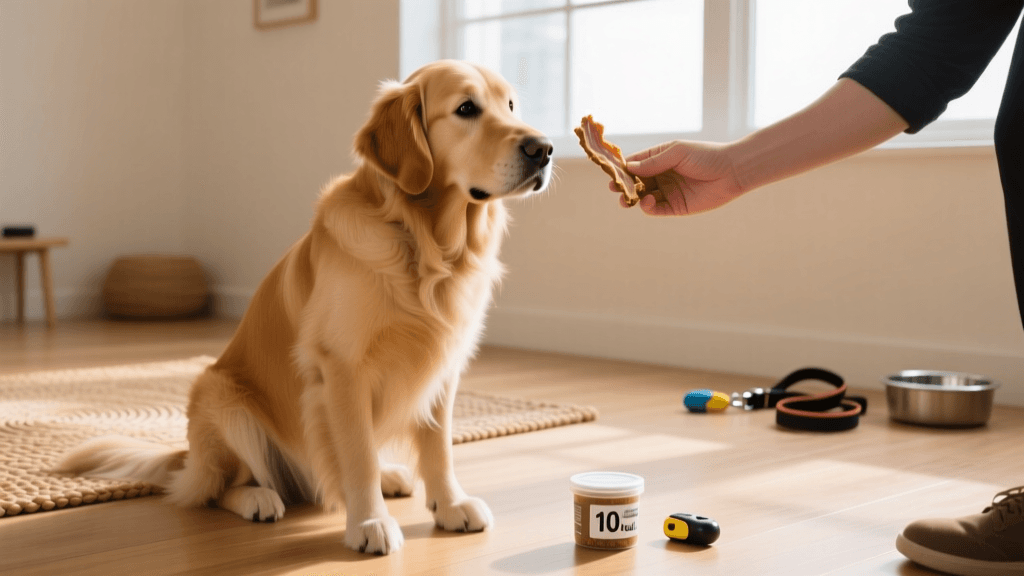
| Treat Pouch | KONG Classic Treat Pouch | $12.99 | Worn on your hip, it allows for lightning-fast treat delivery, which is critical for marking the exact moment the leash goes slack. |
| High-Value Treats | Zuke's Mini Naturals | $8.50 | Low-calorie, highly palatable, and small enough to be eaten in one bite without stopping the walking momentum. |
| Total Startup Cost | ~$76.40 |
Pro Tip on Treat Sizing: Cut your treats into pieces no larger than a green pea. You want your dog to taste the reward and swallow it instantly so they can immediately refocus on walking. Large treats break focus and slow down your training sessions.
Step 1: Indoor Acclimation and the 'Sweet Spot'
Do not start your training on a busy sidewalk. The environment is far too distracting for a dog learning a new physical skill. Begin in your living room or hallway.
- Define the Sweet Spot: The 'sweet spot' is the area directly next to your left knee (or right knee, depending on your preference). This is where your dog's shoulder should align with your leg.
- Lure and Reward: With your dog on a 6-foot leash, hold a treat right at your knee seam. Take one step forward. If your dog stays in the sweet spot, mark the behavior with a verbal 'Yes!' and deliver the treat directly to that knee-level zone.
- Build Duration: Gradually increase the number of steps you take before rewarding. Start with one step, then three, then five. If your dog forges ahead, stop immediately and reset them to the sweet spot.
Step 2: The 'Be a Tree' Method for Outdoor Pulling
Once your dog understands the sweet spot indoors, move to a low-distraction outdoor area like your backyard or a quiet cul-de-sac. This is where the real test begins.
When your dog inevitably pulls to the end of the 6-foot leash, you must employ the 'Be a Tree' method. The moment you feel tension on the leash, stop walking completely. Plant your feet, keep your arms relaxed, and do not yank the dog back. Yanking creates an opposition reflex, causing the dog to pull harder.
Wait patiently. Eventually, your dog will look back at you or take a single step backward to investigate why you stopped. The exact millisecond the leash forms a 'J' shape (indicating slack), mark with a 'Yes!' and reward them back in the sweet spot. According to the RSPCA, rewarding the dog in the position you want them to be (by your side) rather than calling them to you, builds a stronger habit of maintaining the loose leash position naturally.
Step 3: The 'About-Face' Technique
If your dog is highly motivated by a specific destination (like the park) and 'Be a Tree' isn't breaking their focus, use the About-Face technique.
- When the leash goes tight, do not say anything. Simply turn 180 degrees and walk briskly in the opposite direction.
- Do not yank the leash; let the tension gently pull the dog's front end around as you walk away.
- As soon as your dog catches up to you and enters the sweet spot on your new trajectory, mark with a 'Yes!' and deliver a high-value treat.
This technique teaches the dog that pulling toward their goal actually moves them further away from it, while staying by your side moves them forward. It requires excellent timing on your part; you must reward within 0.5 to 1 second of them reaching your side.
Step 4: Proofing the Behavior with Distractions
Dogs do not generalize well. A dog that walks perfectly in your driveway may pull like a freight train at a busy park. You must 'proof' the behavior by gradually increasing environmental distractions.
- Level 1: Inside the house, then the backyard.
- Level 2: A quiet residential street with no other dogs.
- Level 3: A busier street with distant traffic and pedestrians.
- Level 4: A park with squirrels, other dogs, and children.
If your dog fails at Level 3, it means the distraction is too high. You must increase the distance from the distraction or drop back to Level 2 and use higher-value treats (like boiled chicken or freeze-dried liver) to compete with the environment.
Troubleshooting Common Leash Training Issues
My Dog Bites the Leash
Leash biting is usually a sign of over-arousal or frustration, not dominance. If your dog grabs the leash, stop walking and become boring. Do not play tug-of-war. Carry a second 'decoy' leash or a tug toy. If they bite the walking leash, immediately offer the decoy toy to redirect their biting impulse, then resume walking once they drop the leash.
My Dog Lags Behind and Sniffs
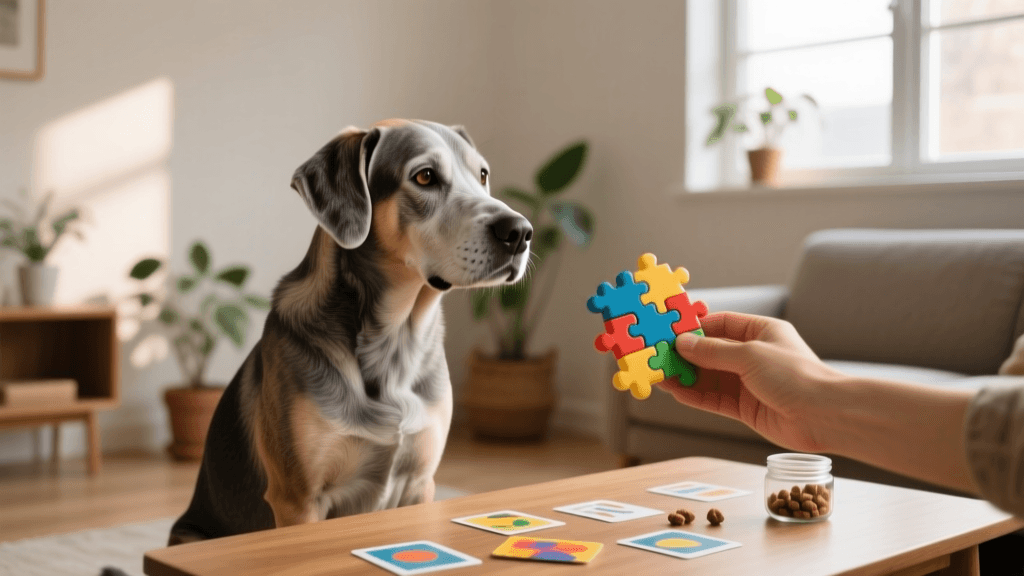
Sniffing is a vital mental enrichment activity for dogs. Instead of forbidding sniffing, use it as a reward. Teach a 'Go Sniff' cue. Walk politely for two minutes, then say 'Go Sniff' and give them 30 seconds of leash freedom to explore. This creates a clear boundary between 'work time' (loose leash walking) and 'play time' (sniffing).
My Dog Lunges at Other Dogs
Lunging is often rooted in fear, frustration, or leash reactivity. Standard loose leash walking will not fix this alone. You must implement desensitization and counter-conditioning. Find your dog's 'threshold distance'—the distance at which they notice another dog but do not react. Feed high-value treats continuously while the other dog is in view, and stop feeding when the dog disappears. This changes the emotional response from 'threat/excitement' to 'good things happen when dogs are nearby.'
Timing and Session Management
Consistency and session length are paramount. Dogs have short attention spans for active learning. Keep your dedicated leash training sessions to 10 to 15 minutes maximum. If you are going on a longer, 45-minute hike for exercise, use a different harness (like a back-clip harness) so your dog understands that the back-clip means 'pulling is okay for exercise,' while the front-clip means 'strict loose leash walking.' This prevents undoing your hard training during recreational outings.
Conclusion
Stopping your dog from pulling on the leash is a marathon, not a sprint. It requires patience, impeccable timing, and the right equipment. By utilizing a front-clip harness, keeping your treats pea-sized, and consistently enforcing the rule that tension equals a stopped walk, you will rewire your dog's understanding of the leash. Remember that every single walk is a training opportunity. Stay consistent, celebrate the small victories of a slack leash, and soon you and your dog will enjoy the peaceful, connected walks you both deserve.
jonas-cole
All our authors care for dogs every day — read more of their work on the authors page.