Step-by-Step Leash Training Guide to Stop Pulling Now
Learn how to stop your dog from pulling on walks with this step-by-step leash training guide. Includes gear tips, timing, and expert techniques.
Why Do Dogs Pull on the Leash?
Walking your dog should be a relaxing bonding experience, but for many owners, it devolves into a frustrating game of tug-of-war. To effectively leash train your dog, you must first understand why they pull. Dogs pull primarily because they walk at a naturally faster pace than humans, and the environment is incredibly stimulating. Furthermore, dogs exhibit an "opposition reflex." When they feel pressure against their chest or neck, their natural instinct is to push forward against it. This means that pulling back on a standard collar often inadvertently encourages the dog to pull harder.
Overcoming this instinct requires patience, the right equipment, and a structured, step-by-step training protocol. This guide will walk you through the exact methods used by professional dog trainers to achieve a loose leash walk, complete with specific gear recommendations, timing metrics, and troubleshooting tips.
Essential Gear for Leash Training
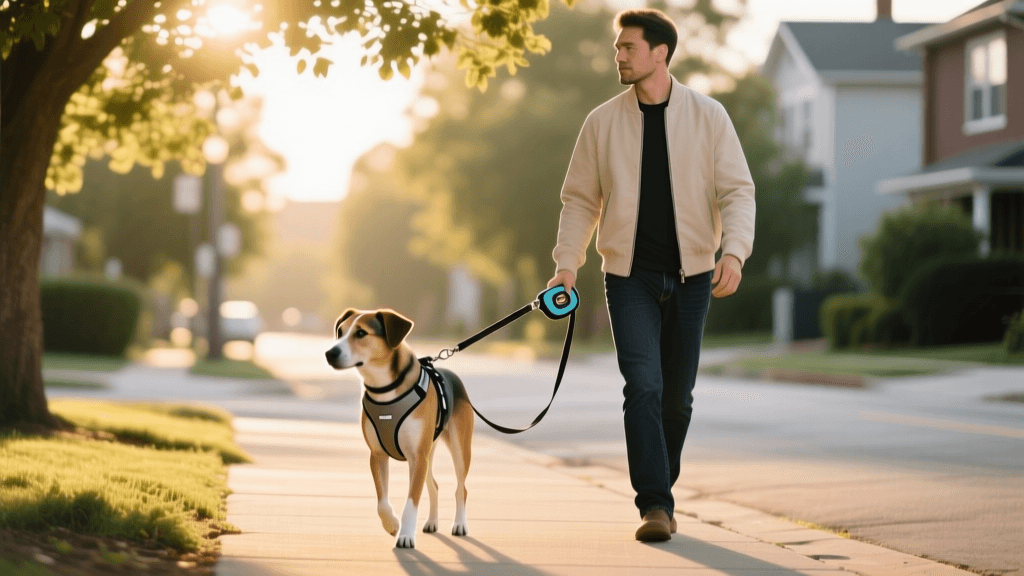
Before you begin your step-by-step leash training, you need to set yourself and your dog up for success with the proper equipment. Avoid retractable leashes (like the Flexi Classic), as they teach dogs that pulling extends their range and creates dangerous rope-burn hazards.
- The Harness: A front-clip harness is the gold standard for pullers. The Ruffwear Front Range Harness (approx. $40) is highly recommended because it features both a front and back leash ring, padded chest straps, and durable materials. When the dog pulls, the front clip gently redirects their momentum back toward you.
- The Leash: Use a standard 6-foot leather or biothane leash. The Mendota Products English Bridle Leather Snap Lead (approx. $35) or a basic 6-foot nylon lead (approx. $15) provides the perfect amount of slack for the "sweet spot" while allowing you to quickly gather the leash if needed.
- The Treats: High-value, low-calorie treats are essential for marking good behavior. Zuke's Mini Naturals (approx. $6 per 6oz bag) are perfect because they are only 3.5 calories each and can be broken into 1/4-inch pieces. You will be dispensing these frequently, so keeping the calorie count low prevents weight gain.
- The Marker: A mechanical clicker (like the i-Click Clicker, approx. $5) or a consistent verbal marker like "Yes!" delivered in a bright, sharp tone.
Equipment Comparison Chart
Choosing the right walking tool is critical. Below is a comparison of common walking equipment and their effectiveness for leash training.
| Equipment Type | Best For | Average Cost | Pros & Cons |
|---|---|---|---|
| Front-Clip Harness | Pullers, Strong Dogs | $30 - $50 | Pros: Redirects momentum safely. Cons: Can chafe if improperly fitted. |
| Back-Clip Harness | Brachycephalic breeds, Trained dogs | $20 - $40 | Pros: Protects the trachea. Cons: Encourages pulling (sled-dog effect). |
| Flat Buckle Collar | Dogs with good leash manners | $10 - $20 | Pros: Simple, holds ID tags. Cons: Risk of tracheal damage if dog pulls. |
| Head Halter | Extreme pullers, Giant breeds | $15 - $25 | Pros: Maximum control. Cons: Requires slow acclimation; dogs often dislike it. |
| Retractable Leash | None (for training purposes) | $15 - $40 | Pros: Gives dog range. Cons: Teaches pulling, high risk of injury to handler. |
Step-by-Step Leash Training Guide
Step 1: Indoor Acclimation and Engagement
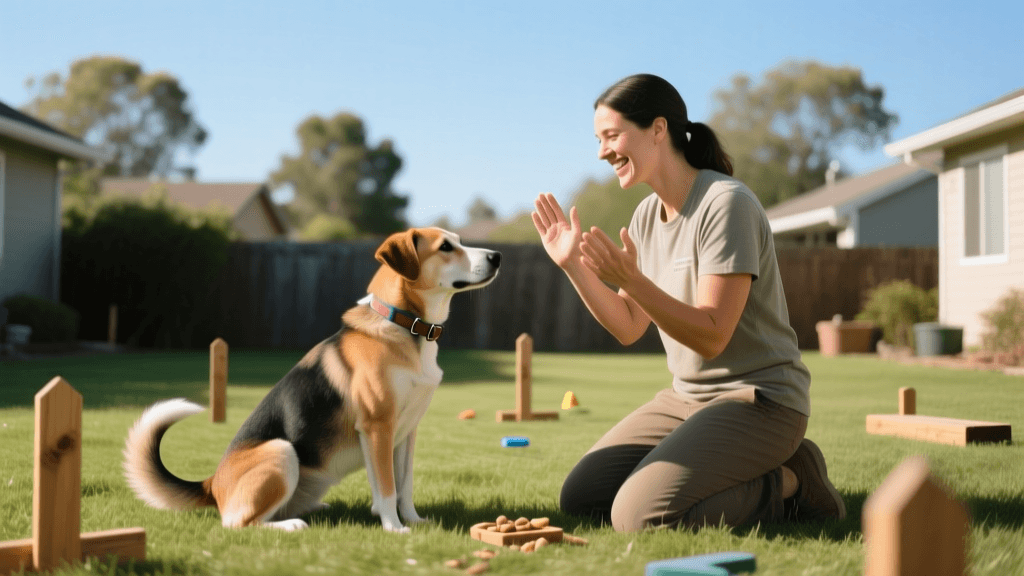
Do not start your training on a busy sidewalk. Begin in a low-distraction environment like your living room or a fenced backyard. Put the harness and 6-foot leash on your dog. Stand still and wait for your dog to look at you. The moment they make eye contact, use your marker (click or say "Yes!") and deliver a 1/4-inch treat right at the seam of your pants on the side you want them to walk (usually the left). Repeat this 15-20 times. You are teaching the dog that paying attention to you is more rewarding than sniffing the baseboards.
Step 2: The "Be a Tree" Method
Begin walking at a normal pace. The moment your dog reaches the end of the 6-foot leash and applies tension, immediately stop walking. "Be a tree." Do not yank the leash, do not reel the dog in, and do not say anything. Simply stand completely still. Wait for the dog to realize that forward progress has ceased. Eventually, they will turn their head to look back at you or take a single step back, creating slack in the leash. The exact millisecond the leash forms a "J" shape (slack), mark the behavior ("Yes!") and toss a treat on the ground right next to your leg. Resume walking. This teaches the dog a clear mechanical rule: Tension on the leash = brakes; Slack on the leash = forward movement.
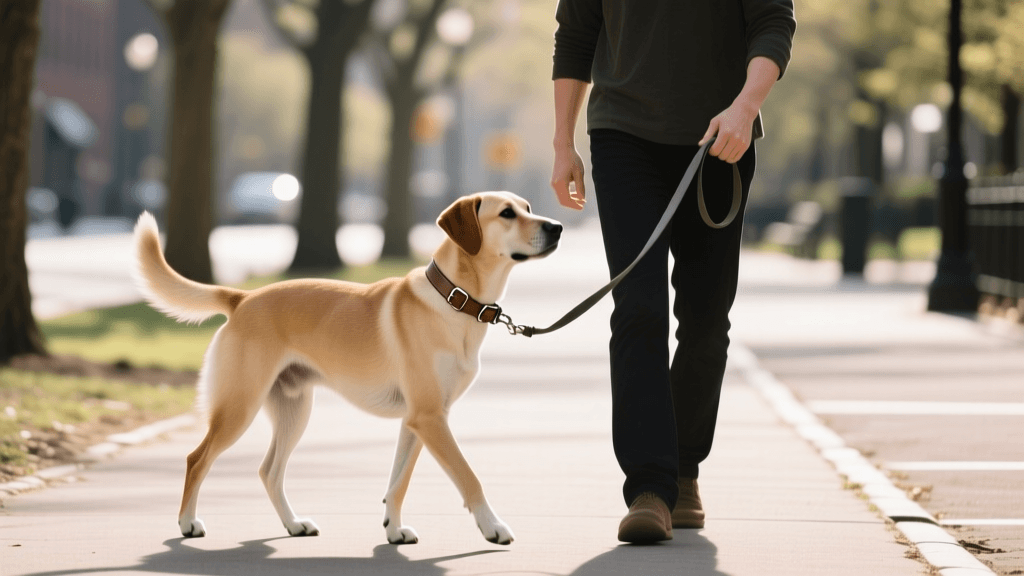
Step 3: Rewarding the "Sweet Spot"
The "sweet spot" is the area roughly within a 2-foot radius of your left leg. As you walk, proactively reward your dog for staying in this zone before they have the chance to pull. Take three steps, mark, and deliver a treat at the seam of your pants. Take five steps, mark, and treat. Vary the number of steps so the dog doesn't anticipate a rigid pattern. According to the American Kennel Club (AKC), variable reinforcement schedules build stronger, more reliable behaviors over time. By feeding the dog at your leg seam, you are magnetizing them to your side.
Step 4: Adding Environmental Distractions
Once your dog can walk 50 feet in your living room without pulling, move to your driveway. Then, move to a quiet residential street. As distractions increase (squirrels, other dogs, blowing leaves), you must increase the value of your treats. Swap the Zuke's Mini Naturals for freeze-dried beef liver or boiled chicken breast. If your dog lunges toward a distraction, use the "Be a Tree" method, or perform an "About Face" (cheerfully say "Let's go!" and turn 180 degrees in the opposite direction, rewarding the dog when they catch up to your side).
Timing, Treats, and Session Management
Leash training is mentally exhausting for dogs. Keep your training sessions strictly to 10 to 15 minutes, two to three times a day. If you are going on a longer 45-minute hike for exercise, use a back-clip harness or a long line so the dog can exercise without ruining your strict loose-leash training criteria.
Timing is everything. Your marker word or click must occur within 0.5 seconds of the desired behavior (the leash going slack or the dog looking at you). If you mark late, the dog may associate the reward with a subsequent behavior, like sniffing a bush. Always deliver the treat within 1 to 2 seconds of the marker.
Troubleshooting Common Leash Training Issues
Even with a strict step-by-step protocol, you will encounter roadblocks. Here is how to handle the most common issues:
- The Dog Bites the Leash: This is often a sign of frustration or over-arousal. Carry a second leash or a small tug toy. If the dog bites the primary leash, redirect them to the toy, or stop walking and wait for them to drop it before marking and rewarding.
- The "Yo-Yo" Dog (Returns, Treats, Then Pulls Again): If your dog only stays by your side while chewing the treat and immediately bolts forward, you are likely delivering the treat too far forward. Ensure you are delivering the treat slightly behind your pant seam to encourage the dog to stay slightly behind your center of gravity.
- Reactivity to Other Dogs: If your dog pulls specifically to get to or bark at other dogs, leash training must pause. You cannot train a loose leash walk if the dog is over their "reactivity threshold." The ASPCA notes that reactive dogs require specialized desensitization and counter-conditioning protocols before standard leash manners can be reliably enforced.
Consistency is the ultimate key to success. The Humane Society of the United States advises that every single person who walks the dog must enforce the exact same rules. If you use the "Be a Tree" method but your dog walker or spouse allows the dog to pull to the fire hydrant, the training will regress significantly. Communicate your step-by-step plan to anyone holding the leash, and enjoy the journey toward peaceful, enjoyable walks with your canine companion.
beth-carrasco
All our authors care for dogs every day — read more of their work on the authors page.