Step-by-Step Guide to Loose Leash Walking for Dogs
Learn how to stop your dog from pulling with our step-by-step loose leash walking guide. Includes gear tips, timing, and expert training techniques.
Why Do Dogs Pull on the Leash?
Walking your dog should be a relaxing and bonding experience, but if your furry friend treats the leash like a tug-of-war rope, it can quickly become a frustrating chore. Dogs pull on the leash primarily because they walk faster than humans and are naturally driven to explore their environment through scent and sight. Furthermore, pulling is often accidentally reinforced; if a dog pulls and the owner follows, the dog learns that pulling is the most effective way to move forward. According to the American Kennel Club, teaching loose leash walking requires patience, consistency, and a fundamental shift in how the dog perceives leash pressure.
This comprehensive, step-by-step guide will walk you through transforming your chronic puller into a polite walking companion. We will cover the exact gear you need, indoor foundation exercises, outdoor execution, and troubleshooting common behavioral roadblocks.
Phase 1: Gathering the Right Gear
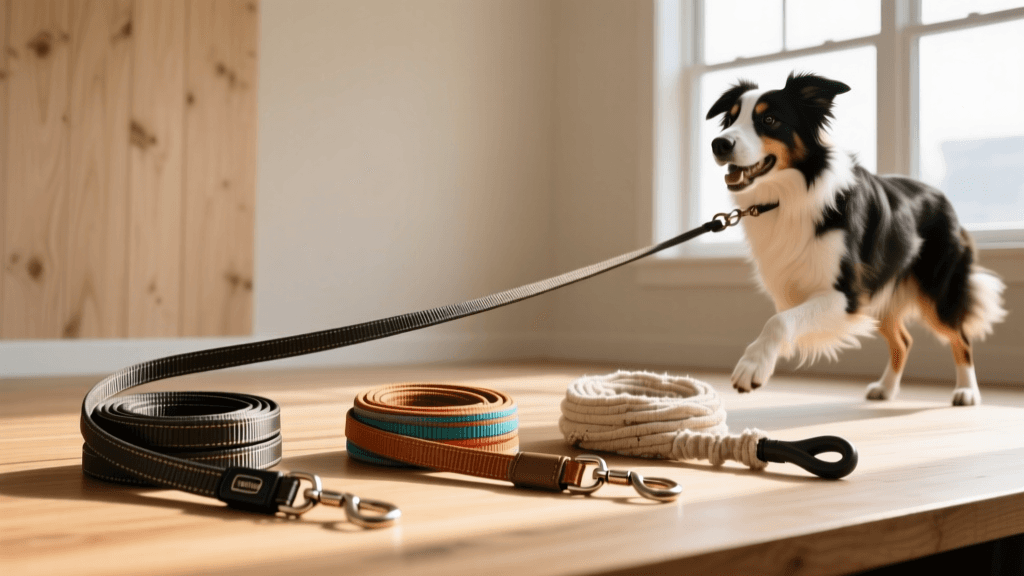
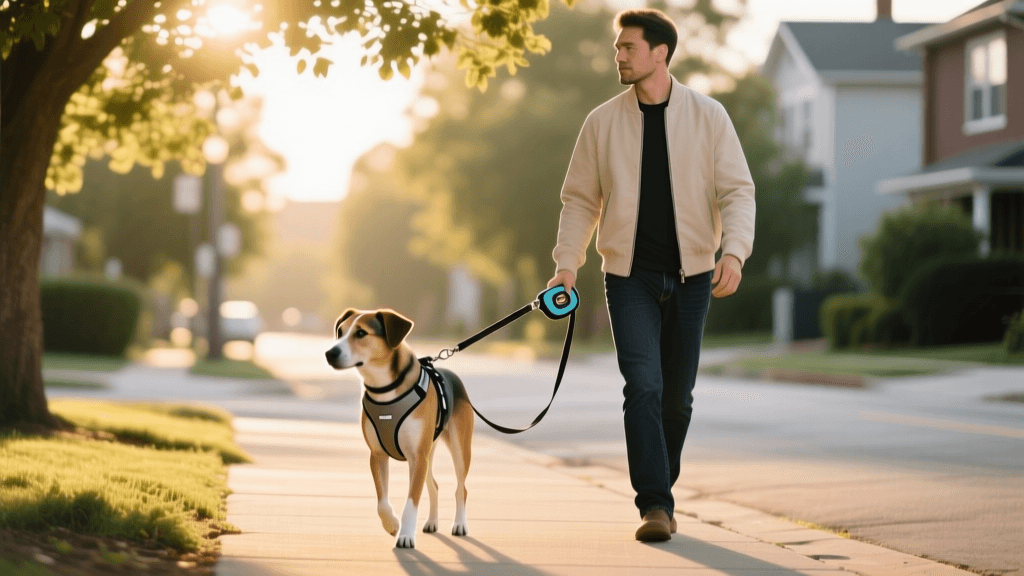
Before you begin training, you must equip yourself and your dog with the proper tools. Using the wrong equipment can inadvertently encourage pulling or cause physical harm. Avoid retractable leashes entirely during training, as they teach the dog that tension on the leash is normal and required to gain distance.
Recommended Training Equipment
- Front-Clip Harness: The Ruffwear Front Range Harness (approx. $45) is a top-tier choice. The front chest clip gently redirects the dog's momentum back toward you when they pull, naturally discouraging forward lunging.
- Standard Leash: A 6-foot nylon or Biothane leash (approx. $25-$30) provides enough slack for your dog to explore while keeping them close enough for immediate communication and treat delivery.
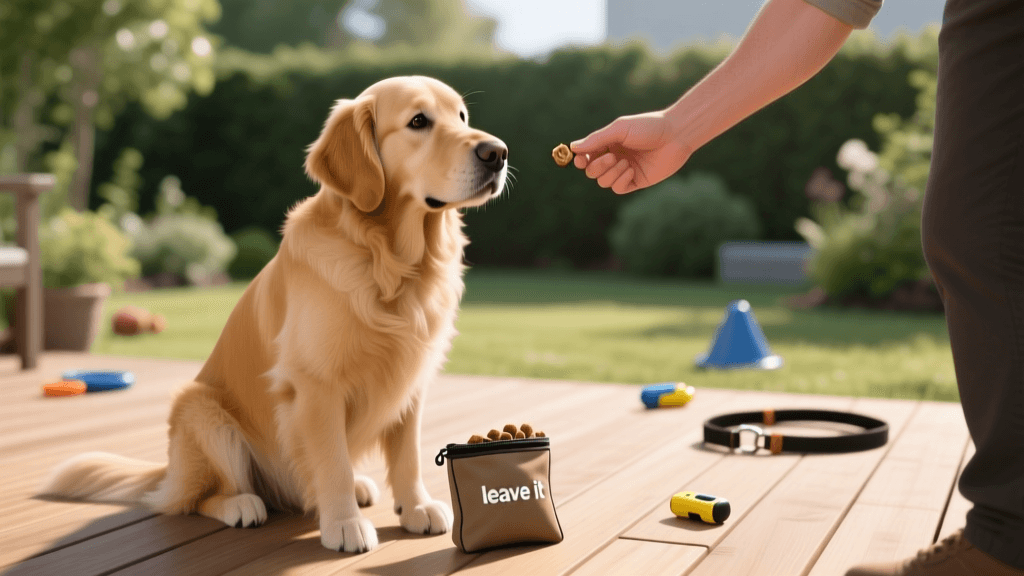
- High-Value Treats: Use soft, smelly treats that can be consumed in one bite. Zuke's Mini Naturals (approx. $10) or boiled chicken breast cut into pea-sized pieces are excellent. Keep them in a dedicated treat pouch on your hip for 1-second delivery times.
Equipment Comparison Chart
| Equipment Type | Best For | Pros | Cons | Est. Cost |
|---|---|---|---|---|
| Front-Clip Harness | Chronic pullers, strong dogs | Redirects momentum safely; no neck strain | Can cause slight chafing if poorly fitted | $35 - $50 |
| Back-Clip Harness | Small dogs, trained dogs | Comfortable; easy to put on | Encourages pulling (sled dog effect) | $25 - $40 |
| Head Halter | Giant breeds, severe pullers | Maximum control with minimal force | Requires desensitization; neck injury risk if jerked | $20 - $35 |
| Flat Collar | Dogs who already walk politely | Simple; holds ID tags | High risk of tracheal damage for pullers | $10 - $20 |
Phase 2: Indoor Foundation (The 'Engage-Disengage' Game)
Do not start your training on a busy sidewalk. The Humane Society of the United States recommends starting in a low-distraction environment, like your living room or hallway, where your dog can easily focus on you.
Step 1: The Magnet Hand
With your dog on the 6-foot leash, stand still. Hold a handful of treats in the hand closest to the dog, right at your hip seam. When your dog naturally moves to that side and looks up, mark the behavior with a 'Yes!' or a clicker, and deliver the treat directly at your hip. Repeat this 10-15 times until your dog realizes that the 'sweet spot' is right next to your leg.
Step 2: Adding Movement
Take one step forward. If your dog stays by your side, mark and reward at the hip seam. Take two steps, then three. If the dog surges ahead, stop immediately. Do not yank the leash; simply become a statue. Wait for the dog to look back at you or create slack in the leash, then mark, reward, and resume walking.
Pro Tip: Timing is everything. The treat must hit your dog's mouth within 1 to 2 seconds of them achieving a loose leash. If you are fumbling with a plastic bag, your dog will associate the reward with whatever they were doing 3 seconds ago (like sniffing a trash can).
Phase 3: Outdoor Execution (The 'Be a Tree' Method)
Once your dog can walk 10-15 steps in your living room without pulling, it is time to move to the backyard, and eventually, the sidewalk. The ASPCA emphasizes that consistency in your reaction to pulling is the single most important factor in outdoor training.
The 3 Rules of the Leash
- Tension equals zero forward movement. The moment the leash goes tight, your feet stop. You are a tree.
- Slack equals forward movement. The dog only gets to move toward their goal (a bush, another dog, the park) when the leash forms a 'J' or 'U' shape.
- Never pull back. Yanking the leash triggers the 'opposition reflex,' a canine instinct that makes them pull harder against pressure.
Step-by-Step Outdoor Protocol
Keep your initial outdoor sessions incredibly short—no more than 10 to 15 minutes. Mental fatigue from training is far more exhausting for a dog than physical exercise. If you need to walk your dog for physical exercise while they are still learning, use a long line (15-30 feet) in an open field, or play fetch, so you do not ruin your leash training by allowing them to pull you to the car.
When walking on the sidewalk, use the 'Penalty Yards' technique. Walk forward with your dog. The second the leash goes tight, say 'Oops!' in a cheerful voice, turn 180 degrees, and walk the other way. When your dog catches up to your side, mark and reward. This teaches the dog that pulling actually moves them away from their desired destination.
Phase 4: Adding Distractions and Duration
As your dog masters the quiet streets, you must systematically increase the difficulty. This is known as 'proofing' the behavior.
- Increase Distance: Gradually increase the number of steps you take between treats. Move from rewarding every 3 steps to every 10 steps, then 20.
- Increase Distraction: Move to busier streets. If your dog struggles, you have moved too fast. Drop back to an easier environment and increase the value of your treats (e.g., switch from dry kibble to freeze-dried liver).
- The 'Find It' Game: If you see a major distraction approaching (like a squirrel or another dog), toss a handful of high-value treats into the grass and say 'Find it!' This engages their sniffing instinct, naturally lowering their heart rate and redirecting their focus away from the trigger.
Troubleshooting Common Issues
My dog bites the leash while walking.
Leash biting is often a sign of over-arousal or frustration. Do not play tug-of-war with the leash, as this rewards the behavior. Instead, carry a secondary toy or use a 'target stick' to redirect their mouth. Alternatively, apply a bitter apple spray (approx. $12) to the leash. When the dog bites the leash, offer a treat from your pouch to trade for the leash.
My dog lunges at other dogs.
Leash reactivity requires a different protocol called 'Desensitization and Counter-Conditioning.' Find your dog's 'threshold distance'—the distance at which they notice a dog but do not react. At this distance, feed high-value treats continuously. When the other dog leaves, the treats stop. Over weeks, gradually decrease the distance. Never force a reactive dog into a face-to-face greeting.
Conclusion
Loose leash walking is not an innate canine behavior; it is a complex skill that requires time, patience, and positive reinforcement. By investing in the right front-clip gear, establishing a solid indoor foundation, and strictly enforcing the rule that 'tension equals zero forward movement,' you will completely transform your daily walks. Remember to keep sessions short, your treat timing sharp, and your expectations realistic. Within a few weeks of consistent practice, you and your dog will be enjoying peaceful, synchronized strolls around the neighborhood.
tom-renshaw
All our authors care for dogs every day — read more of their work on the authors page.