Step-by-Step First Week Puppy Crate and Potty Training
Master your new puppy's first week with our step-by-step crate and potty training guide. Actionable tips, schedules, and essential gear for success.
Bringing Your New Puppy Home: The First 7 Days
Bringing a new puppy home is an exhilarating experience, filled with wagging tails, sloppy kisses, and the promise of a lifelong bond. However, the first seven days are arguably the most critical period in your new dog's life. This is the window where foundational habits are formed, and where the trajectory of your relationship is set. According to the ASPCA, consistency, patience, and positive reinforcement during the first week are the absolute keys to successful house training and crate acclimation. Many new owners feel overwhelmed by the sleep deprivation and the seemingly endless cycle of cleaning up accidents. This comprehensive, step-by-step guide is designed to eliminate the guesswork. We will walk you through exact measurements, specific product recommendations, and a day-by-day training protocol to ensure your puppy's first week is a resounding success. By the end of this guide, you will have a clear roadmap for crate training and potty training, transforming chaos into a structured, harmonious routine.
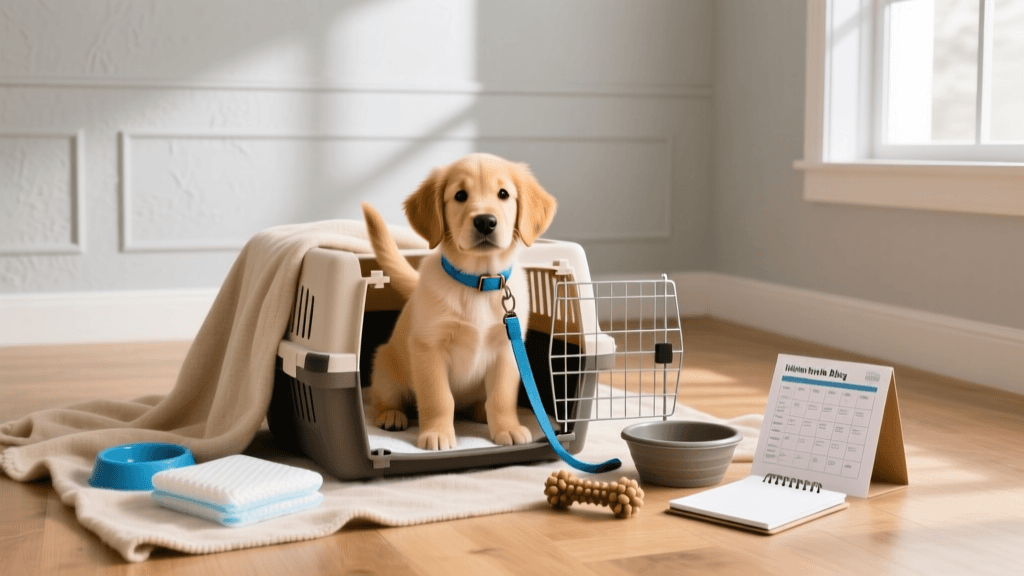
Step 1: Selecting and Setting Up the Crate
A crate is not a cage; it is a den. Dogs are naturally denning animals, and a properly introduced crate provides a safe haven where they can decompress from the overwhelming stimuli of a new environment. When selecting a crate, you generally have two main options: wire crates and plastic airline-style crates. For initial house training, a wire crate, such as the MidWest Life Stages Double Door Dog Crate, is highly recommended because it offers maximum visibility and airflow, allowing the puppy to feel connected to the family while resting.
Crate Sizing and Setup Details
Sizing is the most critical factor. A crate that is too large will allow the puppy to designate one corner for sleeping and another for eliminating, entirely defeating the purpose of crate training. The crate should be just large enough for the puppy to stand up without hunching, turn around comfortably, and lie down stretched out. If you are buying a crate for a puppy that will grow into a large adult dog, purchase a crate with an adjustable divider panel. Set the divider so the space is limited to the puppy's current size, moving it back a few inches each month.
Placement is equally important. Position the crate in a high-traffic area like the living room or the corner of the kitchen, so the puppy does not feel isolated. However, avoid placing it directly in front of heating vents, radiators, or in direct sunlight, as puppies cannot regulate their body temperature efficiently. Outfit the crate with a chew-resistant bed, such as dry Vetbed, avoiding plush towels or blankets that a teething puppy might shred and ingest, leading to dangerous intestinal blockages.
Step 2: The Step-by-Step Crate Introduction Protocol
Never force your puppy into the crate and lock the door on day one. This will create immediate negative associations and trigger separation anxiety. Instead, use a gradual, positive reinforcement-based approach over the first three days.
Day 1: The Discovery Phase. Leave the crate door open and secured so it doesn't swing and startle the puppy. Toss high-value, low-calorie treats, such as Zuke's Mini Naturals, near the entrance. Once the puppy confidently eats them, toss the treats further inside. Feed all of their daily meals inside the crate with the door open. Praise them calmly when they enter voluntarily.
Day 2: Building Duration. Once the puppy is happily entering the crate for meals, begin closing the door while they eat. Open it immediately when they finish. Gradually increase the time the door remains closed after the meal by one-minute increments. If the puppy whines, wait for a brief moment of silence before opening the door so you do not reward the vocalization.
Day 3: Short Absences. Introduce a specific cue word like "Crate" or "Kennel" right before tossing a treat inside. Once the puppy enters, close the door, give them a long-lasting chew like a stuffed Kong toy, and sit quietly in the same room. After ten minutes, leave the room for just thirty seconds, then return, praise, and release. Slowly extend your absences to five, then ten, then twenty minutes over the course of the day.
According to the American Kennel Club (AKC), keeping the crate experience overwhelmingly positive during these first 72 hours is the single most effective way to prevent future crate anxiety and nighttime howling.
Step 3: Establishing a Potty Training Schedule
Potty training relies entirely on management and routine. Puppies have incredibly small bladders and lack the sphincter muscle control to "hold it" for long periods. The golden rule of puppy potty training is the "one hour per month of age" guideline, though this applies primarily to crated resting time, not active playtime.
To prevent accidents, you must anticipate your puppy's biological needs. A puppy will almost always need to eliminate immediately after waking up from a nap, within ten to fifteen minutes after eating or drinking, and after a vigorous play session. During the first week, practice the "umbilical cord" method: keep the puppy tethered to your waist with a short leash or keep them in the same room with you at all times using baby gates. Watch for pre-elimination signs such as sudden sniffing, circling, or wandering away from the group.
When you take the puppy outside, use a consistent verbal cue like "Go Potty." Stand in one specific spot in the yard to allow them to smell their previous eliminations, which acts as a biological trigger. The moment they finish, throw a "potty party." Praise enthusiastically and deliver a high-value treat within two seconds of them finishing. Timing is crucial; if you wait until you walk back inside to reward them, you are rewarding them for walking inside, not for eliminating outside.
Below is a structured schedule to help you manage their bladder capacity during the first few weeks:
| Puppy Age | Maximum Crate Time | Active Potty Break Frequency |
|---|---|---|
| 8-10 Weeks | 1-2 Hours | Every 1 Hour |
| 11-14 Weeks | 2-3 Hours | Every 1.5 Hours |
| 15-16 Weeks | 3-4 Hours | Every 2 Hours |
Step 4: Nighttime Whining and Accident Management
Nights are often the most challenging part of the first week. A puppy taken from their littermates will naturally feel vulnerable in the dark. To ease this transition, place the crate in your bedroom for the first few nights so they can hear and smell you. Set an alarm to take them out for a potty break every three to four hours. Keep these nighttime breaks incredibly boring: scoop them up, carry them outside, put them on the leash, wait for them to eliminate, and immediately return them to the crate. No playing, no talking, and no treats.
If the puppy whines shortly after being put back in the crate, they are likely testing boundaries or seeking comfort. Wait for a brief pause in the whining before settling back to sleep so you do not reinforce the noise. However, if the whining is persistent or frantic, take them out immediately to potty, just in case.
Accidents will happen. When they do, your reaction dictates future success. Never rub a puppy's nose in it or yell. According to the Humane Society of the United States, punishment after the fact only teaches the puppy to fear you and to hide behind furniture to eliminate in the future. If you catch them in the act, clap loudly to interrupt the behavior, immediately scoop them up, and carry them outside to finish.
Clean indoor accidents thoroughly using an enzymatic cleaner specifically designed for pet urine, such as Nature's Miracle Advanced Stain and Odor Eliminator. Standard household cleaners do not break down the uric acid crystals, meaning the puppy can still smell the biological marker and will be drawn to eliminate in that exact spot again. Blot the area, saturate it with the enzymatic cleaner, let it sit for ten minutes, and blot dry.
Essential First-Week Gear Checklist
To execute this step-by-step plan effectively, ensure you have the following supplies ready before your puppy crosses the threshold:
- Wire Crate with Divider ($45 - $75): Essential for safe confinement and den training.
- Enzymatic Cleaner ($15 - $22): Mandatory for completely erasing biological markers from accidents.
- High-Value Training Treats ($8 - $12): Soft, pea-sized treats like Zuke's Mini Naturals for rapid consumption.
- Stuffable Chew Toy ($12 - $18): A classic Kong toy to keep them occupied in the crate.
- 6-Foot Nylon Leash ($10 - $15): Avoid retractable leashes during potty training to maintain close control.
- Dry Vetbed ($20 - $30): Allows urine to pass through, keeping the puppy dry if an accident occurs in the crate.
Conclusion
The first week with a new puppy requires immense patience, sleep deprivation, and unwavering consistency. By strictly following this step-by-step crate and potty training protocol, you are not just teaching your dog where to sleep and eliminate; you are building a foundation of trust, communication, and mutual respect that will last a lifetime.
hannah-wickes
All our authors care for dogs every day — read more of their work on the authors page.