DIY Dog Agility Training: Budget-Friendly Backyard Course
Learn how to build a budget-friendly DIY dog agility course in your backyard. Save money while boosting your dog's obedience, fitness, and bond.
The Rising Cost of Dog Training and the DIY Solution
Owning a dog is a profoundly rewarding experience, but the financial responsibilities of pet ownership can quickly escalate. Between premium nutrition, routine veterinary care, and unexpected medical bills, the budget-conscious pet owner must often make difficult choices about where to allocate funds. Professional dog training and specialized behavioral conditioning classes frequently represent one of the largest discretionary expenses. A standard six-week group agility or obedience course can easily cost between $150 and $300, while private behavioral consultations often exceed $100 per hour. For many families, these costs make advanced trick teaching and structured socialization seem entirely out of reach.
However, a tight budget should never be a barrier to providing your dog with exceptional mental and physical enrichment. By adopting a resourceful, budget-friendly dog care mindset, you can replicate the benefits of expensive professional classes right in your own backyard. Building a DIY dog agility course is not only a fraction of the cost of commercial equipment, but the construction process and subsequent training sessions also foster a deep, cooperative bond between you and your canine companion.
The Behavioral and Psychological Benefits of Agility
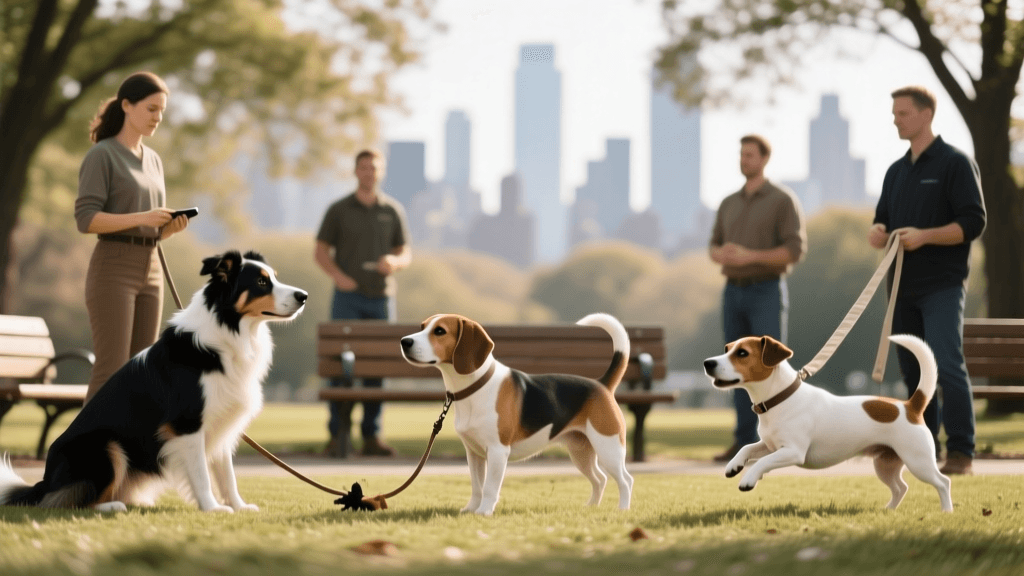
Agility training is frequently misunderstood as a purely physical outlet or a niche competitive sport. In reality, it is one of the most effective forms of behavioral conditioning available. Navigating an obstacle course requires a dog to focus intensely on their handler, ignore environmental distractions, and solve spatial problems in real-time. According to the ASPCA's guidelines on canine enrichment, mental stimulation is just as critical as physical exercise. In fact, fifteen minutes of focused, problem-solving agility work can tire a dog out more effectively than a two-mile walk around the neighborhood.
Furthermore, agility training builds confidence in shy or reactive dogs. By breaking down complex obstacles into small, achievable steps and rewarding success, you condition your dog to associate novel, potentially scary objects with positive outcomes. This concept, known as counter-conditioning, is a cornerstone of modern behavioral therapy for anxious dogs. The American Kennel Club (AKC) notes that agility directs a dog's natural energy into a structured activity that reinforces basic obedience commands like 'sit', 'stay', and 'come', while simultaneously teaching impulse control.
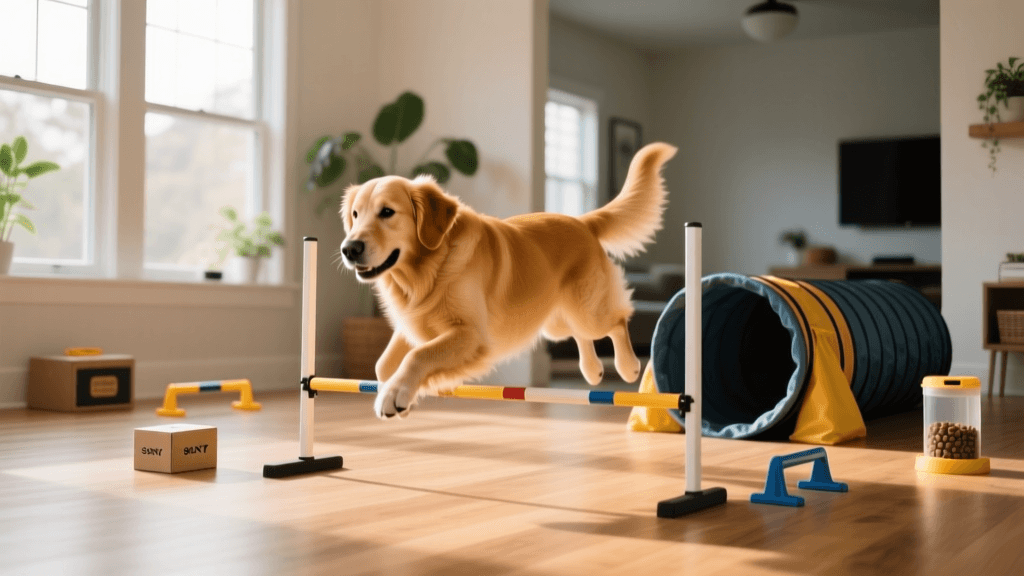
Essential DIY Agility Equipment Built on a Shoestring Budget
You do not need to purchase expensive, competition-grade aluminum or fiberglass equipment to teach your dog the fundamentals of agility. With a quick trip to your local hardware store and some creative upcycling, you can build a functional course for under $40.
The PVC Broad Jump
Commercial agility jumps can cost upwards of $150 each. You can build a highly durable, adjustable PVC jump for about $12. Purchase three 10-foot lengths of 3/4-inch PVC pipe, four T-connectors, and four end caps from your local hardware store. Cut the pipes to create two 36-inch uprights and four 24-inch base stabilizers. Use the remaining pipe to cut four 4-inch jump bars. The T-connectors allow you to create stable, L-shaped bases that prevent the jump from tipping over if your dog misjudges their stride and knocks the bar. Because PVC is lightweight and smooth, it is incredibly safe for beginner dogs learning their spatial awareness.
The Appliance Box Tunnel
Agility tunnels are notoriously expensive and bulky to store. For a zero-cost alternative, reach out to local appliance stores and ask for their discarded refrigerator or washing machine cardboard boxes. Tape two or three large boxes together end-to-end to create a dark, enclosed tunnel. To prevent the boxes from collapsing, place a heavy brick or a large rock on the outside seams. This temporary setup is perfect for teaching the 'tunnel' command and building your dog's confidence in enclosed spaces. Once your dog has mastered the cardboard version, you can upgrade to a flexible agricultural drainage pipe from a farm supply store, which costs roughly $15 for a 20-foot roll and can be easily coiled and stored in a garage.
The Garden Stake Weave Poles
Weave poles are technically challenging and require precise spacing. Competition sets cost over $200. For a budget-friendly practice set, purchase a pack of 12 heavy-duty fiberglass garden stakes or landscaping poles (usually around $8 for a multi-pack). Drive them into your lawn exactly 24 inches apart. The slight flexibility of the garden stakes makes them forgiving if your dog bumps into them during the early, clumsy stages of learning the weaving motion. To make them more visible, wrap alternating stakes in bright, cheap electrical tape.
Cost Comparison: DIY vs. Professional Agility Gear
To truly understand the value of the budget-friendly dog care approach, consider the stark contrast in equipment costs between DIY methods and commercial retail options.
| Equipment Type | DIY Budget Cost | Commercial Retail Cost | Primary Materials Needed |
|---|---|---|---|
| Standard Jump | $12.00 | $150.00 | 3/4" PVC pipe, T-connectors, end caps |
| Agility Tunnel | $0.00 - $15.00 | $120.00 | Upcycled appliance boxes or drainage pipe |
| 12-Pole Weave Set | $8.00 | $220.00 | Fiberglass garden stakes, electrical tape |
| Pause Box | $0.00 | $45.00 | Four pieces of scrap wood or garden hose |
| Total Estimated Cost | $20.00 - $35.00 | $535.00 | - |
Step-by-Step Behavioral Conditioning Protocol
Having the equipment is only half the battle; teaching your dog to navigate it requires patience, precise timing, and an understanding of operant conditioning. Keep your training sessions short—no more than 5 to 10 minutes at a time—to prevent mental fatigue and frustration.
Phase One: Luring and Shaping
When introducing a new obstacle, never force or drag your dog over it. This creates negative associations and fear. Instead, use a high-value treat to lure them. For the PVC jump, start with the bar resting directly on the grass. Stand on one side of the jump, hold a treat near your dog's nose, and slowly move your hand across the bar. As your dog steps over to follow the treat, mark the behavior with a clicker or an enthusiastic 'Yes!' and immediately reward them. Gradually raise the bar in two-inch increments only when your dog is confidently clearing the current height.
Phase Two: Adding Verbal Cues and Distance
Once your dog understands the physical action required to earn the reward, introduce the verbal cue. Say 'Jump' or 'Tunnel' exactly one second before you present the physical lure. Over multiple sessions, begin to fade the lure by using an empty hand gesture, rewarding only from your treat pouch after the obstacle is completed. This transitions the dog from simply following food to actively listening to your verbal commands and reading your body language, which is the ultimate goal of advanced obedience training.
Budget-Friendly High-Value Training Rewards
Effective behavioral conditioning relies heavily on the quality of the reward. While commercial training treats are convenient, they are often expensive and filled with unnecessary fillers. You can create highly motivating, budget-friendly rewards in your own kitchen.
- DIY Dehydrated Sweet Potatoes: Slice sweet potatoes into thin rounds and bake them at 250°F (120°C) for two hours until chewy. Sweet potatoes are incredibly high-value to most dogs, highly nutritious, and cost pennies per batch compared to boutique training treats.
- The Kibble Billing Method: If your dog is highly food-motivated, simply measure out their daily allotment of regular kibble and use it for training sessions. This prevents overfeeding and ensures you are not spending extra money on treats. To increase the value of the kibble, store it in a ziplock bag with a few pieces of freeze-dried liver or a spoonful of peanut butter overnight so it absorbs the high-value scent.
- Ice Cubes with Chicken Broth: During hot summer training sessions, freeze low-sodium chicken broth in an ice cube tray. These make excellent, hydrating, zero-cost rewards that keep your dog engaged and cool.
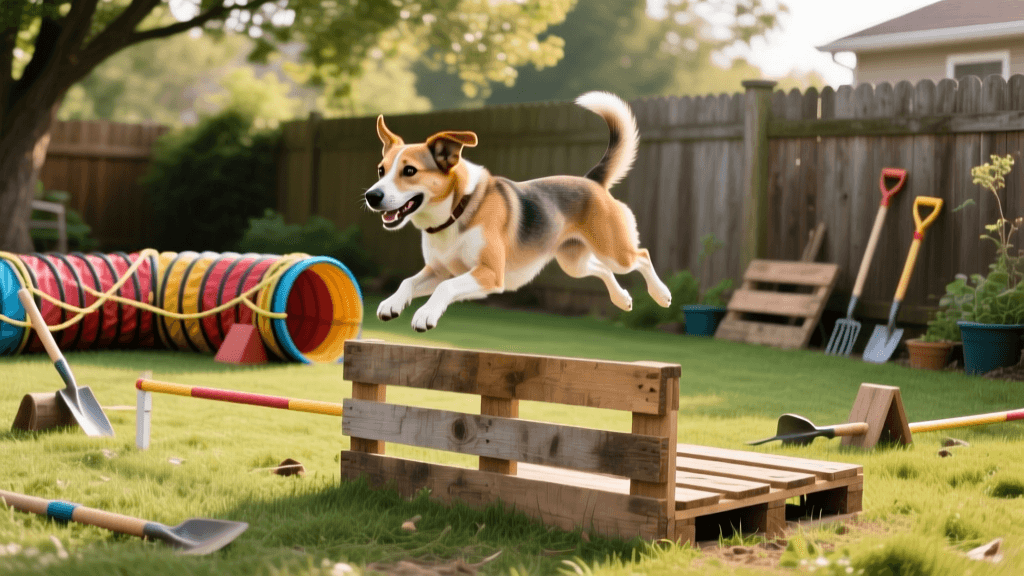
Safety First: Preventing Injuries on a Budget
While saving money is a primary goal, your dog's physical safety must never be compromised. Agility places unique stresses on a dog's joints, tendons, and spine. Always ensure your DIY course is set up on a forgiving surface like natural grass or dirt. Never practice agility on concrete, asphalt, or slippery hardwood floors, as this can lead to severe traction injuries and torn cruciate ligaments.
Additionally, puppies under the age of 12 to 18 months should never be forced to jump heights or navigate tight weave poles. Their growth plates are still open and vulnerable to permanent orthopedic damage. For young dogs, keep all jump bars flat on the ground and focus entirely on the mental aspect of the game, such as running around the jump standards or walking through the weave poles on a loose leash. Always incorporate a five-minute warm-up of brisk walking and gentle stretching before any intense conditioning session.
Conclusion
Providing top-tier training and enrichment for your dog does not require a massive financial investment. By leveraging household items, inexpensive hardware store materials, and a solid understanding of positive reinforcement and behavioral shaping, you can build a world-class agility experience in your own backyard. This budget-friendly approach not only saves you hundreds of dollars but also transforms the training process into a collaborative, deeply rewarding project that will strengthen the lifelong bond between you and your dog.
robin-maitland
All our authors care for dogs every day — read more of their work on the authors page.