Step-by-Step Guide to Calm Dog Car Travel Training
Master dog car travel with our step-by-step training guide. Learn about crash-tested gear, desensitization timing, and motion sickness tips.
Why Car Training Matters for Daily Life
Sharing your life with a dog inevitably means sharing your vehicle. Whether you are heading to the veterinarian, visiting a local dog park, or embarking on a cross-country road trip, car travel is a fundamental aspect of modern dog ownership. However, for many dogs, the car is a source of immense anxiety, overstimulation, or physical discomfort. A dog that paces, barks, drools, or panics in the car not only makes the journey stressful but also creates a significant safety hazard for the driver.
Transforming your dog from a frantic passenger into a calm, relaxed traveler requires patience, the right equipment, and a structured desensitization protocol. This step-by-step guide will walk you through the exact methods used by professional trainers to build positive associations with the car, manage motion sickness, and ensure maximum safety on the road.
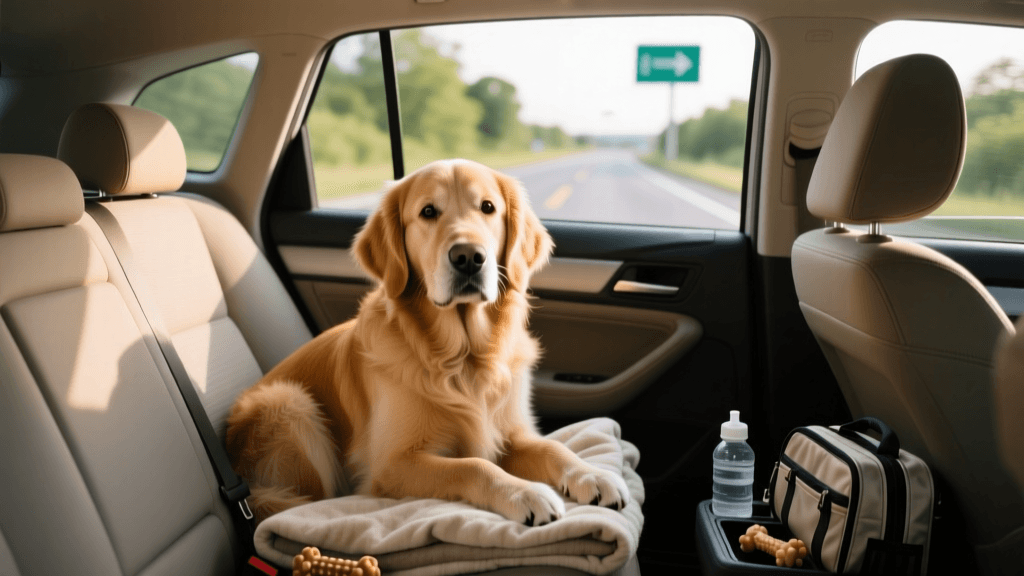
Essential Gear for Safe Dog Car Travel
Before you begin any behavioral training, you must establish a safe physical environment. Allowing a dog to roam freely in a vehicle is incredibly dangerous. In the event of a sudden stop or collision, an unrestrained 50-pound dog becomes a 2,500-pound projectile. According to the Center for Pet Safety, an independent organization that conducts rigorous crash testing for pet products, standard seat covers and basic leash clips offer zero crash protection.
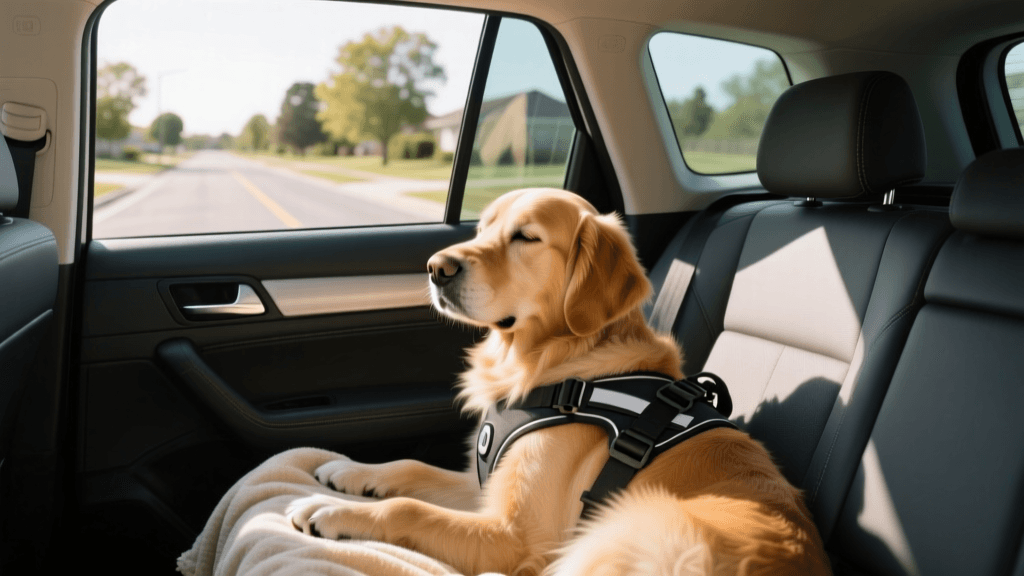
You must choose between a crash-tested harness or a crash-tested travel crate. Your choice depends on your dog's size, your vehicle type, and your budget.
- Crash-Tested Harnesses: Ideal for dogs under 75 pounds and owners who drive smaller vehicles. Top-rated options include the Sleepypod Clickit Sport (approx. $95) and the Kurgo Tru-Fit Smart Harness (approx. $35). These connect directly to your vehicle's seatbelt latch system.
- Crash-Tested Crates: The gold standard for large dogs or long-distance travel. Premium options like the Ruff Land Performance Kennel (starting at $250) or the Gunner G1 Kennel (starting at $700) are engineered to withstand severe impacts. Ensure the crate is properly sized: your dog should be able to stand up, turn around, and lie down comfortably, but the crate should not be so large that they are thrown around inside it during a sudden stop.
Car Restraint Comparison Chart
| Restraint Type | Safety Level | Cost Estimate | Best Use Case |
|---|---|---|---|
| Crash-Tested Harness | High | $35 - $120 | Dogs under 75 lbs, frequent stops, smaller cars |
| Crash-Tested Crate | Very High | $250 - $800+ | Large dogs, long road trips, SUVs/Trucks |
| Standard Seat Cover | None (Zero) | $30 - $60 | Protecting upholstery only (Not a safety device) |
| Leash Tether/Clip | Low (Danger) | $10 - $20 | Never recommended (Severe choking/whiplash hazard) |
Step-by-Step Car Desensitization Protocol
If your dog exhibits fear or hyperactivity around the car, you must break the experience down into micro-steps. Do not rush this process. Have a supply of high-value treats ready, such as boiled chicken breast, freeze-dried liver, or a Kong toy stuffed with frozen plain pumpkin and low-sodium chicken broth.
Phase 1: The Parked Car (Week 1)
Begin with the car parked in the driveway with the engine turned off. Open the doors and sit in the backseat with your dog. Do not ask them to do anything; simply feed them high-value treats for remaining calm. If they are too anxious to enter the car, start by feeding them on the ground near the open door, then gradually move the treats onto the floorboard, and finally onto the seat. Keep these sessions short—no more than 3 to 5 minutes. Repeat this twice a day for a week.
Phase 2: Idling Engine and Sensory Input (Week 2)
Once your dog happily jumps into the parked car, introduce the sensory elements of driving. Close the doors, secure your dog in their harness or crate, and start the engine. Do not put the car in gear. Turn on the air conditioning to a comfortable 68°F to 72°F (20°C to 22°C) and play soft, calming music. Classical music or specially designed psychoacoustic tracks (like those from Through a Dog's Ear) have been shown to lower canine heart rates. Give your dog a long-lasting chew, like a bully stick or a frozen lick mat, to create a positive association with the engine's vibration. Sessions should last 10 minutes.
Phase 3: Micro-Drives (Week 3)
It is time to introduce movement. Secure your dog, start the engine, and drive to the end of your street and back. This drive should last less than two minutes. The goal is to expose the dog to the sensation of acceleration, turning, and braking in a highly controlled, brief manner. Upon returning home, immediately offer praise and a jackpot of treats. Gradually increase the drive time by two minutes each day, always ending the session before the dog shows signs of stress.
Phase 4: Destination Drives (Week 4 and Beyond)
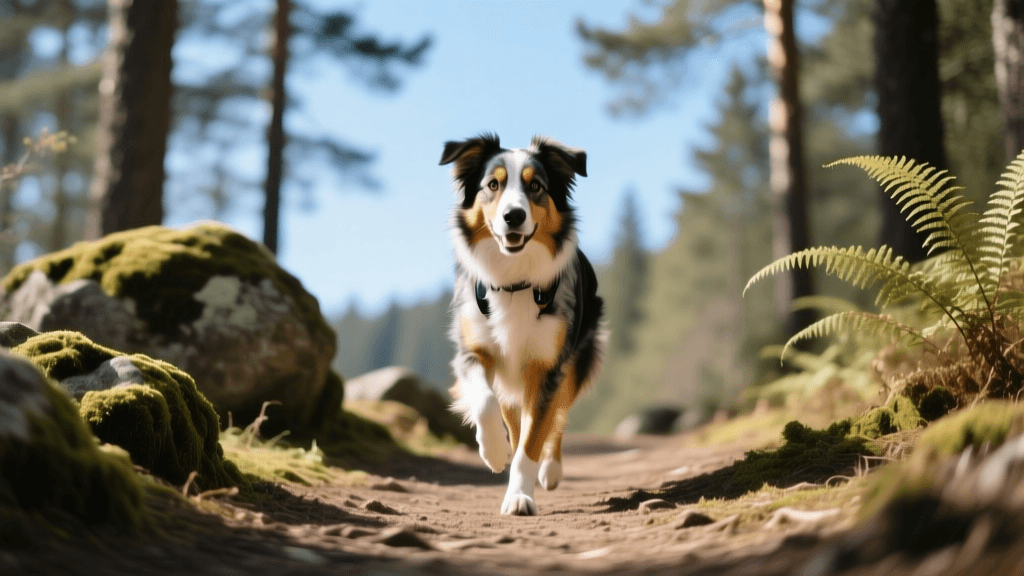
Dogs often associate the car exclusively with negative destinations, like the veterinary clinic. To counter-condition this, take your dog on short, 5-minute drives to highly rewarding locations. Drive to a favorite walking trail, a pet-friendly store, or a friend's house where they get lots of attention. This teaches the dog that the car is a conduit to fun experiences, not just medical exams.
Managing Canine Motion Sickness
Even with excellent behavioral training, some dogs suffer from physiological motion sickness. Puppies are especially prone to this because their inner ear structures, which control balance, are not fully developed. According to the American Kennel Club, signs of motion sickness include excessive lip licking, yawning, drooling, whining, and vomiting.
To manage motion sickness effectively, implement the following actionable strategies:
- The Fasting Window: Withhold food for 2 to 4 hours before a car trip. A full stomach exacerbates nausea. However, ensure your dog has access to water up until the moment of departure.
- Visual Barriers: Dogs can become overstimulated or nauseous by the rapid passing of scenery outside the windows. Use a crash-tested crate covered with a light breathable sheet, or use specially designed pet car window shades to block their peripheral vision.
- Natural Remedies: Ginger is a proven natural anti-nausea remedy for dogs. You can offer a small piece of fresh ginger or a dog-specific ginger treat 30 minutes before travel.
- Veterinary Medication: If natural methods fail, consult your veterinarian. Prescription medications like Cerenia (maropitant citrate) are highly effective at blocking the vomiting center in the brain without causing severe drowsiness. Over-the-counter options like Dramamine may also be recommended, but you must get exact dosage instructions from your vet based on your dog's precise weight.
Preparing the Car Environment
The physical environment inside your vehicle plays a massive role in your dog's comfort level. The American Veterinary Medical Association emphasizes the importance of climate control and proper ventilation during pet travel.
- Temperature Control: Dogs cannot sweat through their skin like humans; they rely on panting and releasing heat through their paw pads. Keep the cabin temperature strictly between 68°F and 72°F. Never leave your dog in a parked car, even with the windows cracked, as interior temperatures can reach fatal levels within minutes.
- Airflow: While many dogs love sticking their heads out the window, this is highly dangerous. Debris, insects, or sudden stops can cause severe ocular or facial injuries. Instead, direct the AC vents toward your dog's crate or seating area to provide a steady stream of fresh, cool air without the risks of an open window.
- Familiar Scents: Place a worn t-shirt with your scent or your dog's favorite familiar blanket inside their crate or on their car seat. Familiar olfactory cues provide immense psychological comfort in a stressful, moving environment.
Troubleshooting Common Car Ride Behaviors
Even with careful training, you may encounter behavioral roadblocks. Here is how to troubleshoot the most common issues:
Excessive Barking: If your dog barks at passing cars or pedestrians, they are likely overstimulated or exhibiting barrier frustration. Implement a visual barrier (like a covered crate) to remove the visual trigger. Additionally, practice the 'quiet' command at home, rewarding heavily for silence, and transfer this training to the parked car before attempting it while driving.
Panting and Pacing: If your dog is secured in a harness but still pacing or panting heavily, they may be experiencing generalized anxiety or the harness may be fitted incorrectly. Ensure you can fit two fingers snugly between the harness and your dog's chest. If the fit is correct, the panting is likely stress-related. Pull over safely, take your dog out for a 5-minute decompression walk on a long lead, and allow them to sniff the ground before resuming the trip.
Conclusion
Training your dog to be a calm car traveler is not an overnight process, but it is one of the most rewarding investments you can make in your life together. By prioritizing crash-tested safety gear, following a strict desensitization timeline, and proactively managing motion sickness and environmental stressors, you can turn the car from a chamber of anxiety into a comfortable mobile den. Consistency, patience, and high-value rewards are your best tools on this journey. Safe travels!
jonas-cole
All our authors care for dogs every day — read more of their work on the authors page.