Step-by-Step Guide to Dog Treadmill Training Indoors
Learn how to safely train your dog to use an indoor treadmill. Follow our step-by-step guide covering equipment, pacing, and essential safety tips.
Why Train Your Dog to Use a Treadmill?
Life with a high-energy dog can be incredibly rewarding, but it also comes with unique challenges. Whether you are dealing with harsh winter weather, scorching summer heat, a demanding work schedule, or a temporary injury that limits your own mobility, ensuring your dog gets adequate physical exercise is a daily necessity. According to the American Kennel Club (AKC), most dogs require between 30 minutes to 2 hours of physical activity every day, depending on their breed, age, and health status. When outdoor walks are not feasible, an indoor dog treadmill becomes an invaluable tool for your daily routine.
Treadmill training is not just about burning off excess energy; it is also a fantastic way to build cardiovascular health, aid in canine rehabilitation, and establish a structured routine. However, you cannot simply lift your dog onto a moving belt and expect them to walk. It requires patience, positive reinforcement, and a systematic desensitization process. This step-by-step guide will walk you through everything you need to know to safely and effectively train your dog to use a treadmill indoors.
Essential Equipment and Costs
Before beginning your training journey, you need to invest in the right equipment. Attempting to use a standard human treadmill for a large dog can be dangerous due to belt length limitations and motor strain. Here is what you will need:
- Dog-Specific Treadmill ($500 - $1,500): Brands like dogPACER (e.g., the Minipacer or LF 3.1) or Firepaw offer treadmills designed specifically for canine biomechanics. They feature longer belts, enclosed side panels to prevent distractions, and whisper-quiet motors.
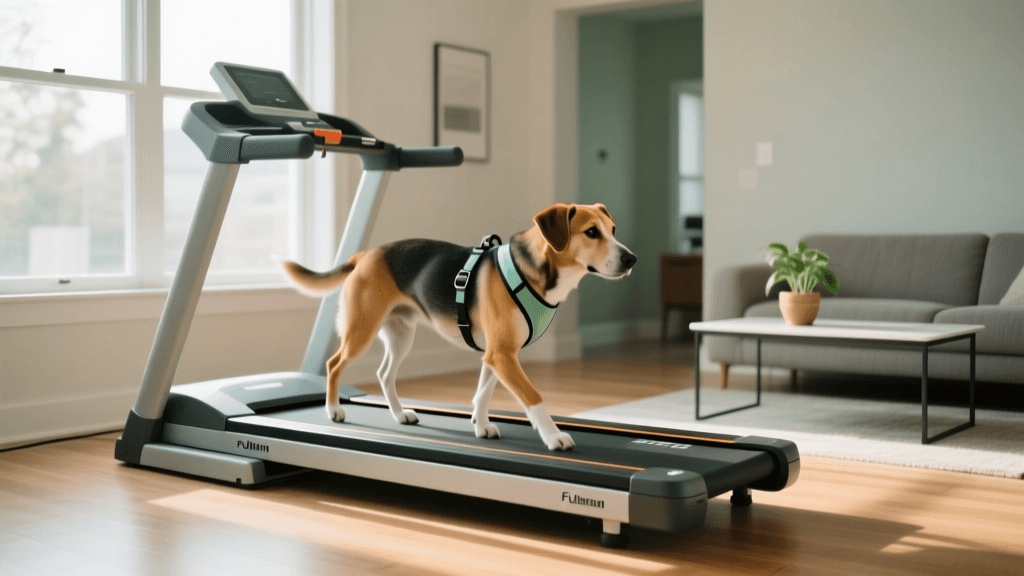
- Support Harness ($40 - $70): A well-fitted, supportive harness like the Ruffwear Web Master or the Rabbitgoo No-Pull Harness is crucial. Never attach a leash directly to a dog's collar on a treadmill, as this can cause severe tracheal damage if they slip.
- High-Value Treats ($10 - $15): You will need easily consumable, high-value rewards. Zuke's Mini Naturals, boiled chicken breast, or freeze-dried liver work best because they can be eaten quickly without breaking the dog's stride.
- Paw Balm ($15 - $25): Products like Musher's Secret Paw Wax help protect your dog's paw pads from the friction of the treadmill belt, especially during the initial learning phases.
Comparison Chart: Human vs. Dog Treadmills
Many owners wonder if they can save money by using their existing gym equipment. Here is a breakdown of why dog-specific treadmills are highly recommended over human models:
| Feature | Human Treadmill | Dog-Specific Treadmill |
|---|---|---|
| Belt Length | Short (requires dogs to shorten stride) | Long (accommodates full canine gait) |
| Side Panels | None (high risk of stepping off) | Enclosed panels (keeps dog focused and centered) |
| Speed Range | Starts at 0.5 - 1.0 mph (often too fast) | Starts at 0.1 mph (ideal for slow acclimation) |
| Motor Noise | Loud (can cause canine anxiety) | Whisper-quiet (reduces fear and stress) |
| End Caps | Large (paws can get caught) | Flush design (prevents toe injuries) |
Step-by-Step Treadmill Training Guide
Training should always be rooted in positive reinforcement. As advocated by Fear Free Pets, reducing fear, anxiety, and stress during training is paramount to building a lifelong positive association with new equipment. Never force or drag your dog onto the treadmill.
Phase 1: Desensitization (Days 1-3)
Goal: Create a positive association with the stationary treadmill.
Duration: 5-10 minutes per session, 2-3 times a day.
Leave the treadmill unplugged or turned off. Allow your dog to approach it at their own pace. Whenever they sniff, look at, or place a paw on the treadmill, immediately reward them with a high-value treat and verbal praise. You can also feed them their regular meals near the treadmill or scatter treats on the belt to encourage them to step onto it voluntarily. The objective is to make the treadmill the 'place where good things happen.'
Phase 2: Stepping On and Standing (Days 4-6)
Goal: Get the dog comfortable standing on the belt while wearing their harness.
Duration: 5-10 minutes per session.
Put your dog's support harness on and attach a lightweight leash. Lure your dog onto the stationary belt using a treat. Once all four paws are on the belt, ask them to 'sit' or 'stand' and reward them heavily. Practice stepping on and off the treadmill using a specific cue word like 'treadmill' or 'place.' If your dog seems nervous, take a step back to Phase 1. Patience is critical here; do not rush to turn the machine on.
Phase 3: Introduction to Movement (Days 7-10)
Goal: Acclimate the dog to the sound and slight movement of the belt.
Duration: 3-5 minutes per session.
With your dog standing on the belt and secured by the leash (held by you, never tied to the machine), turn the treadmill on to its absolute lowest setting (usually 0.1 to 0.5 mph). Stand in front of the treadmill, holding a treat near their nose to encourage them to take a step forward. Praise enthusiastically the moment they take a step. Keep the sessions incredibly short. If they panic, immediately stop the belt, reward them for calming down, and end the session.
Phase 4: Building Duration and Speed (Weeks 2-4)
Goal: Establish a steady walking pace and increase stamina.
Duration: 10-20 minutes per session.
Gradually increase the speed to a comfortable walking pace (typically 1.5 to 3.0 mph for medium-to-large dogs). You should be able to walk alongside them or stand at the front, offering treats intermittently. Slowly phase out the continuous treat lure, replacing it with rewards given every 1-2 minutes for maintaining a steady pace. Over the course of a few weeks, incrementally add 2-3 minutes to the session duration until you reach your target exercise time.
Sample 4-Week Training Schedule
| Week | Focus | Speed & Duration |
|---|---|---|
| Week 1 | Desensitization, boarding, and standing calmly. | 0.0 mph (Off) / 5 mins |
| Week 2 | First steps, noise acclimation, and forward luring. | 0.5 mph / 3-5 mins |
| Week 3 | Steady walking pace, reducing treat frequency. | 1.5 - 2.0 mph / 10 mins |
| Week 4 | Building endurance, introducing slight inclines. | 2.5 - 3.5 mph / 15-20 mins |
Safety Rules and Red Flags
While treadmills are excellent tools recommended by veterinary professionals for controlled exercise (as noted in ASPCA General Dog Care guidelines regarding safe indoor environments), they do come with inherent risks if used improperly. Always adhere to the following safety protocols:
- Never Leave Your Dog Unattended: A dog should never be tied to a treadmill and left alone in the room. If they slip, panic, or the machine malfunctions, they could suffer severe injuries.
- Use the Safety Clip: Most dog treadmills come with a safety lanyard that clips to the dog's harness and a magnetic key on the console. If the dog falls back, the key pulls out and instantly stops the belt.
- Monitor Paw Pads: The friction of the belt can cause blisters or burns on your dog's paw pads, especially during the first few weeks. Check their paws after every session and apply a protective wax like Musher's Secret.
- Watch for Signs of Exhaustion: Panting is normal, but excessive drooling, a dark red tongue, lagging behind on the belt, or trying to jump off are signs that your dog is overexerted or stressed. Stop the session immediately.
- Warm-Up and Cool-Down: Just like human athletes, dogs need a 3-minute slow walk to warm up their muscles and a 3-minute slow walk to cool down and lower their heart rate safely.
Conclusion
Integrating a treadmill into your dog's daily routine is a game-changer for multi-pet households, busy professionals, and owners of high-energy working breeds. By investing in the proper equipment and following a patient, reward-based training protocol, you can transform the treadmill from a scary, noisy machine into your dog's favorite indoor activity. Remember that consistency and positive reinforcement are your best tools. With time, your dog will happily hop on the belt, ready to tackle their daily miles, regardless of the weather outside.
beth-carrasco
All our authors care for dogs every day — read more of their work on the authors page.