Budget DIY Dog Agility Training: The Ultimate Guide
Learn how to build budget-friendly DIY dog agility equipment at home. Save money while boosting your pup's obedience and fitness with these easy tutorials.
Why Agility Training is Essential for Your Dog
Dog agility is an exhilarating canine sport that involves a handler directing a dog through an obstacle course in a race for both time and accuracy. While it might look like an activity reserved for professionals with expansive backyards and expensive gear, agility training is actually one of the most accessible and beneficial activities you can do with your pet. According to the American Kennel Club, agility provides profound physical and mental stimulation, helping to burn off excess energy, reduce destructive behaviors, and build a deep, communicative bond between you and your dog.
However, commercial agility equipment can be prohibitively expensive. A single regulation jump can cost upwards of $50, and a full course can easily exceed $500. For dog owners practicing budget-friendly dog care, this price tag is a major barrier. Fortunately, with a few basic hardware store materials and some weekend elbow grease, you can build a highly effective, safe, and incredibly cheap DIY agility course right in your living room or backyard.
Cost Comparison: Commercial vs. DIY Agility Gear
Before we dive into the construction tutorials, let us look at the financial breakdown. By choosing the DIY route, you can save hundreds of dollars while still providing top-tier training equipment for your furry friend.
| Equipment Type | Commercial Cost (Average) | DIY Cost (Estimated) | Total Savings |
|---|---|---|---|
| Adjustable Bar Jump | $45 - $70 | $12 - $15 | $30 - $58 |
| 12-Pole Weave Set | $120 - $200 | $25 - $35 | $85 - $175 |
| Agility Tunnel (15ft) | $60 - $100 | $15 - $25 | $35 - $85 |
| Tire Jump | $50 - $80 | $10 - $15 | $35 - $70 |
| Total Course Cost | $275 - $450+ | $62 - $90 | $185 - $388 |
As the chart illustrates, building your own equipment aligns perfectly with a budget-friendly dog care philosophy, freeing up funds for high-quality nutrition, veterinary care, or fun enrichment toys.
How to Build Budget-Friendly DIY Agility Equipment
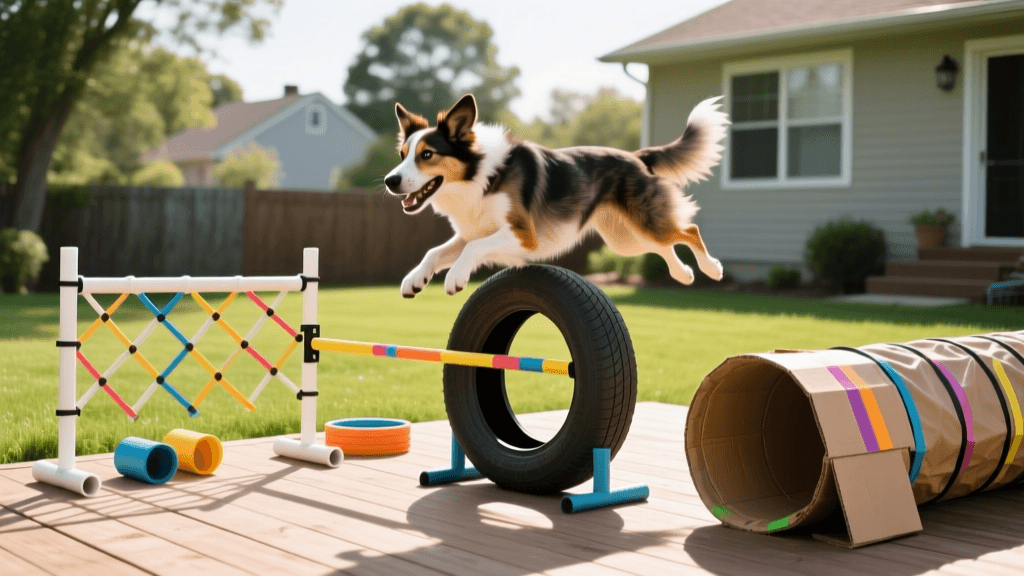
1. The PVC Adjustable Bar Jump
The jump is the most iconic agility obstacle. It teaches your dog spatial awareness, coordination, and impulse control. You can build a sturdy, adjustable jump using PVC pipes, which are lightweight, weather-resistant, and incredibly cheap.
Materials Needed:
- 10 feet of 1/2-inch PVC pipe
- Four 1/2-inch PVC T-connectors
- Four 1/2-inch PVC end caps
- PVC cutter or hacksaw
- Measuring tape
Instructions:
- Cut the Base: Cut four 12-inch pieces of PVC. These will form the feet of your jump to keep it stable.
- Cut the Uprights: Cut two 36-inch pieces. These are the vertical poles.
- Cut the Crossbar: Cut one 36-inch piece. This is the bar your dog will jump over.
- Assemble the Base: Attach the T-connectors to the ends of your 12-inch base pieces, then cap the ends. Slide the 36-inch uprights into the top of the T-connectors.
- Add the Crossbar: Rest the crossbar lightly on top of the uprights. Do not glue the crossbar; it must fall away easily if your dog misjudges the jump to prevent injury.
Training Tip: Start with the bar resting directly on the ground. Lure your dog over it with a high-value treat, praising enthusiastically. Gradually raise the bar by resting it on small stacks of books or notches cut into the uprights. Never force a dog over a jump; keep sessions under 10 minutes to maintain enthusiasm.
2. The 24-Inch Spaced Weave Poles
Weave poles are often considered the most difficult obstacle to master, requiring intense focus and body awareness. Regulation weave poles are spaced exactly 24 inches apart.
Materials Needed:
- Twelve 3/4-inch PVC pipes (cut to 36 inches tall)
- Heavy-duty rubber bases or 24-inch lengths of rebar
- Measuring tape
Instructions:
- If training on grass, drive 24-inch lengths of steel rebar into the ground, spaced exactly 24 inches apart in a straight line, leaving about 12 inches exposed. Slip the PVC pipes over the rebar.
- If training indoors or on concrete, purchase cheap, heavy rubber floor mats from a discount store, cut holes in them, and insert the PVC pipes, filling the bases with sand or pebbles for weight.
Training Tip: Use the 'Channel Method' to teach weaves. Offset the poles slightly to create a wide V-shaped channel down the middle. Run through the channel with your dog, rewarding at the end. Over several weeks, slowly push the poles back into a straight line. The Humane Society of the United States highly recommends using positive reinforcement and breaking complex behaviors into small, manageable steps to prevent canine frustration.
3. The Budget Agility Tunnel
Commercial agility tunnels are made of heavy-duty ripstop nylon and can cost over $100. For home training, you do not need regulation weight.
Materials Needed:
- Children's pop-up play tunnel (available at dollar stores or online for $15-$20)
- U-shaped garden stakes or sandbags
Instructions:
- Unroll the children's tunnel in your yard or hallway.
- Secure the tunnel every 3 feet using U-shaped garden stakes pushed into the grass, or weigh it down with sandbags if indoors. A tunnel that collapses or blows away will terrify your dog and set training back significantly.
Training Tip: Have a friend hold your dog at one end of the tunnel. Crouch at the opposite exit, show your dog their favorite toy or a piece of boiled chicken, and call them cheerfully. Keep the tunnel fully extended and well-lit at first. As they gain confidence, you can add slight bends to the tunnel.
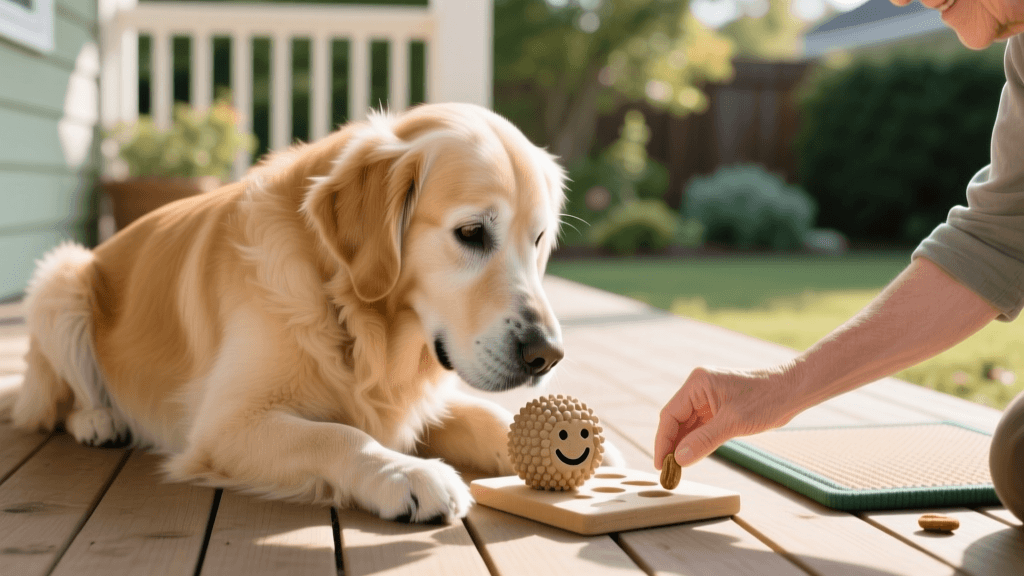
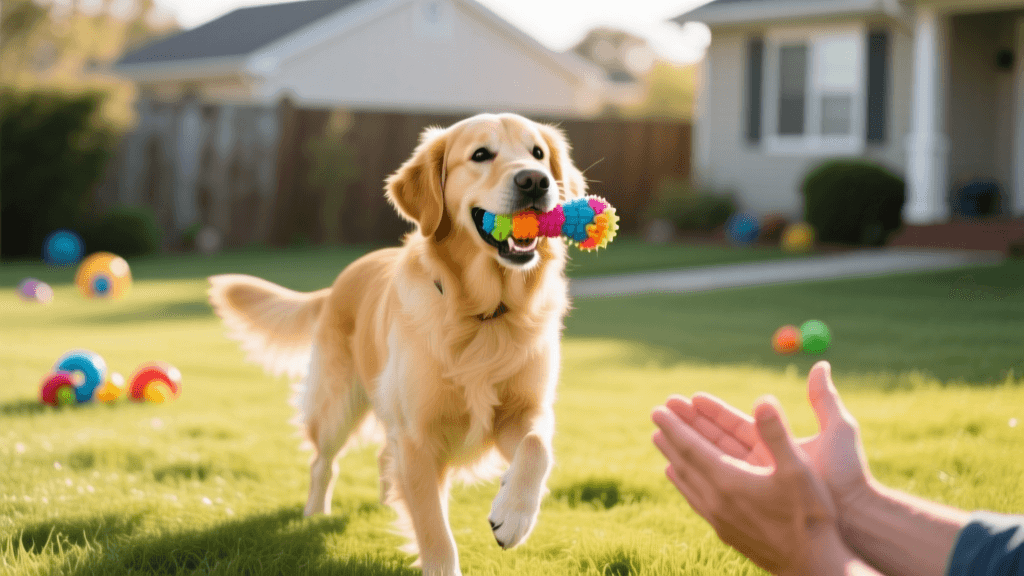
Budget-Friendly High-Value Training Treats
Agility training requires high-value rewards to keep your dog motivated in distracting environments. Store-bought training treats are often filled with fillers and cost a premium. You can make highly aromatic, budget-friendly treats at home for pennies on the dollar.
- Dehydrated Sweet Potato Chews: Slice sweet potatoes into 1/4-inch thick rounds. Bake them on a wire rack at 250°F (120°C) for 2.5 to 3 hours until chewy. A $2 sweet potato yields dozens of training rewards.
- Boiled Chicken Bites: Boil boneless, skinless chicken breasts in plain water. Shred and cut into pea-sized pieces. Store in the fridge for up to three days.
- Liver Cake: Blend 1 lb of cheap beef or chicken liver with two eggs and a cup of oat flour. Bake at 350°F for 20 minutes. Cut into tiny cubes and freeze in batches.
Safety and Best Practices for DIY Agility
While budget-friendly dog care is a fantastic approach to pet ownership, safety must never be compromised to save a few dollars. When utilizing DIY equipment, always inspect your builds for sharp edges, splinters, or structural weaknesses before every session.
Always prioritize your dog's physical development. Puppies under the age of 12 to 18 months have open growth plates. Forcing them to jump high or perform repetitive, jarring movements like tight weave pole entries can cause permanent joint damage.
According to the ASPCA, maintaining a dog's overall physical health is paramount before engaging in strenuous activities. Always consult your veterinarian before starting an agility regimen, especially for deep-chested breeds prone to bloat or breeds susceptible to hip dysplasia.
Essential Safety Rules:
- Warm-Up: Never let your dog run full-speed at a jump cold. Spend 5 to 10 minutes doing a brisk walk, gentle stretching, and basic obedience commands to get the blood flowing.
- Surface Matters: Avoid practicing on slippery surfaces like hardwood floors or wet grass. Slipping on a jump landing can cause severe ligament tears, such as a ruptured CCL.
- Keep it Short: Mental fatigue sets in faster than physical fatigue. Limit agility sessions to 10-15 minutes, ending on a positive note with a massive jackpot reward and a fun game of tug.
Conclusion
Embracing budget-friendly dog care does not mean sacrificing the quality of your dog's life or the depth of your training. By constructing your own PVC jumps, weave poles, and tunnels, you are investing your time and creativity into your dog's enrichment. The hours spent measuring, cutting, and building will be repaid tenfold when you watch your dog confidently navigate the course you built with your own hands. Grab your measuring tape, head to the local hardware store, and start building your backyard agility arena today!
priya-sutaria
All our authors care for dogs every day — read more of their work on the authors page.