Clicker Training Basics: A Complete Beginner's Guide for Dog Owners
Learn clicker training basics with our step-by-step guide. Discover how to use positive reinforcement and a clicker to teach your dog new behaviors effectively.

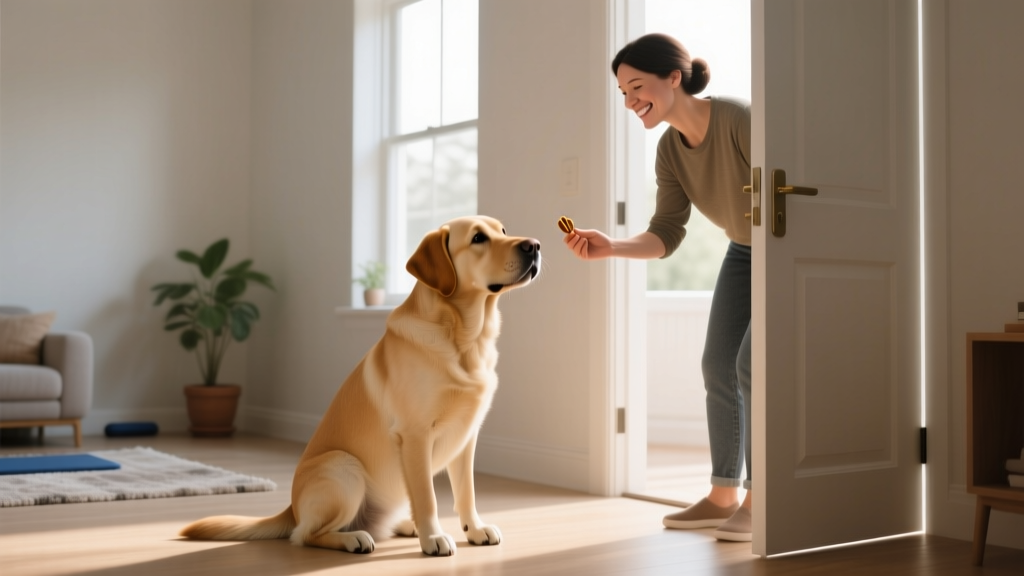
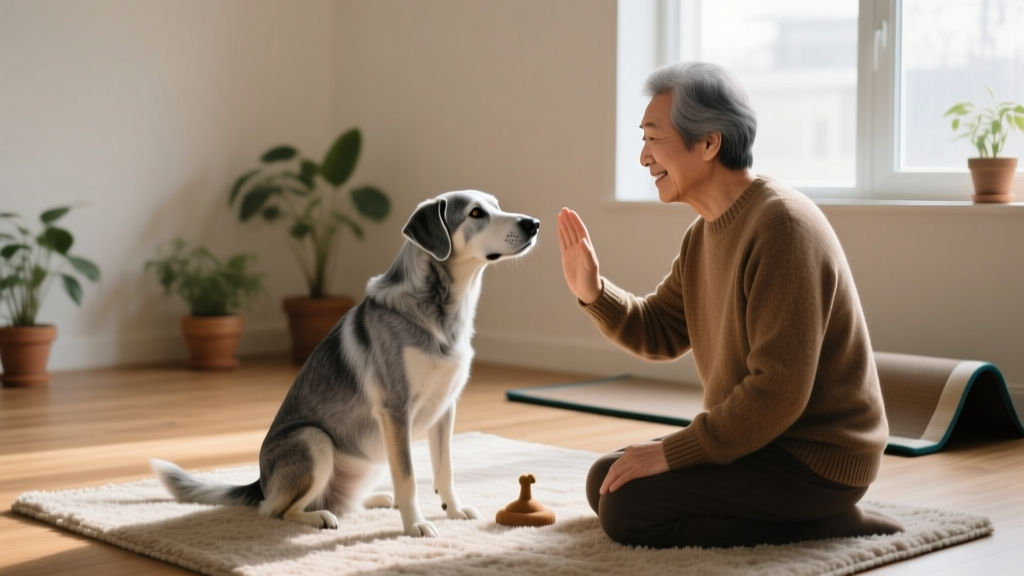
Clicker training is one of the most effective, science-backed methods for teaching your dog new behaviors, manners, and tricks. Rooted in the principles of positive reinforcement and operant conditioning, this method uses a small handheld device that makes a distinct clicking sound to mark the exact moment your dog performs a desired action. Whether you are working with an energetic puppy or a seasoned senior dog, clicker training offers a clear, consistent, and rewarding way to communicate with your canine companion.
If you have been searching for a humane and efficient training method that strengthens the bond between you and your dog while producing reliable results, clicker training deserves a top spot on your list. In this comprehensive guide, we will walk you through everything you need to know — from understanding the science behind the click to troubleshooting common problems that new trainers encounter. By the end of this article, you will have the knowledge and confidence to start clicker training your dog today.
What Is Clicker Training & How Does It Work?
Clicker training is a form of positive reinforcement training that uses a small mechanical device called a clicker to produce a sharp, consistent clicking sound. The click serves as a "marker" — a signal that tells your dog precisely which behavior earned a reward. Think of it as a camera shutter capturing the exact moment your dog does something right.
The Science Behind the Click
Clicker training is grounded in the work of behavioral psychologist B.F. Skinner and his theory of operant conditioning. The core idea is simple: behaviors that are reinforced tend to be repeated, while behaviors that are not reinforced tend to fade away. The clicker bridges the gap between the behavior and the reward, giving your dog crystal-clear information about what they did correctly.
Marine mammal trainers pioneered this technique decades ago, using whistles to mark desired behaviors in dolphins and whales. Dog trainers later adapted the method using the clicker because it is inexpensive, portable, and produces a sound that is distinct from everyday environmental noises. Unlike verbal markers such as "good" or "yes," the clicker sound never changes in tone, pitch, or emotion, making it incredibly consistent for your dog to process.
The Three-Step Cycle
Every clicker training session follows a straightforward three-step cycle:
- Behavior: Your dog performs the desired action (e.g., sitting down).
- Mark: You click the clicker at the exact moment the behavior occurs.
- Reward: You immediately follow the click with a treat or other reinforcement.
This cycle creates a powerful feedback loop. Your dog learns that the click predicts a reward, and then they begin to experiment with different behaviors to earn more clicks and treats. This process, known as "shaping," allows you to teach incredibly complex behaviors by reinforcing small steps toward the final goal.
If you are new to dog training in general, our positive reinforcement training guide provides a broader overview of reward-based methods that complement clicker training beautifully.
Getting Started: Tools & Preparation for Your First Session
Before you dive into your first clicker training session, you need to gather the right tools and set yourself up for success. Preparation is key — a well-organized session leads to faster learning and a happier dog.
Essential Equipment
- A clicker: Available at most pet stores and online retailers. Look for one with a wrist strap or retractable button for easy handling. Some trainers prefer a quieter clicker for sensitive or fearful dogs.
- High-value treats: Soft, small, and smelly treats work best. Think tiny pieces of chicken, cheese, hot dogs, or commercial training treats. The treat should be something your dog gets excited about and can eat quickly without chewing for long.
- A treat pouch: A waist-mounted or shoulder-strap treat bag keeps rewards accessible so you can deliver them within one to two seconds of the click.
- A quiet training environment: Start in a low-distraction area such as your living room or a fenced backyard. You can gradually move to more stimulating environments as your dog becomes proficient.
Choosing the Right Treats
Not all treats are created equal when it comes to training. The ideal training treat is:
- Pea-sized: Small enough that your dog can swallow it quickly and get back to work.
- Soft and moist: Crunchy biscuits take too long to eat and can crumble on the floor.
- High-value: Reserve special treats exclusively for training sessions so your dog stays motivated.
Consider your dog's dietary needs and calorie intake. If you are doing multiple training sessions per day, factor those extra calories into your dog's overall diet. For breed-specific nutritional advice, explore our breed guides to learn about the unique health considerations of your dog's breed.
Mental Preparation for You
Clicker training requires good timing, patience, and observation skills. Before your first session, practice clicking the device while watching a ball bounce on television — click each time the ball hits the ground. This exercise sharpens your timing so you can mark behaviors accurately when working with your dog.
Step-by-Step: Loading the Clicker & Teaching Your First Behavior
Now that you have your tools ready, it is time to begin the actual training process. This section walks you through the foundational steps of clicker training, from introducing the clicker to teaching your dog their first cue.
Step 1: Loading the Clicker (Charging the Click)
Before you can use the clicker to mark behaviors, your dog must learn that the click sound predicts a reward. This process is called "loading" or "charging" the clicker, and it typically takes one to three short sessions.
- Sit with your dog in a quiet room with your clicker and a pouch full of treats.
- Click the clicker once, then immediately give your dog a treat.
- Repeat this process 15 to 20 times in a single session.
- Watch for signs that your dog has made the connection: they may perk up their ears, look at you expectantly, or lick their lips after hearing the click.
To test whether the clicker is loaded, click when your dog is not looking at you. If they turn toward you or look for a treat, the association is established. If not, do another session of click-and-treat repetitions.
Step 2: Capturing a Behavior
"Capturing" means waiting for your dog to perform a behavior naturally and then clicking and treating it. This is one of the easiest ways to start clicker training because it requires no luring or physical prompting.
Let us use "sit" as an example:
- Stand or sit near your dog with your clicker and treats ready.
- Wait patiently for your dog to sit on their own. Do not say anything or gesture — just observe.
- The instant your dog's bottom touches the ground, click.
- Immediately give your dog a treat.
- Repeat this process multiple times over several sessions.
After your dog is sitting reliably to earn clicks, you can add the verbal cue "sit" just before they perform the behavior. Over time, they will associate the word with the action and begin sitting when they hear the cue.
Step 3: Luring a Behavior
If capturing does not work for a particular behavior, you can use a food lure to guide your dog into position. Here is how to lure a "down":
- Hold a treat between your thumb and fingertips.
- Place the treat at your dog's nose and slowly move it straight down toward the floor between their front paws.
- As your dog follows the treat with their nose, their body should lower into a lying-down position.
- The moment they are fully down, click and give the treat.
- Repeat until the behavior is fluent, then fade the lure by using an empty hand gesture, followed by clicking and treating from your pouch.
Fading the lure is critical. If you always use food in your hand to guide your dog, they may become dependent on the lure and fail to respond without it. Transition to an empty-hand signal as quickly as possible, and reward from your treat pouch instead.
Step 4: Adding the Verbal Cue
Once your dog is performing the behavior reliably — whether through capturing or luring — you can attach a verbal cue. Say the cue word once, clearly and calmly, about one to two seconds before your dog performs the action. After several repetitions, pause after saying the cue and give your dog a moment to respond on their own. If they do, click and treat generously. If they do not, go back to reinforcing without the cue for a few more sessions before trying again.
For a deeper dive into teaching essential commands, check out our basic obedience commands guide, which covers sit, stay, come, heel, and more using positive reinforcement techniques.
Advanced Techniques: Shaping, Targeting & Building Complex Behaviors
Once you and your dog have mastered the basics of clicker training, you can unlock the true power of this method by exploring advanced techniques like shaping and targeting. These strategies allow you to teach virtually any behavior, from simple tricks to complex task-oriented skills.
Shaping: Building Behaviors in Small Steps
Shaping involves reinforcing successive approximations of a final behavior. Instead of waiting for your dog to perform the entire behavior, you reward small steps that move closer to the goal. This technique is especially useful for behaviors your dog is unlikely to offer spontaneously.
For example, to teach your dog to go to their bed:
- Click and treat for looking toward the bed.
- Click and treat for taking one step toward the bed.
- Click and treat for walking to the bed.
- Click and treat for placing one paw on the bed.
- Click and treat for stepping fully onto the bed.
- Click and treat for lying down on the bed.
Each step is a "criteria" that you raise gradually. If your dog struggles at any step, go back to the previous criterion and reinforce it a few more times before moving forward again. Shaping requires patience and keen observation, but the results are incredibly rewarding.
Targeting: Teaching Your Dog to Touch an Object
Targeting is a versatile skill where your dog learns to touch a specific object — such as your hand, a stick, or a lid — with their nose or paw. Once established, targeting can be used to guide your dog into positions, teach them to close doors, turn on lights, or navigate agility equipment.
To teach a nose target to your hand:
- Hold your open palm a few inches from your dog's nose.
- When your dog sniffs or touches your palm, click and treat.
- Move your hand to different positions — higher, lower, to the side — and click and treat each touch.
- Once your dog reliably touches your palm, add the verbal cue "touch."
Targeting is a fantastic foundation skill that opens the door to countless advanced behaviors and is especially helpful for dogs who are fearful or reactive, as it gives them a clear, confidence-building job to focus on. If your dog struggles with fear or anxiety during training, our socialization and confidence-building guide offers strategies to help them feel more comfortable.
Chaining Behaviors Together
Once your dog knows several individual behaviors, you can chain them together into a sequence. For example, you might ask your dog to "go to your bed," then "lie down," then "stay" — clicking and treating only after the final behavior in the chain. Start with two-behavior chains and gradually add more as your dog gains proficiency.
Tips for Success & Common Clicker Training Mistakes to Avoid
Even experienced trainers make mistakes. Being aware of common pitfalls will help you progress faster and keep your training sessions productive and enjoyable for both you and your dog.
Top Tips for Effective Clicker Training
- Keep sessions short: Five to ten minutes per session is ideal. Dogs learn better in brief, focused bursts than in long, drawn-out sessions.
- End on a high note: Always finish with a success, even if it means lowering your criteria for the final repetition. This keeps your dog enthusiastic about future sessions.
- Train before meals: A slightly hungry dog is more food-motivated and engaged during training.
- Use a consistent click: Only click once per behavior. Multiple clicks can confuse your dog about which action earned the reward.
- Vary your rewards: While food is the most common reinforcer, you can also use toys, praise, play, or access to the environment (e.g., going outside) as rewards.
- Practice in different locations: Dogs do not generalize well. A behavior learned in the living room may not transfer to the park. Practice each behavior in multiple environments to build reliability.
- Be patient with yourself: Clicker training is a skill. Your timing will improve with practice, and your dog will become more adept at offering behaviors as they gain experience.
Common Mistakes & How to Fix Them
Mistake 1: Clicking too late. If you click after your dog has moved out of position, you are marking the wrong behavior. Practice your timing away from your dog, and aim to click while the behavior is happening, not after it ends.
Mistake 2: Clicking without treating. The click must always be followed by a reward. If you click and then fumble for a treat or decide not to give one, you weaken the association between the click and the reinforcement. Every click earns a treat — no exceptions.
Mistake 3: Using the clicker as a remote control. The clicker is not meant to get your dog's attention or call them to you. It is a marker that identifies a specific behavior. Pointing the clicker at your dog or clicking repeatedly to "find" the right behavior will only create confusion.
Mistake 4: Moving too fast through the shaping steps. Raising criteria too quickly can frustrate your dog and lead to shutdown or disengagement. If your dog stops offering behaviors, you have likely moved too fast. Drop back to an easier criterion and rebuild momentum.
Mistake 5: Training when you are frustrated or impatient. Dogs are incredibly sensitive to human emotions. If you are feeling stressed or irritable, skip the training session and try again later. Training should always be a positive experience for both of you.
Mistake 6: Neglecting to fade the clicker. Once a behavior is fully learned and reliable on a verbal cue, you do not need the clicker for that behavior anymore. Reserve the clicker for teaching new skills, and use verbal praise and intermittent treats to maintain known behaviors.
For additional guidance on structuring your overall training plan, our puppy training schedule provides a week-by-week roadmap for raising a well-mannered dog from the start.
Frequently Asked Questions About Clicker Training
Can I use clicker training with any breed or age of dog?
Absolutely. Clicker training is effective for all breeds, sizes, and ages of dogs. From tiny Chihuahuas to giant Great Danes, and from eight-week-old puppies to senior dogs, the principles of positive reinforcement apply universally. Some breeds may require more patience or higher-value rewards due to their independent nature or low food motivation, but the method itself remains the same. If you want to understand your dog's breed-specific tendencies and how they might influence training, browse our complete breed directory for detailed profiles and training tips tailored to each breed.
What if my dog is not food-motivated?
While food is the most convenient and widely used reinforcer in clicker training, it is not the only option. Some dogs are more motivated by toys, tug games, fetch, praise, or the opportunity to sniff and explore. Experiment with different rewards to discover what your dog values most. You can also increase food motivation by using higher-value treats (like real meat or cheese), training before meals when your dog is hungrier, or reducing free-access food so meals become more meaningful. Remember, the clicker simply marks the behavior — the reward that follows can be anything your dog finds reinforcing.
How long does it take to see results with clicker training?
Most dogs begin to understand the click-treat association within one to three short sessions. Simple behaviors like "sit" or "touch" can be learned in a matter of minutes or hours of cumulative practice. More complex behaviors that require shaping may take days or weeks of consistent practice. The key factors are your timing, the clarity of your criteria, the value of your rewards, and the frequency of your sessions. Short, daily practice sessions of five to ten minutes typically produce faster results than one long session per week. Consistency and patience are your greatest allies in this process.
Do I always need to carry a clicker and treats?
No. The clicker is a teaching tool, not a permanent crutch. Once your dog has learned a behavior and responds reliably to a verbal cue or hand signal, you can phase out the clicker for that specific behavior. Similarly, you can transition from continuous reinforcement (treating every time) to a variable reinforcement schedule (treating intermittently) to maintain the behavior without constant food rewards. However, it is wise to keep treats available for occasional reinforcement, especially in distracting environments or when asking for particularly challenging behaviors. Think of it this way: you would not stop paying an employee who does excellent work — intermittent rewards keep motivation high.
Can I combine clicker training with other training methods?
Clicker training pairs beautifully with other positive reinforcement methods and can be integrated into a broader reward-based training philosophy. Many professional trainers use clickers alongside lure-reward training, capturing, shaping, and management techniques. However, combining clicker training with punishment-based or aversive methods (such as leash corrections, shock collars, or physical force) is not recommended, as it can undermine the trust and clear communication that clicker training builds. If your dog has behavioral challenges that require professional support, seek out a certified positive reinforcement trainer or a veterinary behaviorist who aligns with force-free principles. For help addressing common behavioral issues at home, our guide to stopping unwanted behaviors offers positive strategies that work hand in hand with clicker training.
Final Thoughts on Clicker Training
Clicker training is more than just a technique — it is a philosophy of communication built on clarity, consistency, and mutual respect. By marking desired behaviors with a precise click and following up with meaningful rewards, you create a learning environment where your dog feels empowered to think, experiment, and engage. The result is not just a well-trained dog, but a confident, enthusiastic learner who genuinely enjoys working with you.
Whether you are teaching basic manners, impressive tricks, or life-saving cues like a reliable recall, clicker training gives you the tools to succeed. Start with the fundamentals outlined in this guide, practice regularly in short sessions, and celebrate every small victory along the way. Before long, you and your dog will be communicating on a whole new level — one click at a time.
Robin Maitland
All our authors care for dogs every day — read more of their work on the authors page.