Best No Pull Dog Harnesses Guide
Discover the best no-pull leash and harness combinations to stop your dog from pulling. Get expert gear reviews, sizing guides, and training tips for peaceful walks.
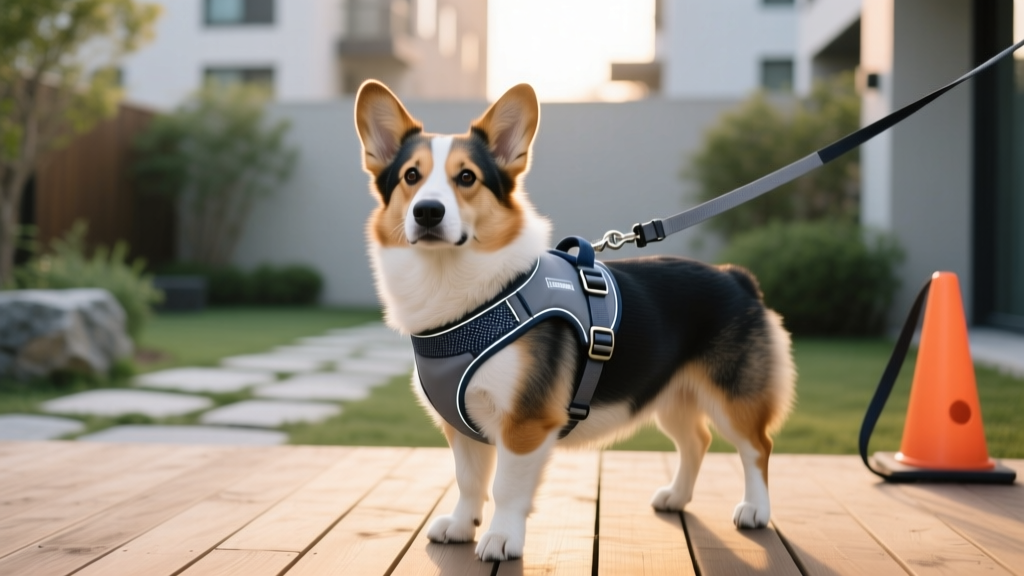
The most effective no-pull leash setup is not actually a specialized leash, but a standard 4-to-6-foot flat leash paired with a front-clip no-pull dog harness. While many search for a magic no-pull leash, physics dictates that redirecting the dog's center of mass via a chest-mounted harness is the only reliable way to halt pulling without causing tracheal damage. This guide is designed for dog owners experiencing shoulder strain and frustration during daily walks, seeking safe, force-free equipment and training protocols.
Key Takeaways
- Specialized leashes cannot stop pulling alone; a front-clip harness is required to redirect forward momentum.
- Y-shaped harnesses protect the shoulder joints while providing optimal chest control.
- Pair your gear with 15-minute daily loose leash training sessions for permanent behavioral changes.
The Physics of Pulling and Tracheal Safety
When a dog pulls on a standard neck collar, the force concentrates directly on the trachea and cervical spine. According to the American Society for the Prevention of Cruelty to Animals, this localized pressure can lead to tracheal collapse, especially in small or brachycephalic breeds. A no-pull dog leash attached to a neck collar merely gives the owner better grip, but fails to protect the dog's airway.
By shifting the point of contact to the dog's chest, a harness distributes the kinetic energy across the sternum and ribcage. This prevents choking and gives the handler superior leverage over the dog's center of gravity, which is the foundational requirement for stopping pulling behavior safely.
Front-Clip vs. Back-Clip Anti-Pull Harnesses
Not all harnesses stop pulling. Back-clip harnesses, where the leash attaches between the shoulder blades, actually encourage pulling by engaging the dog's opposition reflex. This is the same biomechanical mechanism used in sled dog racing.
The Biomechanics of Front-Clip Designs
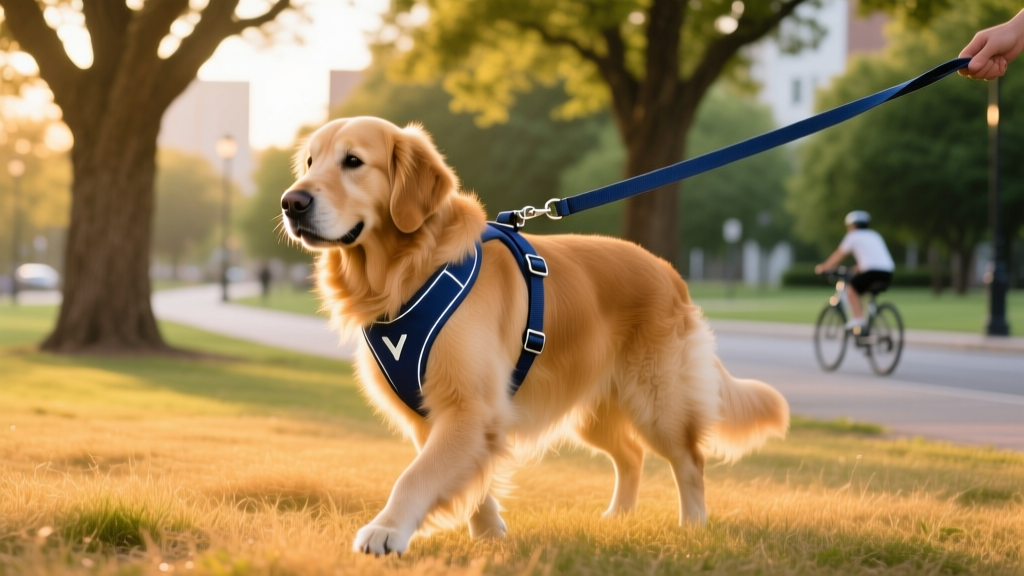
A front-clip harness features a D-ring mounted on the chest strap. When the dog pulls forward, the front attachment point gently pivots the dog's torso back toward the handler. This redirection breaks the dog's forward momentum and forces them to reorient toward you, making it the superior choice for an anti-pull harness setup.
Essential Features for 2026 Anti-Pull Gear
When shopping for the best no-pull dog harnesses, prioritize structural integrity and anatomical safety. Avoid harnesses with a horizontal strap across the front of the shoulders, as these restrict the natural gait and can cause long-term joint issues.
- Y-Shaped Front: Ensures the shoulder joints maintain a full range of motion during the stride cycle.
- Heavy-Duty Webbing: Look for 1.5-inch nylon webbing with a minimum 400-pound tensile strength for medium to large breeds.
- Adjustability: A minimum 2-point adjustment system (neck and girth) ensures a snug fit that prevents the chest plate from shifting off-center during a pull.
- Padded Chest Plate: Neoprene or fleece lining prevents friction burns on short-coated breeds during sudden stops.
Gear Selection Decision Framework
Use this comparison matrix to select the correct equipment based on your dog's size and pulling intensity.
| Dog Profile | Recommended Harness Type | Recommended Leash | Hardware Requirement |
|---|---|---|---|
| Small (Under 20 lbs), Light Puller | Lightweight Y-shape front-clip | 4-foot flat nylon | Welded steel D-ring |
| Medium (20-50 lbs), Moderate Puller | Padded dual-clip (front/back) | 6-foot flat leather or biothane | Zinc-alloy carabiner clip |
| Large (50+ lbs), Heavy Puller | Heavy-duty Y-shape front-clip with handle | 6-foot double-layer nylon | Stainless steel bolt snap |
Loose Leash Training Protocol
Equipment manages the behavior, but training resolves it. The American Kennel Club emphasizes that consistent positive reinforcement is required to teach a dog that walking near the handler yields better rewards than forging ahead. Relying solely on gear without implementing a loose leash training protocol will result in the dog learning to pull through the harness discomfort.
The Stop-and-Wait Method
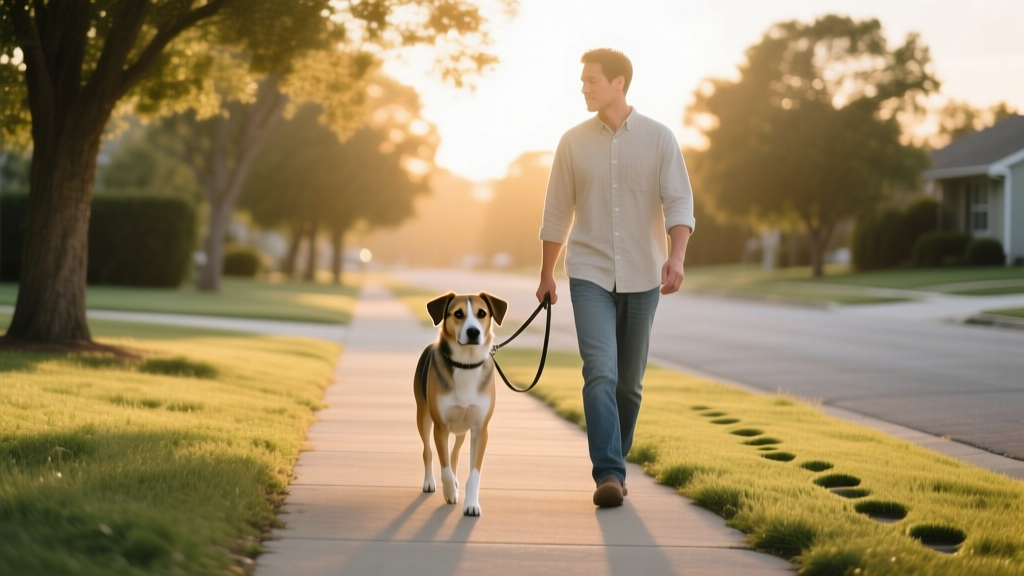
- Begin your walk with your dog on a 4-to-6-foot leash, keeping your hand anchored at your waist to prevent accidental yielding.
- The exact moment the leash becomes taut, stop walking completely. Do not yank the leash or speak to the dog.
- Wait for the dog to turn back, look at you, or take a single step backward to create slack in the leash.
- Mark the behavior with a clicker or a verbal 'yes', reward with a high-value treat, and resume walking.
- Limit these sessions to 15-minute increments to prevent cognitive fatigue and frustration for both you and the dog.
Frequently Asked Questions
What exactly is a no-pull leash?
A no-pull leash is a colloquial term for a walking setup designed to prevent dogs from pulling. Technically, it refers to a standard flat leash attached to a front-clip harness that redirects the dog's forward momentum sideways, rather than a specialized bungee or slip leash.
Do anti-pull harnesses hurt dogs?
When fitted correctly, front-clip harnesses do not cause pain. They utilize gentle biomechanical redirection rather than aversive pressure. However, poorly fitted harnesses with horizontal chest straps can cause chafing or restrict shoulder movement, leading to musculoskeletal strain over time.
Can I use a retractable leash with a no-pull harness?
No. Retractable leashes maintain constant tension, which teaches the dog that pulling is required to move forward. This directly contradicts the loose-leash training objective and renders the anti-pull harness ineffective.
Conclusion and Next Steps
Stopping your dog from pulling requires abandoning the myth of a standalone no-pull leash and embracing a combination of a front-clip Y-shaped harness, a fixed-length flat leash, and consistent positive reinforcement training. The physics of chest-mounted redirection, paired with the Stop-and-Wait method, will protect your dog's trachea and your shoulders. Your immediate next step is to use a soft measuring tape to measure your dog's chest girth just behind the front legs, then select a Y-shaped front-clip harness from our recommended framework above to begin your first 15-minute training session tomorrow morning.
jonas-cole
All our authors care for dogs every day — read more of their work on the authors page.