Mastering Trail Recall and Leave-It for Hiking Dogs
Learn how to train reliable trail recall and a strong leave-it command to keep your dog safe from wildlife and hazards during hiking adventures.

Introduction to Trail Safety and Obedience
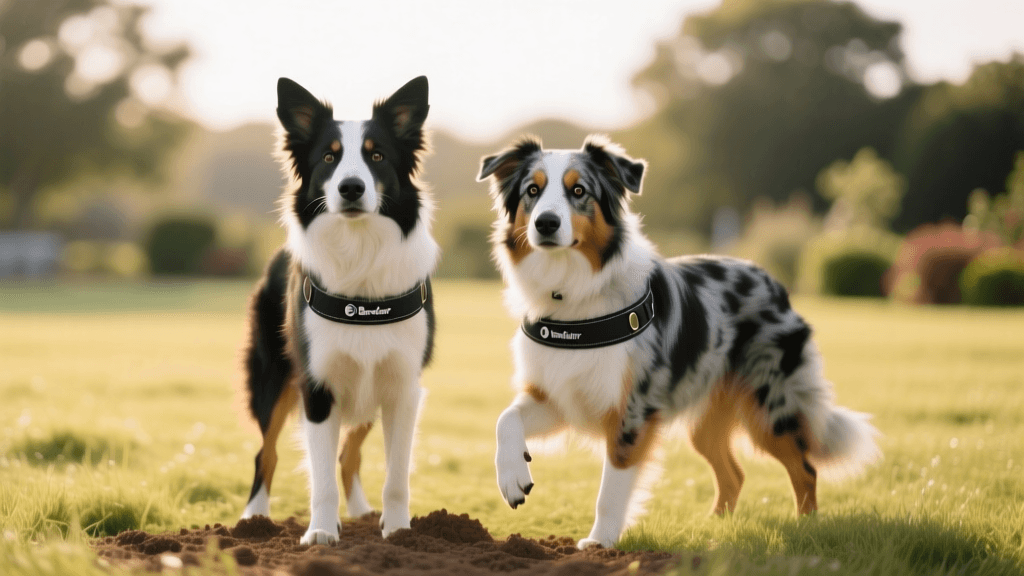
Hiking with your dog is one of the most rewarding ways to bond, explore nature, and provide your canine companion with the physical and mental enrichment they crave. However, the wilderness is an unpredictable environment. Unlike a fenced backyard or a quiet suburban street, the trail presents high-stakes distractions: wild animals, hazardous terrain, toxic plants, and unpredictable weather. According to expert guidelines on hiking with dogs, a solid foundation in obedience is not just a courtesy to other hikers; it is a critical survival skill for your pet.
Two commands stand above the rest when navigating the backcountry: the Emergency Recall and the "Leave-It" command. Mastering these behaviors requires moving beyond basic living-room training and systematically proofing your dog against the intense sensory overload of the wilderness. This guide will walk you through the actionable steps, specialized gear, and behavioral conditioning techniques required to build a bombproof trail dog.
Essential Gear for Wilderness Training
Before you begin conditioning, you must equip yourself with the right tools. Standard six-foot nylon leashes and cotton long lines are insufficient for the mud, water, and brush encountered on hiking trails. Furthermore, relying solely on your voice for a recall can fail when wind, rushing water, or distance obscure your calls.
Long Line Material Comparison
A long line is your primary safety net during the proofing phase of recall and leave-it training. Below is a comparison of common materials to help you choose the best option for trail conditioning.
| Material | Weight | Durability in Mud/Water | Average Cost (30 ft) | Best Use Case |
|---|---|---|---|---|
| Biothane | Medium | Excellent (Waterproof, easy to wipe clean) | $35 - $50 | Wet climates, muddy trails, water crossings |
| Nylon | Light | Poor (Absorbs water, holds dirt, causes rope burn) | $15 - $25 | Dry, clear paths; beginner indoor training |
| Cotton | Heavy | Very Poor (Rots if not dried, snags on brush) | $20 - $30 | Indoor proofing, carpeted environments |
For trail training, a 30-foot Biothane long line is the gold standard. It costs slightly more upfront but prevents rope burn and eliminates the smell of wet dog gear. Pair this with a well-fitted back-clip harness (such as the Ruffwear Front Range, approx. $40) to ensure your dog's neck is protected if they hit the end of the line while chasing a scent.
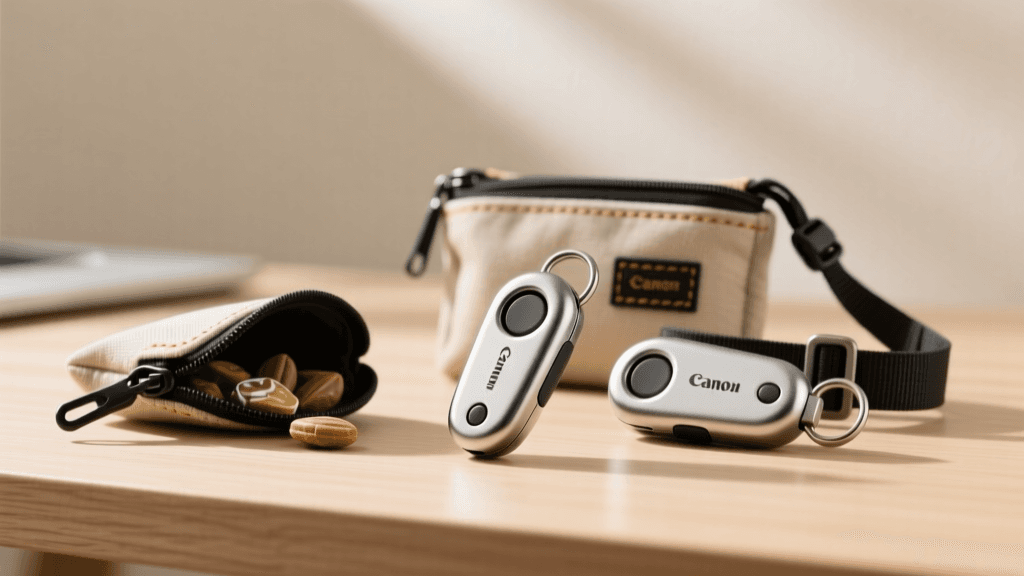
Phase 1: Building an Emergency Whistle Recall
While verbal cues are excellent for everyday obedience, an emergency recall on the trail should be tied to a whistle. A whistle carries much further than the human voice, cuts through environmental noise like wind and rivers, and crucially, does not convey human panic or frustration. Dogs are highly attuned to our vocal emotions; if you yell your dog's name in a panicked tone because they are heading toward a cliff edge, they may interpret it as a threat and run faster. A whistle is a neutral, consistent acoustic trigger.
The ASPCA emphasizes that teaching a dog to come when called requires making the return consistently more rewarding than the distraction. Here is how to condition a whistle recall for the trail:
Step 1: Charging the Whistle (Weeks 1-2)
Purchase a high-quality pealess whistle, such as the Storm All-Weather Safety Whistle ($12). Pealess designs cannot freeze or get stuck with saliva. In a low-distraction environment, blow a specific pattern (e.g., three short blasts) and immediately present a "jackpot" reward. A jackpot is a handful of ultra-high-value treats, such as freeze-dried beef liver or Zuke's Mini Naturals (approx. $15 per bag). Repeat this 10 times per session, twice a day. You are building a classical conditioning response: Whistle = Jackpot.
Step 2: Adding Movement and Distance (Weeks 3-4)
Attach your 30-foot Biothane long line. Allow your dog to wander and sniff. Blow your whistle pattern. The moment your dog turns their head toward you, mark the behavior with a verbal "Yes!" and encourage them to close the distance. When they reach you, deliver the jackpot reward within one second. Timing is critical; the reward must be delivered while the dog is still in the "sit" or standing directly in front of you, never after they have already turned away to leave.
Step 3: The Premack Principle (Weeks 5-6)
The Premack Principle states that a high-probability behavior (sniffing a bush) can be used to reinforce a low-probability behavior (coming when called). On the trail, blow the whistle. When your dog returns, reward them with a treat, and then immediately give a release cue like "Go sniff!" and let them return to the bush they were investigating. This teaches the dog that returning to you does not mean the end of their adventure; it is merely a pit stop for a snack and a reset.
Phase 2: The Life-Saving "Leave-It" Command
While recall brings your dog back to you, "Leave-It" stops them from interacting with something dangerous in the first place. On the trail, this command prevents your dog from eating toxic mushrooms, rolling in animal feces, or approaching defensive wildlife like porcupines or rattlesnakes.
Step 1: The "It's Your Choice" Game (Indoors)
Place a low-value treat (like a piece of dry kibble) on the floor and cover it with your hand. Your dog will sniff, paw, and lick your hand. Wait in silence. The exact millisecond your dog pulls their nose away or stops trying, mark with "Yes!" and reward them with a high-value treat from your other hand. Never give them the treat on the floor. This teaches impulse control: ignoring the temptation yields a better reward.
Step 2: Transitioning to the Trail
Once your dog reliably leaves covered items indoors, move to the trail using your long line. When your dog approaches a distraction (e.g., a pile of deer droppings), say "Leave-It" once in a calm, firm voice. If they continue forward, gently apply pressure to the long line to stop their forward momentum without jerking their neck. The moment they stop pulling and look back at you, mark, praise, and reward with a high-value treat from your pocket.
Step 3: Proofing Against High-Value Distractions
Set up controlled scenarios on the trail. Bring a sealed container of strong-smelling food or a safe animal bone and place it on the path ahead. Walk your dog toward it on the long line. Give the "Leave-It" cue before they reach it. If they comply, reward heavily and walk them past the item. If they fail, increase your distance from the item and try again. Success in training is about managing the environment so the dog can make the right choice.
Proofing and Maintenance on the Trail
Trail proofing is not a one-time event; it is a lifelong maintenance process. Always adhere to the 80/20 rule: your dog should be successful 80% of the time during a training session. If they are failing more than 20% of the time, the distraction is too high, or the distance is too great. Take a step back, increase the distance from the trigger, and rebuild their confidence.
Golden Rule of Trail Training: Never, under any circumstances, punish a dog after they have returned to you on a recall, even if it took them five minutes and caused you immense frustration. Punishing a return teaches the dog that coming to you results in negative consequences, which will destroy your emergency recall when you need it most.
Finally, remember that mental fatigue is just as exhausting as physical exertion. A 30-minute training hike focused on impulse control and recall checks will tire your dog out more effectively than two miles of mindless walking. By investing the time, utilizing the right waterproof gear, and applying consistent behavioral conditioning, you will transform your dog from a wilderness liability into a trusted, safe, and joyful trail companion.
beth-carrasco
All our authors care for dogs every day — read more of their work on the authors page.