How to Stop Leash Reactivity: Diagnosis and Solutions
Discover the root causes of dog leash reactivity and learn actionable, step-by-step training solutions to stop lunging and barking on walks.
Understanding Leash Reactivity: Diagnosing the Root Cause
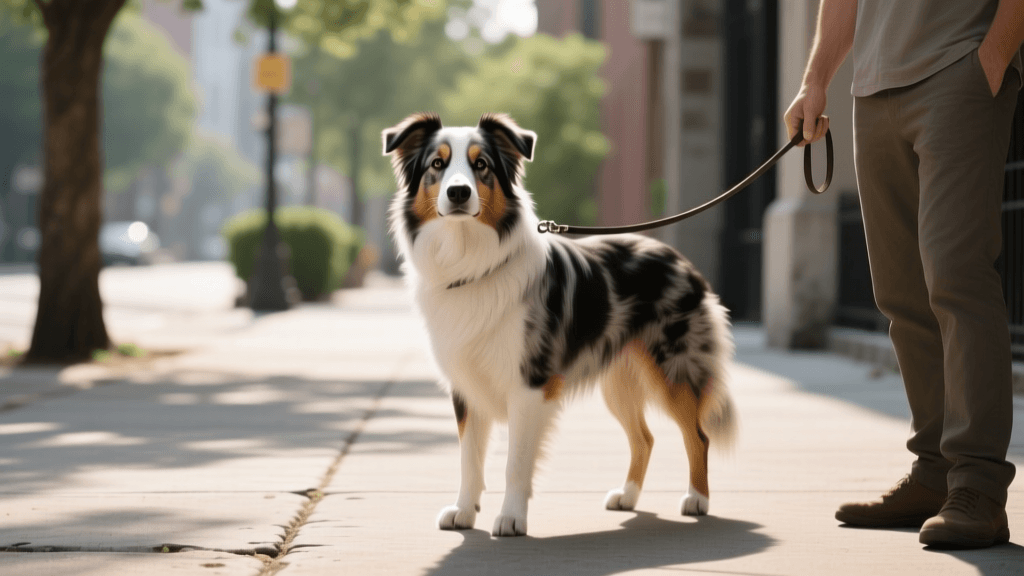
Leash reactivity is one of the most common and stressful behavioral issues dog owners face. Characterized by lunging, barking, growling, or frantic pulling when encountering triggers like other dogs, strangers, or bicycles, reactivity can turn a peaceful walk into a daily battle. However, before implementing a training protocol, it is crucial to accurately diagnose the underlying emotional driver of the behavior. According to the American Kennel Club (AKC), reactivity is rarely about true aggression; it is predominantly rooted in either fear or barrier frustration.
The Diagnostic Checklist
To determine whether your dog is fearful or frustrated, observe their body language and history. Fear-based reactive dogs typically want to increase the distance between themselves and the trigger. They may display pinned ears, a tucked tail, whale eye (showing the whites of their eyes), and will often snap or bite if the trigger approaches them. Conversely, barrier frustration occurs when a highly social dog is prevented from greeting another dog by the physical constraint of the leash. Frustrated dogs usually have loose, wiggly body language, play bows, and will immediately greet the other dog politely if the leash were removed. Diagnosing this distinction is vital, as frustrated dogs require impulse control training, while fearful dogs require counter-conditioning and desensitization.
Essential Gear for Reactive Dog Training
Managing a reactive dog requires equipment that provides control without causing pain. The American Veterinary Society of Animal Behavior (AVSAB) strongly advises against the use of aversive tools like prong collars, choke chains, or shock collars. Pain and fear-based corrections only exacerbate reactivity by creating a negative association with the trigger (e.g., 'Every time I see another dog, my neck hurts'). Instead, utilize humane, force-free gear designed to redirect momentum safely.
| Gear Type | Example Product | Avg Cost | Pros | Cons |
|---|---|---|---|---|
| Front-Clip Harness | Ruffwear Front Range | $40 | Reduces pulling leverage; safe for trachea; excellent for steering. | Can cause chafing if poorly fitted; dogs may chew straps if left on. |
| Head Halter | Petsafe Gentle Leader | $20 | Maximum steering control for large, strong dogs; prevents lunging. | Requires extensive positive conditioning; can cause neck injury if jerked. |
| Dual-Clip Harness | Kurgo Tru-Fit Smart | $35 | Offers both front and back clip options; crash-tested for car rides. | Bulky on small breeds; front clip may twist the chest strap. |
| Long Line Leash | Leatherberg Biothane | $45 | 15-30ft length allows for safe distance management and decompression. | Can cause rope burn if grabbed quickly; heavy on toy breeds. |
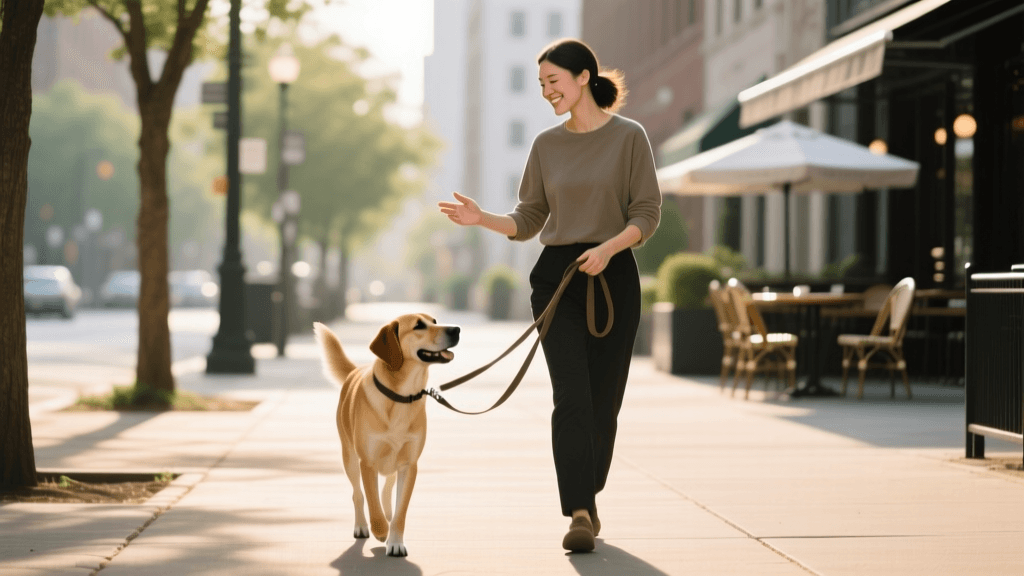
Step-by-Step Solution: The Engage-Disengage Game
Once you have diagnosed the root cause and secured the proper gear, the most effective protocol for fear-based reactivity is the 'Engage-Disengage' game, often referred to as the 'Look At That' (LAT) protocol developed by dog trainer Leslie McDevitt. This game changes your dog's emotional response from 'Trigger = Threat' to 'Trigger = Treat'.
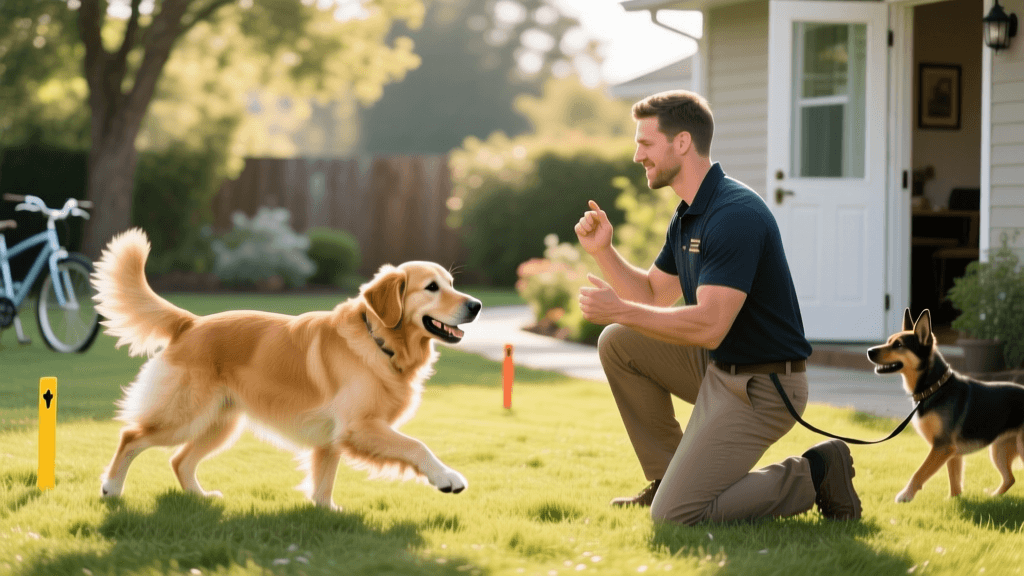
Phase 1: Sub-Threshold Training
The golden rule of reactivity training is to work 'sub-threshold.' This means your dog must be far enough away from the trigger that they notice it but do not react with barking or lunging. For some dogs, this distance is 20 feet; for others, it is 100 feet. Find your dog's threshold distance and start 10 feet behind it.
- Step 1: The moment your dog looks at the trigger (Engage), mark the behavior instantly. Use a clicker or a verbal marker like 'Yes!' within 0.5 seconds.
- Step 2: Deliver a high-value treat within 1-2 seconds. Do not use dry kibble; use pea-sized pieces of boiled chicken, hot dogs, or Zuke's Mini Naturals (approx. $8 per bag).
- Step 3: Repeat this 10-15 times per session. Keep sessions short, around 10-15 minutes, to prevent cortisol buildup.
Phase 2: Counter-Conditioning and Disengaging
Once your dog reliably looks at the trigger and then immediately whips their head back to you expecting a treat, you have moved to Phase 2. Now, you are building an active disengagement behavior. When your dog looks at the trigger, pause for one full second before marking. If your dog voluntarily turns their head away from the trigger to look at you (Disengage), mark and reward heavily with a 'jackpot' of 3-5 treats. This teaches the dog that they have the power to remove themselves from the scary situation and get paid for it.
Real-World Troubleshooting: The Emergency U-Turn
Even with meticulous planning, you will inevitably encounter an off-leash dog or a trigger that suddenly appears around a blind corner, pushing your dog over threshold. When a dog is over threshold, their prefrontal cortex (the thinking part of the brain) shuts down, and the amygdala (the fight-or-flight center) takes over. They will not take treats, and they cannot learn. You must have an emergency exit strategy.
The Treat Scatter Method: If a trigger appears too closely, immediately say a cue like 'Let's Go!' in an upbeat, happy tone. Pivot 180 degrees and sprint a few steps away. As your dog follows, throw a handful of high-value treats directly onto the grass or pavement. Sniffing and foraging naturally lower a dog's heart rate and engage their parasympathetic nervous system, helping them recover from the adrenaline spike much faster than simply walking away.
Tracking Progress and Managing Setbacks
Behavior modification is not linear. You will have incredible days where your dog walks past a barking dog with a loose leash, and you will have terrible days where they react to a leaf blowing across the street. Track your progress using a training journal, noting the trigger distance, your dog's stress signals (panting, lip licking, yawning), and the environment (loud noises, weather, time of day). If you notice a regression, simply increase your working distance by 20 feet and return to Phase 1 of the Engage-Disengage game for a week. Consistency, patience, and a commitment to force-free, science-based methods will ultimately transform your reactive dog into a confident, relaxed walking companion.
aaron-whyte
All our authors care for dogs every day — read more of their work on the authors page.