Step-by-Step Guide: How to Stop Dog Leash Pulling
Learn how to stop your dog from pulling on the leash with our step-by-step training guide. Discover the best harnesses, timing, and techniques today.
Introduction to Loose Leash Walking
Walking your dog should be a relaxing and bonding experience, but if your dog acts like a sled dog, it can quickly become a frustrating chore. Leash pulling is one of the most common behavioral issues reported by dog owners. Fortunately, with the right equipment, patience, and a structured approach, you can teach your dog to walk politely on a leash. This step-by-step guide will walk you through the exact methods used by professional dog trainers to cure leash pulling, complete with equipment recommendations, timing, and troubleshooting tips.
Understanding Why Dogs Pull
Dogs pull on the leash for several reasons. Primarily, dogs walk at a much faster natural pace than humans. Furthermore, dogs experience the world through their noses, and the scent of a nearby fire hydrant or a distant squirrel is incredibly stimulating. However, the main culprit behind persistent pulling is the opposition reflex. When a dog feels pressure against their chest or neck, their natural instinct is to push against that pressure. If you pull back, they pull harder. According to the ASPCA, loose-leash walking is about teaching the dog that a slack leash is the only way to move forward toward the things they want to investigate.
Essential Equipment for Leash Training
Before you begin training, you must set yourself and your dog up for success with the right gear. Ditch the retractable leash immediately. The Humane Society of the United States strongly advises against retractable leashes for training, as they inherently teach dogs that pulling extends their range, and they offer very little control in emergency situations.
| Equipment Type | Best For | Pros | Cons | Approx Cost |
|---|---|---|---|---|
| Front-Clip Harness (e.g., Kurgo Tru Fit) | Moderate to Heavy Pullers | Redirects forward momentum safely | Can chafe if fitted poorly | $25 - $45 |
| Head Halter (e.g., Gentle Leader) | Severe Pullers / Giant Breeds | Maximum steering control | Requires careful acclimation | $15 - $30 |
| Back-Clip Harness | Small Dogs / Non-Pullers | Comfortable, easy to put on | Encourages pulling (sled dog effect) | $20 - $40 |
| Standard 6-Foot Leash (Nylon/Leather) | All Dogs in Training | Provides consistent boundary | None when used correctly | $10 - $25 |
| Retractable Leash | None (Avoid for Training) | Gives distance in open areas | Teaches pulling, dangerous handle | $20 - $50 |
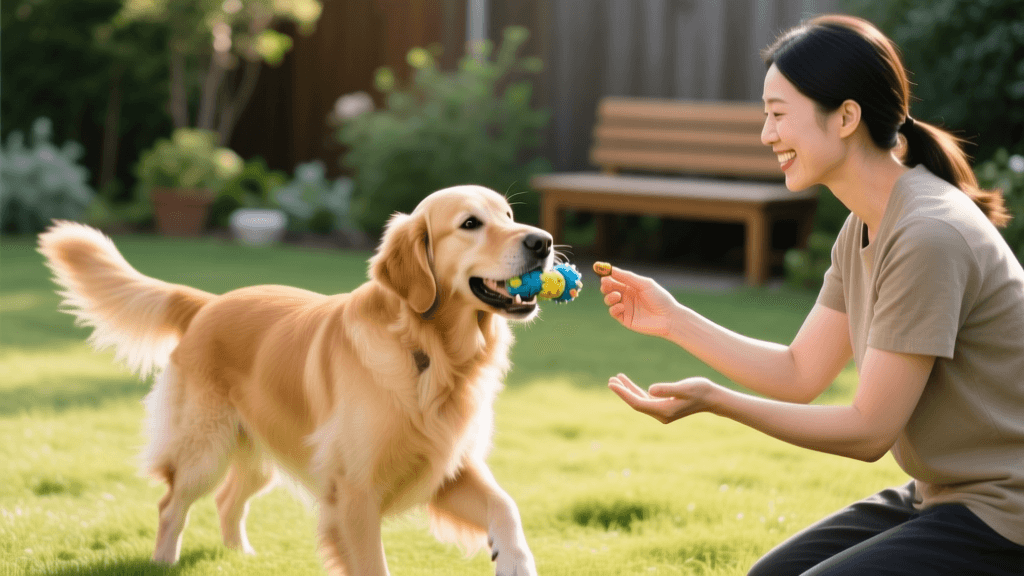
When fitting a front-clip harness like the Kurgo Tru Fit, ensure you can slide exactly two fingers between the straps and your dog's body. A poorly fitted harness can cause chafing or alter your dog's natural gait. You will also need high-value training treats. Standard kibble will not suffice when competing with outdoor distractions. Invest in soft, smelly treats like Zuke's Mini Naturals (approx. $8 per 6oz bag) or boiled chicken breast cut into pea-sized cubes. Rotate your treats to keep your dog guessing. Alternate between Zuke's Mini Naturals, freeze-dried liver, and small pieces of string cheese. The element of surprise keeps the dog's engagement high. Pair this with a hands-free treat pouch (e.g., PetSafe Treat Pouch, $15) so you can deliver rewards within one second of the desired behavior.
Step-by-Step Training Protocol
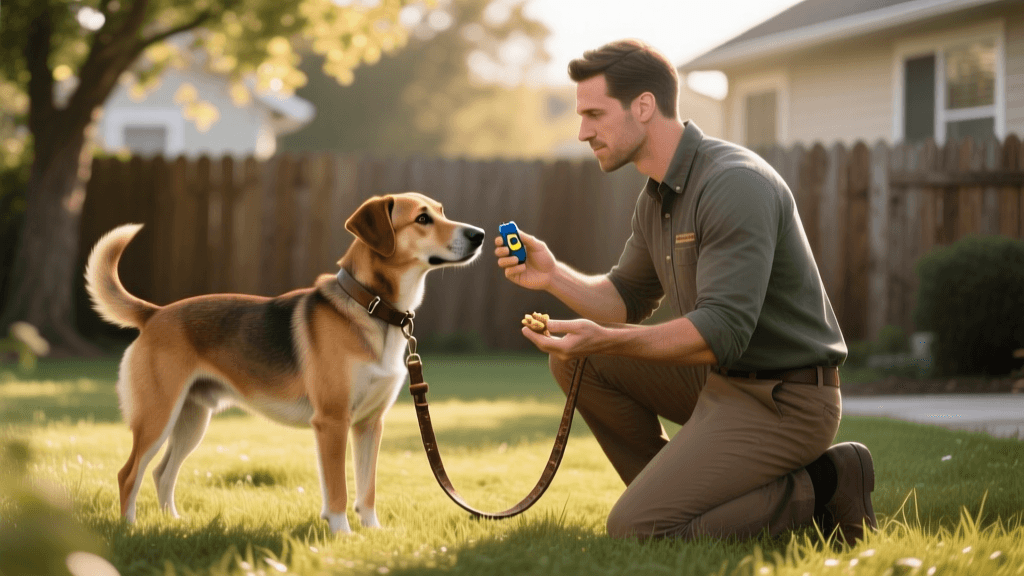
Step 1: Indoor Foundation and Engagement (Days 1-3)
Do not start your training on a busy sidewalk. Begin in your living room where distractions are minimal. Attach your 6-foot leash to your dog's front-clip harness. Hold the leash in the hand opposite your dog (if the dog is on your left, hold the leash in your right hand) and keep your thumb loop secured around your wrist. Take one step forward. If your dog follows you and the leash remains slack, immediately say 'Yes!' and deliver a treat right at the seam of your pants. This teaches the dog that the reward zone is right next to your leg. Practice this for 5 to 10 minutes, twice a day. The goal is to build a history of reinforcement for staying close to you.
Step 2: The 'Be a Tree' Technique (Days 4-7)
Once your dog understands the reward zone indoors, move to your backyard or a quiet driveway. Begin walking at a normal pace. The moment the leash goes tight and you feel tension, stop walking immediately. Become a tree. Do not yank the leash, do not yell, and do not pull the dog back. Simply stand still and wait. According to the American Kennel Club (AKC), consistency is the most critical factor in leash training; if you stop every single time the leash is tight, the dog learns that tension equals a stopped walk. Eventually, your dog will look back at you or take a step backward to relieve the tension. The second the leash goes slack, mark the behavior with a 'Yes!' and resume walking.
Step 3: The 180-Degree Direction Change (Weeks 2-3)
If your dog is highly driven and the 'Be a Tree' method results in you standing still for five minutes at a time, it is time to add the 180-degree turn. When the leash goes tight, cheerfully say 'Let's go!' and abruptly turn 180 degrees, walking in the exact opposite direction. Do not jerk the leash; use your body momentum and a happy voice to encourage the dog to follow. When the dog catches up to you and is back in the reward zone with a slack leash, reward heavily. This technique teaches the dog that they must pay attention to your movements because you might change direction at any moment. It transforms the walk from a passive drag into an interactive game.
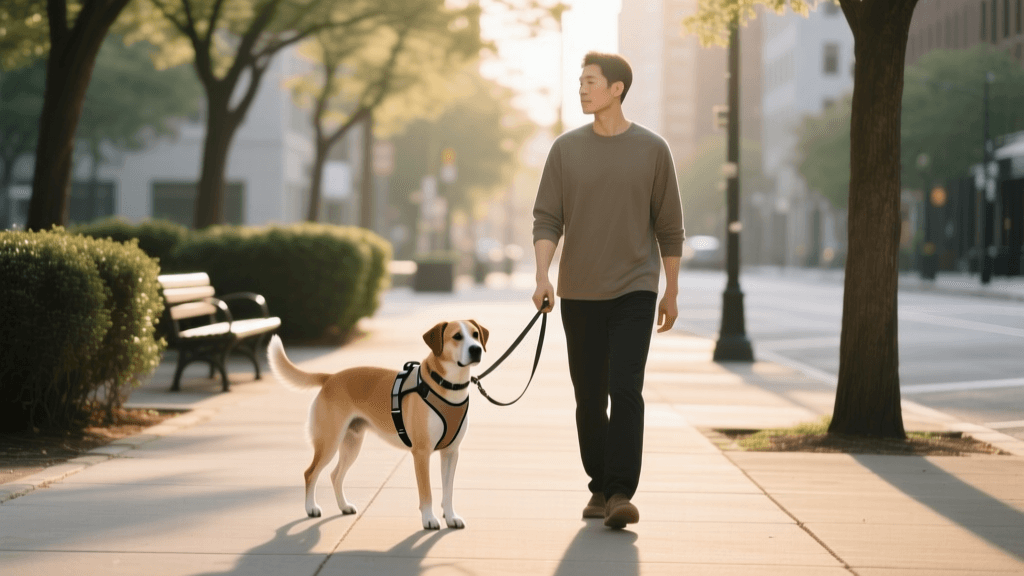
Step 4: Transitioning to the Outdoors (Weeks 4+)
Now, take your training to the neighborhood. Start at times of day when foot traffic and other dogs are minimal (e.g., early morning or late evening). Keep your training sessions short—no more than 15 minutes of active training, followed by a sniffari where you allow the dog to sniff on a longer slack leash as a reward. A sniffari is an enrichment activity where the dog leads the way and sniffs as much as they want, provided the leash remains loose. This mental stimulation is often more tiring for a dog than a mile-long run.
The goal of loose-leash walking is not to keep your dog in a strict, military-style heel for the entire walk. It is to allow them to explore their environment safely while maintaining a slack leash and checking in with you periodically.
Troubleshooting Common Issues
My Dog Lunges at Squirrels or Other Dogs
If your dog reacts to triggers, you are likely too close to the distraction. This is a threshold issue. Increase your distance from the trigger until your dog can look at it and then look back at you. Reward heavily for disengaging from the trigger. If your dog is over threshold (barking, lunging, ignoring treats), no learning can occur. Calmly create distance and try again.
My Dog Bites the Leash
Leash biting is often a sign of over-arousal or frustration. If your dog grabs the leash, stop walking and offer a high-value toy or a treat scatter on the ground to redirect their mouth. Never play tug-of-war with the leash, as this reinforces the behavior.
Final Thoughts on Leash Training
Curing leash pulling is not an overnight fix; it is a lifestyle change for you and your dog. By utilizing a front-clip harness, high-value rewards, and consistent consequences for leash tension, you will rewire your dog's walking habits. Remember that every walk is a training session in the beginning. Be patient, keep your sessions short and positive, and celebrate the small victories. Within a few weeks of dedicated practice, you will transform your stressful tug-of-war into a peaceful, enjoyable stroll.
priya-sutaria
All our authors care for dogs every day — read more of their work on the authors page.