Step-by-Step Guide to Mastering Loose-Leash Walking
Master loose-leash walking with our step-by-step guide. Learn harness selection, treat timing, and proven techniques to stop your dog from pulling.
Why Do Dogs Pull on the Leash?
Walking your dog should be a relaxing bonding experience, but if your dog pulls, it quickly becomes a frustrating and physically taxing chore. Loose-leash walking is not an innate skill for dogs; it is a learned behavior that requires patience, consistency, and the right training methodology. In this comprehensive, step-by-step guide, we will break down exactly how to teach your dog to walk politely by your side, complete with gear recommendations, timing metrics, and troubleshooting tips.
To train effectively, you must understand why dogs pull. Dogs naturally walk at a faster pace than humans, and they explore the world primarily through their noses. When a dog pulls toward an interesting scent or another animal, and the owner follows, the dog learns a simple equation: pulling equals forward movement. Furthermore, dogs possess an opposition reflex. If they feel pressure against their chest or neck, their instinct is to push against it. This is why traditional choke chains often fail to stop pulling and can cause severe tracheal damage. According to the Humane Society of the United States, utilizing positive reinforcement and proper, humane equipment is the safest and most effective way to modify this behavior.
A dog walking on a loose leash is a dog that is mentally engaged with their handler, rather than physically dragging them down the street.
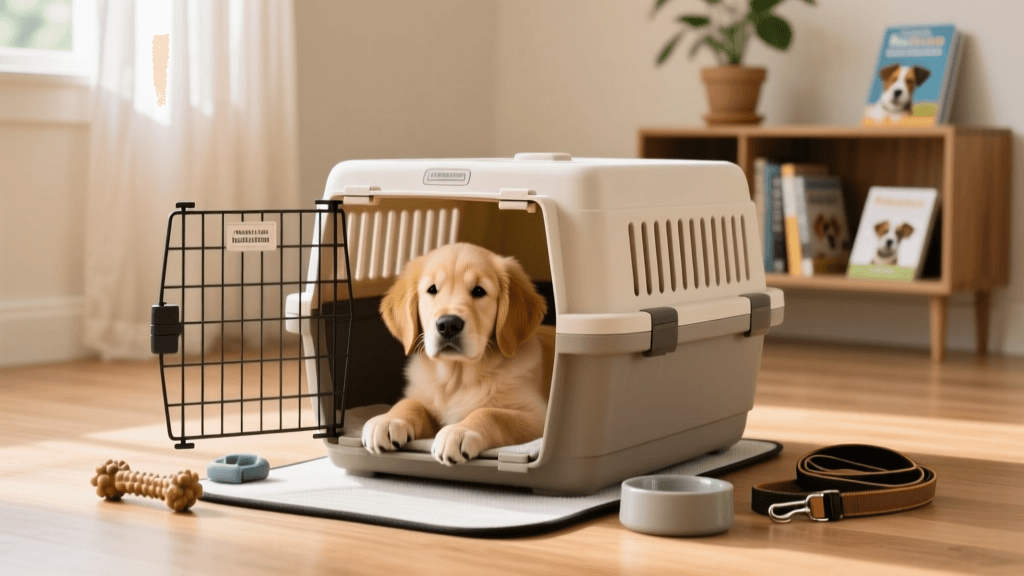
Essential Gear for Loose-Leash Walking
Before you begin training, you need the right equipment. Throw away the retractable leash. Retractable leashes keep constant tension on the collar, teaching the dog that pulling is required to get more line. Instead, invest in a standard 6-foot leash and a proper harness.
| Gear Type | Example Product | Pros | Cons | Est. Cost |
|---|---|---|---|---|
| Front-Clip Harness | Ruffwear Front Range | Redirects pulling momentum safely back toward the handler | Can cause chafing if poorly fitted; restricts some shoulder movement | $30 - $45 |
| Head Halter | Halti Optifit | Maximum steering control for giant or incredibly strong breeds | Requires slow acclimation; dangerous if dog lunges suddenly | $20 - $30 |
| Standard Leash | 6ft Leather or Nylon | Provides consistent tactile feedback and limits roaming | None, this is the gold standard for training | $15 - $25 |
| Retractable Leash | Flexi Classic Tape | Allows off-leash style roaming in open fields | Teaches pulling; high risk of rope burn and injury | $25 - $40 |
Pro Tip on Harness Fitting: You should be able to slide exactly two fingers under the chest strap of your harness. Any looser, and the dog can back out; any tighter, and it restricts breathing.
The Treat Strategy
Use high-value, low-calorie treats. Zuke's Mini Naturals (approximately 3 calories each) or tiny, pea-sized pieces of boiled chicken breast are ideal. You will be dispensing 20 to 40 treats per 15-minute session, so keeping calories under 5 per treat prevents obesity while maintaining high motivation.
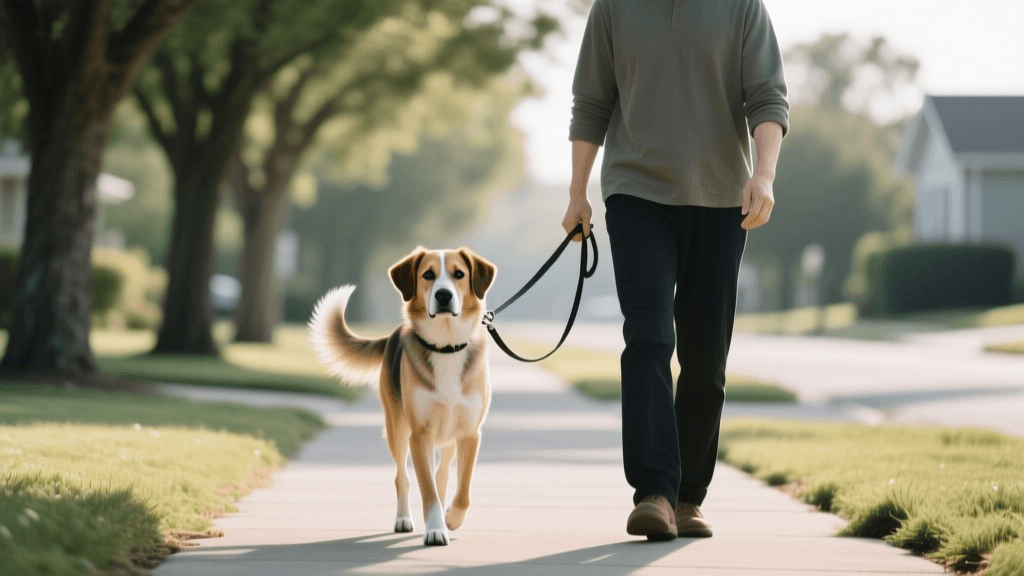
Step-by-Step Training Guide
Step 1: The Indoor Foundation (Days 1-3)
Do not start outside where distractions are overwhelming. Begin in your living room or a quiet hallway. Put the leash on your dog and simply stand still. Wait for your dog to look at you. The exact second they make eye contact, use a marker word like 'Yes!' or a mechanical clicker, and deliver a treat within 0.5 to 1 second. Repeat this 20 times. You are teaching the dog that paying attention to you is highly rewarding.
Next, take one step backward. If the dog follows and maintains a loose leash, mark and reward. If the leash goes tight, freeze immediately. Do not yank the dog back; simply become a tree until the leash slackens. The moment it forms a 'J' shape, mark and reward.
Step 2: The 'Follow the Leader' Game (Days 4-7)
Move to a quiet, fenced backyard or an empty tennis court. Begin walking at a brisk pace. Every 3 to 5 steps, before the dog has a chance to pull, mark and reward them right at your knee (the 'reward zone'). By delivering the treat exactly at the seam of your pants, you condition the dog to stay close to your leg.
If the dog surges ahead, immediately execute a 180-degree U-turn and walk the opposite direction without saying a word. When the dog catches up to you and the leash is loose, mark and reward. The American Kennel Club emphasizes that changing direction unpredictably teaches the dog that they must monitor your location to keep moving forward.
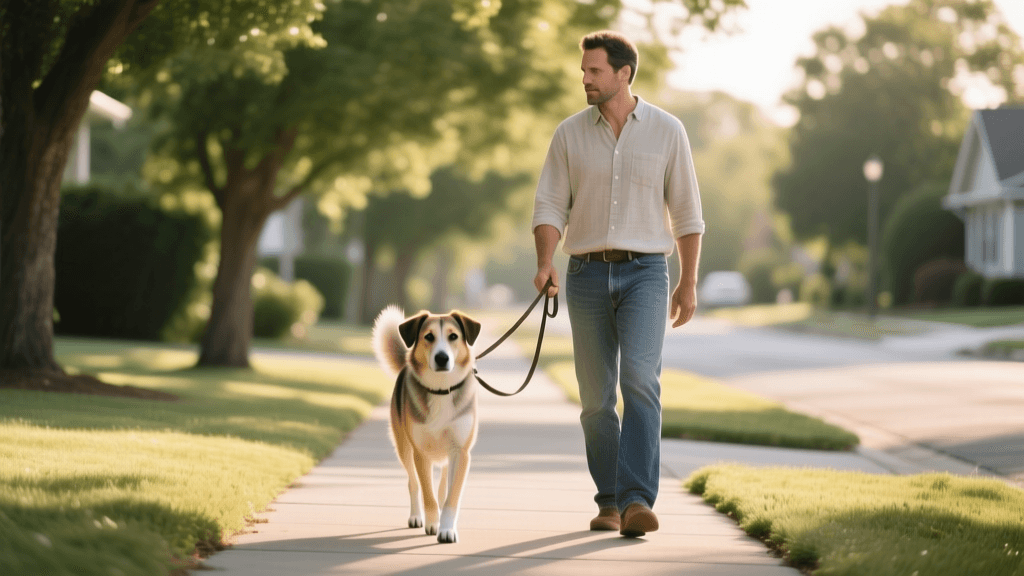
Step 3: Adding the '3 Ds' (Weeks 2-3)
The 3 Ds stand for Distance, Duration, and Distraction. Now you move to your neighborhood. Start during low-traffic hours, such as early morning or late evening.
- Distance: Increase the number of steps between treats from 5 to 10, then 20.
- Duration: Extend the structured walk from 10 minutes to 20 minutes.
- Distraction: Gradually introduce busier streets. If your dog reacts to a passing car or pedestrian, increase your distance from the trigger. If the leash goes tight, use the 'Be a Tree' method. Plant your feet, hold the leash securely against your belt buckle, and wait. It may take up to 3 minutes for a stubborn dog to give up and look back at you. The moment the leash slackens, mark, reward, and resume walking.
Step 4: Sniffaris and Decompression
A structured walk does not mean the dog cannot sniff. In fact, 20 minutes of intense sniffing tires a dog out as much as a mile of running. Incorporate a release cue like 'Go Sniff.' When the leash is loose and the dog is walking politely, say 'Go Sniff' and allow them to roam to the end of the 6-foot leash to investigate a bush or fire hydrant. This utilizes the Premack Principle, using a highly desired behavior (sniffing) to reinforce a less desired behavior (heeling).
Troubleshooting Common Issues
1. The Dog Sits and Refuses to Move
This is common in puppies or fearful rescue dogs. Do not drag them or pull the leash. Crouch down, encourage them with a happy, high-pitched voice, and lure them forward with a high-value treat like freeze-dried liver. Reward the first step forward.
2. Lunging at Squirrels or Bikes
If your dog lunges, you are too close to the trigger. You must work 'under threshold.' If the dog is over threshold, their brain is in fight-or-flight mode and they cannot learn. Cross the street or increase distance to 50 feet. Use Preventive Vet's desensitization protocols to slowly decrease distance over several weeks, rewarding the dog for simply looking at the trigger without pulling.
3. Biting the Leash
Puppies often bite the leash out of teething pain or over-arousal. Carry a dedicated tug toy on your walk. If they bite the leash, redirect them to the tug toy for 10 seconds, then ask for a 'sit' to calm down, and resume the walk.
Conclusion
Loose-leash walking is a marathon, not a sprint. Expect setbacks, especially during adolescence (6 to 14 months) when hormones and environmental awareness peak. Stick to your 15-minute daily training sessions, maintain your strict criteria for a loose leash, and always reward the behaviors you want to see repeated. With the right gear, impeccable timing, and unwavering consistency, you and your dog will soon enjoy peaceful, harmonious walks together.
marcus-aldridge
All our authors care for dogs every day — read more of their work on the authors page.