The Ultimate Step-by-Step Crate Training Guide for New Dogs
Learn how to crate train your new dog with this step-by-step first-week guide. Includes schedules, crate sizing tips, and expert advice for success.
Why Crate Training is Crucial for New Dogs
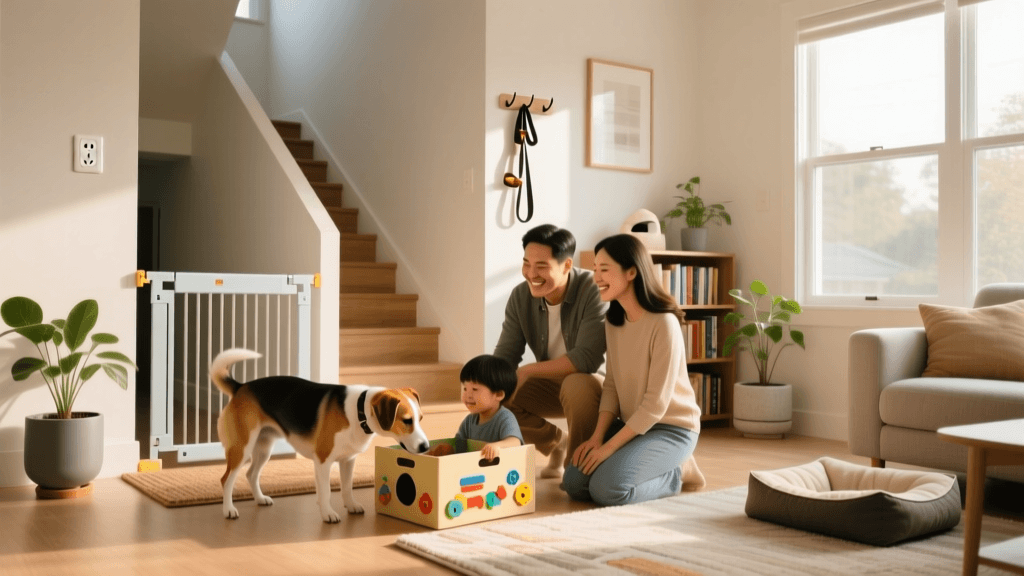
Bringing a new dog home is an exciting milestone, but the first few days can be overwhelming for both you and your new pet. According to the ASPCA, crate training is one of the most effective ways to establish a safe haven for your dog while simultaneously accelerating the housebreaking process. Dogs possess a natural den instinct, meaning they are biologically wired to avoid soiling their sleeping quarters. When leveraged correctly, a crate becomes a sanctuary rather than a cage.
This comprehensive, step-by-step training guide will walk you through the first week of crate training your new dog. We will cover crate selection, environmental setup, a daily schedule, and troubleshooting tips to ensure a smooth transition into your home.
Step 1: Selecting and Sizing the Perfect Crate
Before you begin training, you must invest in the right equipment. A crate that is too large will allow your dog to eliminate in one corner and sleep in the other, defeating the purpose of potty training. A crate that is too small will cause physical discomfort and anxiety.
How to Measure Your Dog
- Length: Measure from the tip of the nose to the base of the tail (do not include the tail), then add 2 to 4 inches.
- Height: Measure from the floor to the top of the head (or the tips of the ears if they are erect), then add 2 inches.
Comparing Crate Types and Costs
| Crate Type | Pros | Cons | Best For | Average Cost |
|---|---|---|---|---|
| Wire Crate | Excellent ventilation, foldable, includes divider panels | Heavy, visually obtrusive, drafty | Home use, growing puppies, hot climates | $50 - $120 |
| Plastic Crate | Den-like feel, airline approved, warmer | Poor ventilation, harder to sanitize | Travel, anxious dogs, drafty homes | $40 - $90 |
| Soft-Sided | Lightweight, portable, cozy | Not chew-proof, hard to clean | Small breeds, car travel, seniors | $30 - $70 |
Pro Tip: If you are adopting a puppy, purchase a wire crate with an adjustable divider panel. This allows you to expand the living space as your dog grows without buying multiple crates.
Step 2: Setting Up the Crate Environment
Location and comfort are paramount. Place the crate in a high-traffic family area, such as the living room or kitchen, so your dog does not feel isolated. However, avoid placing it directly in front of heating vents, radiators, or in direct sunlight.
Essential Crate Accessories
- Bedding: Opt for a washable, durable fleece pad. Avoid fluffy, stuffed beds for the first few weeks, as puppies and anxious rescue dogs may chew and ingest the stuffing, leading to intestinal blockages.
- Enrichment Toys: The Kong Classic ($15-$20) is an indispensable tool. Fill it with dog-safe peanut butter and freeze it for two hours before crating. This provides a long-lasting distraction that builds positive associations with the crate.
- Comfort Items: For the first few nights, consider a heartbeat toy like the SmartPetLove Snuggle Puppy (approx. $40). The simulated heartbeat and heat pack mimic the feeling of littermates, drastically reducing nighttime whining.
Step 3: The First 24 Hours (Introduction Phase)
Never force your new dog into the crate. The goal of the first day is to make the crate the most rewarding place in the house.
- The Treat Toss: Toss high-value, low-calorie treats (like Zuke's Mini Naturals, roughly $8 per bag) into the back of the crate. Let the dog enter, eat, and exit freely. Repeat this 10-15 times.
- Mealtime Integration: Serve all meals inside the crate. Place the bowl at the very back so the dog must fully enter. If they are hesitant, start with the bowl at the entrance and gradually push it back over a few days.
- The Verbal Cue: Introduce a command like 'Crate' or 'Kennel' right before tossing a treat inside. Consistency in your verbal cue helps the dog understand what is expected.
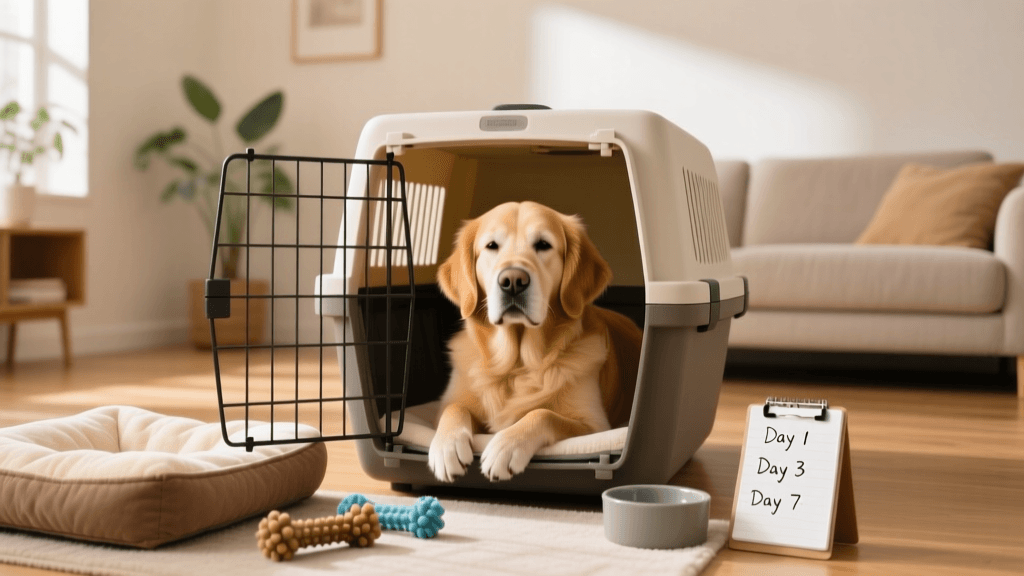
Step 4: Your First-Week Crate Training Schedule
Patience and incremental progression are key. The Humane Society of the United States emphasizes that rushing the crating process can lead to long-term separation anxiety. Follow this step-by-step timeline:
- Day 1-2 (Door Open): Keep the crate door open or securely tied back. Encourage naps inside with chew toys. Do not close the door yet.
- Day 3-4 (Door Closed, Owner Present): Close the door while the dog is eating or chewing a Kong. Sit right next to the crate. Open the door before they finish and before they whine. Gradually increase closed time from 5 minutes to 20 minutes.
- Day 5-6 (Door Closed, Owner Leaves Room): Give the dog a frozen Kong, close the door, and leave the room for 5 minutes. Return calmly, do not make a fuss, and let them out. Slowly increase your absence to 15, then 30 minutes.
- Day 7 (Extended Absences): You should now be able to leave the dog crated for 45-60 minutes while you run errands or work in another part of the house.
Step 5: Nighttime Crate Training and Potty Breaks
Nighttime is often the hardest part for new owners. Puppies and newly adopted dogs will inevitably need to eliminate during the night. A general rule of thumb for puppies is that they can hold their bladder for their age in months plus one hour (e.g., a 2-month-old puppy can hold it for 3 hours). Adult rescue dogs may sleep through the night sooner, but expect at least one potty break for the first week.
The Nighttime Potty Protocol
- Set an alarm for 3 to 4 hours after bedtime.
- When the alarm goes off, approach the crate quietly. Keep the lights dim.
- Leash the dog and carry them or walk them directly outside to their designated potty spot.
- Use a command like 'Go Potty'. Reward immediately with a treat upon completion.
- Return directly to the crate. No playtime, no talking, no cuddling. This teaches the dog that nighttime wake-ups are strictly for business.
Step 6: Troubleshooting Whining and Anxiety
It is entirely normal for a new dog to whine or bark when first left alone in a crate. However, how you respond will dictate their future behavior.
- The 3-Second Rule: If your dog is whining, do not open the crate. Wait for a brief pause—just 3 seconds of silence—before opening the door. This teaches them that silence, not noise, opens the door.
- Rule Out Potty Needs: If the dog has been crated for more than 2 hours and is whining, take them out on a leash for a boring potty break. If they do not go, put them right back in the crate.
- Never Use the Crate as Punishment: The American Kennel Club (AKC) strongly advises against using the crate for time-outs. If the dog associates the crate with anger or isolation, they will resist entering it.
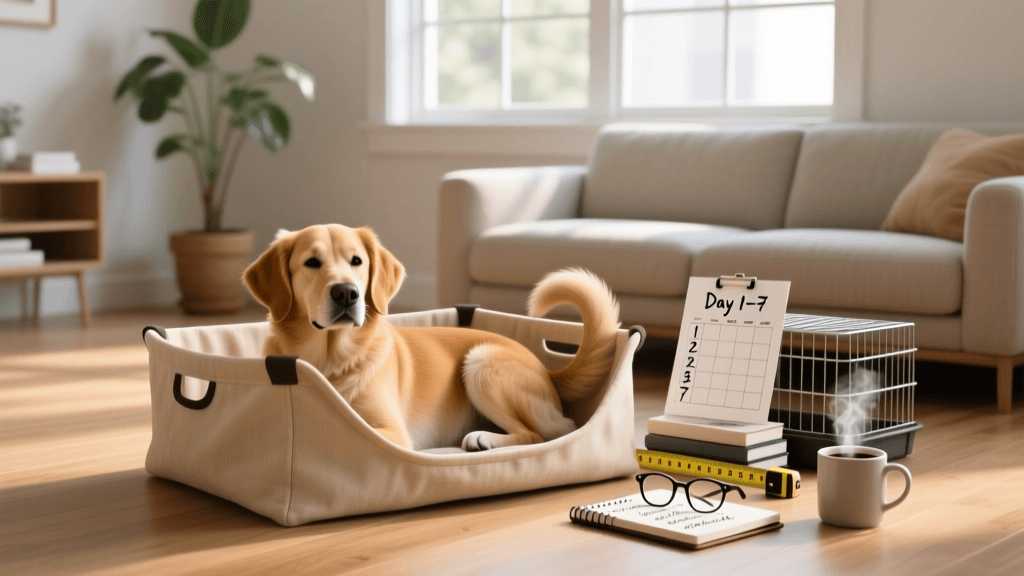
Budgeting for Crate Training Success
Setting up a proper crate training station requires a modest upfront investment, but it saves money on ruined furniture and professional behavioral training later. Here is a quick budget breakdown for your first week:
- Wire Crate with Divider: $60 - $90
- Washable Fleece Mat: $15 - $25
- Kong Classic & Peanut Butter: $20
- High-Value Training Treats: $10
- Snuggle Puppy (Optional for night anxiety): $40
- Total Estimated Startup Cost: $105 - $185
Conclusion
Crate training is not an overnight process; it is a foundational skill that provides your new dog with security and boundaries. By following this step-by-step first-week guide, measuring for the correct crate size, utilizing high-value enrichment toys, and adhering to a strict nighttime potty schedule, you will set your new companion up for lifelong success. Remember to be patient, keep your energy calm, and celebrate the small victories. Within a few weeks, you will likely find your dog voluntarily retreating to their crate for a peaceful nap, proving that they truly view it as their own personal sanctuary.
tom-renshaw
All our authors care for dogs every day — read more of their work on the authors page.