Mastering Loose Leash Walking: Step-by-Step Guide
Learn how to stop leash pulling with our step-by-step loose leash walking guide. Discover the best gear, timing, and training techniques for success.
The Ultimate Step-by-Step Guide to Loose Leash Walking
There are few things more frustrating for a dog owner than being dragged down the sidewalk by an overenthusiastic pup. What should be a relaxing bonding experience often turns into a shoulder-straining battle of wills. If your dog pulls on the leash, you are not alone. According to the ASPCA, leash pulling is one of the most common behavioral issues reported by dog owners. However, with the right gear, high-value motivation, and a structured training plan, you can teach your dog to walk politely by your side.
Why Do Dogs Pull on the Leash?
Before diving into the training steps, it is crucial to understand why dogs pull. First, dogs naturally trot at a pace of 4 to 5 miles per hour, while humans walk at a leisurely 2 to 3 miles per hour. Your dog is literally forced to slow down for you. Second, dogs experience the 'opposition reflex' (thigmotaxis). When they feel pressure against their chest or neck, their instinct is to lean into it and pull harder. Finally, the environment is incredibly stimulating. The scent of a fire hydrant or the sight of a squirrel is far more rewarding than simply walking next to you.
Our goal in loose leash walking is not to force the dog into a rigid 'heel' position for an hour. Instead, we want to teach them that maintaining a loose leash and staying near you is the most rewarding way to get where they want to go.
Phase 1: Selecting the Right Training Gear
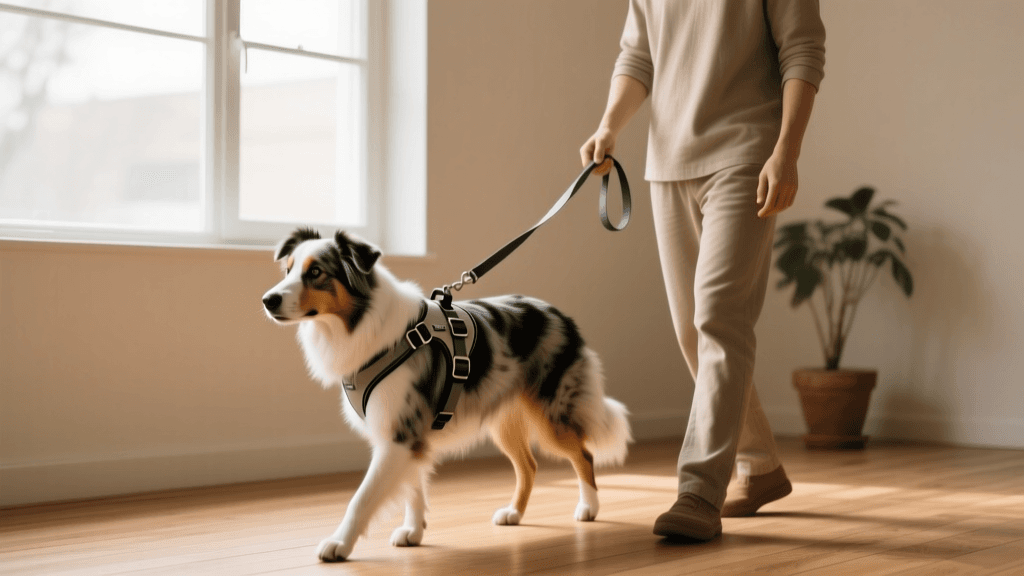
You cannot train a dog to stop pulling if your equipment is working against you. Retractable leashes, for instance, are designed with a spring-loaded mechanism that requires the dog to pull to extend the line. This actively reinforces pulling behavior. For successful loose leash walking, you need a standard 4-to-6-foot leash and a harness that redirects forward momentum.
| Gear Type | Best For | Pros | Cons | Est. Cost |
|---|---|---|---|---|
| Front-Clip Harness | Active pullers, training beginners | Redirects forward momentum; prevents choking | Can tangle front legs if dog lunges | $25 - $40 |
| Back-Clip Harness | Non-pullers, car rides, hiking | Comfortable; easy to put on | Encourages pulling via opposition reflex | $20 - $35 |
| Head Halter | Severe pullers, giant breeds | Offers maximum control with minimal force | Requires slow acclimation; risk of neck injury if jerked | $15 - $25 |
| Standard Flat Collar | Tags and ID; already trained dogs | Lightweight; inexpensive | Can cause tracheal damage in pullers | $10 - $20 |
| 4-6ft Nylon/Leather Leash | All training stages | Provides consistent boundary; easy to grip | Limits roaming distance compared to retractables | $15 - $30 |
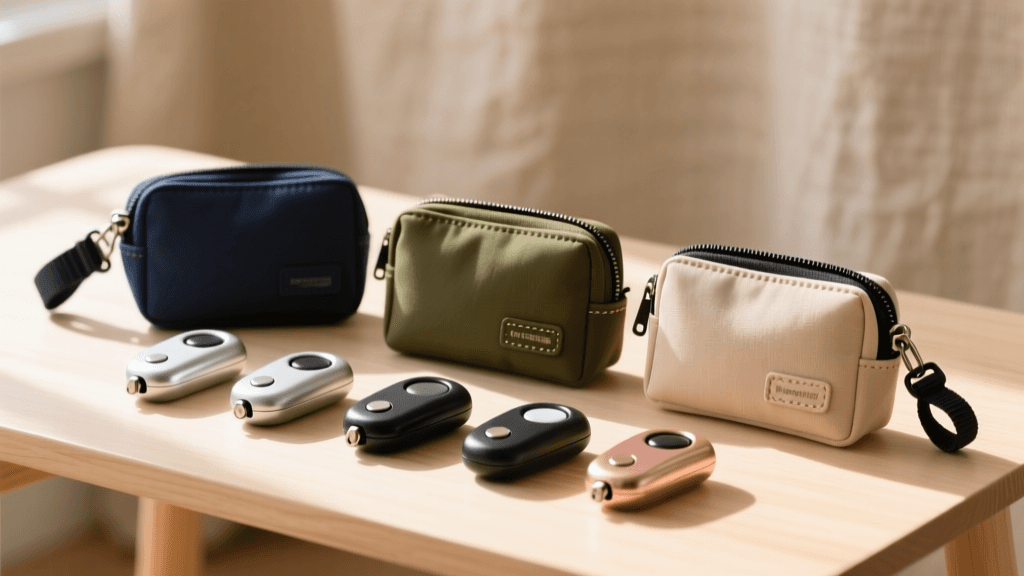
Phase 2: The Treat Value Hierarchy
To compete with the smells and sights of the outdoors, you need exceptional currency. Dry kibble will not cut it when a rabbit darts across the lawn. Use this hierarchy to select your rewards:
- Low-Value (For indoor, low-distraction work): Kibble, dry biscuits. Cost: $0.05/treat.
- Medium-Value (For driveway and quiet street work): Commercial soft chews, string cheese. Cost: $0.10/treat.
- High-Value (For high-distraction areas like parks): Boiled chicken breast, hot dogs, freeze-dried liver. Cost: $0.15 - $0.25/treat.
Pro Tip: Cut treats into pea-sized pieces. Your dog cares about the frequency of the reward, not the volume. A single hot dog can yield over 50 training rewards.
Phase 3: Step-by-Step Training Protocol
Now that you have your front-clip harness, a 6-foot leather or nylon leash, and a pouch full of high-value treats, it is time to begin. The American Kennel Club (AKC) emphasizes that consistency and patience are the cornerstones of leash training.
Step 1: Indoor Foundation (The 'Magnet' Hand)
Start inside your home where distractions are minimal. With your dog on the leash, hold a handful of pea-sized treats in the hand closest to your dog, right at their nose level. This is your 'magnet hand.' Take three steps forward. If your dog stays by your side, mark the behavior with a cheerful 'Yes!' and feed them a treat from your magnet hand. Repeat this for 5 to 10 minutes. You are building muscle memory that the space right next to your knee is the 'reward zone.'
Step 2: The 'Be a Tree' Method
Move to your backyard or a quiet driveway. Begin walking with your dog. The exact millisecond the leash goes tight, you must stop moving and 'be a tree.' Do not yank the leash, do not scold your dog, and do not reel them in. Simply freeze. Eventually, your dog will wonder why the forward motion stopped. They will turn to look at you or take a step back, which releases the tension on the leash. The moment the leash forms a 'J' shape (slack), mark with 'Yes!' and reward them next to your leg. This teaches the dog that tension equals a stopped walk, while slackness equals forward progress and treats.
Step 3: The 180-Degree U-Turn
If your dog is highly focused on a trigger ahead (like another dog or a dropped burger), the 'Be a Tree' method might not be enough. Instead, use the U-Turn. When your dog pulls toward the trigger, cheerfully say 'Let's go!', pivot 180 degrees on your heel, and walk in the opposite direction. Do not pull the dog; let the leash gently guide them. When your dog catches up to your side and the leash is loose, mark and reward heavily. This technique engages the dog's brain and forces them to pay attention to your movements rather than forging blindly ahead.
Step 4: Proofing and Adding Distractions
Once your dog masters the U-Turn and the 'Be a Tree' method in your driveway, it is time to proof the behavior. Gradually increase the difficulty of your environment over several weeks:
- Week 1: Inside the house and backyard.
- Week 2: Driveway and immediate cul-de-sac.
- Week 3: Quiet residential streets during low-traffic hours.
- Week 4: Busier streets and the perimeter of a local park.
If your dog regresses and pulls heavily in a new environment, you have increased the distraction level too quickly. Take a step back to an easier environment, increase your treat value to high-grade chicken, and try again.
Troubleshooting Common Issues
Issue: My dog bites the leash while walking.
Leash biting is often a sign of frustration or over-arousal, not dominance. To combat this, carry a 'decoy' toy or a second leash. When they bite the primary leash, offer the decoy. Alternatively, smear a tiny amount of peanut butter on the handle of the leash to redirect their mouth upward while you reward loose leash steps.
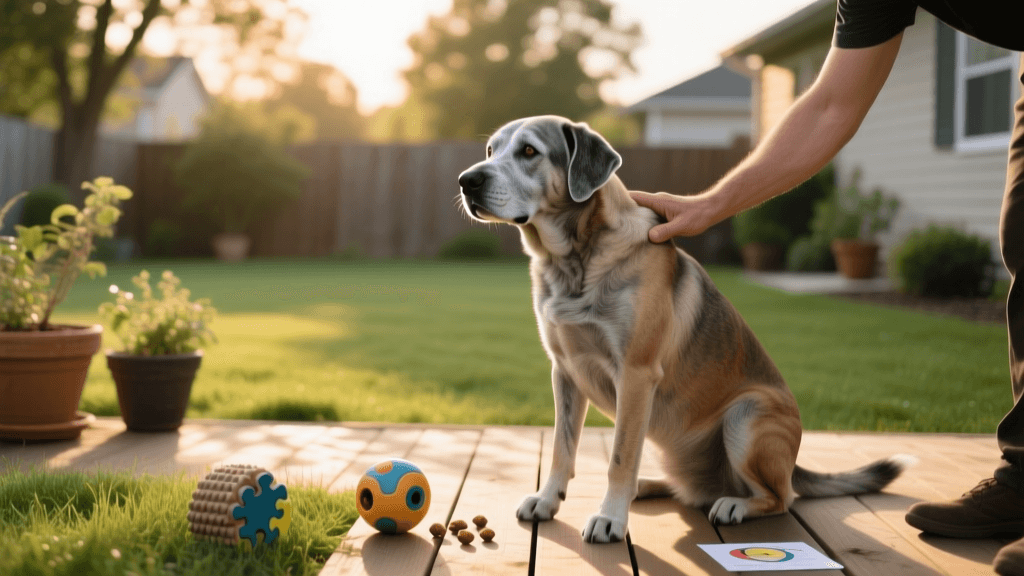
Issue: My dog just sits down and refuses to move.
If your dog goes on 'strike,' do not drag them. Crouch down, encourage them with a happy voice, and lure them forward with a high-value treat. Once they take a step toward you, reward heavily. They may simply be overwhelmed by the environment and need a moment to decompress.
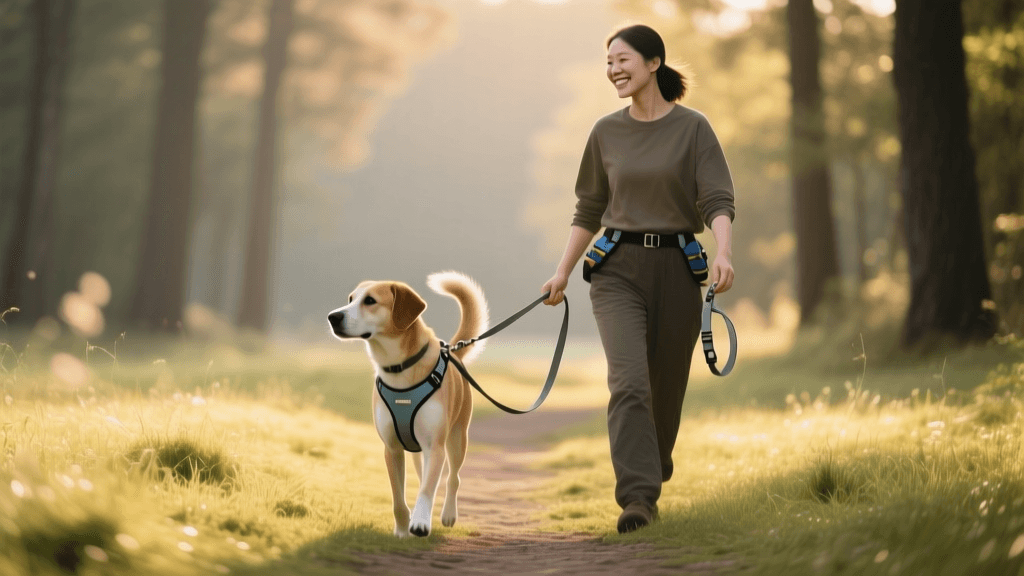
Conclusion
Loose leash walking is not a trick you teach in a single weekend; it is a lifelong communication system between you and your dog. By utilizing a front-clip harness, leveraging high-value rewards, and consistently enforcing the rule that 'tension stops the walk,' you will transform your daily strolls from a chore into a joy. Remember to keep training sessions short (5-15 minutes), end on a positive note, and celebrate the small victories along the way.
jonas-cole
All our authors care for dogs every day — read more of their work on the authors page.