How To Train A Dog To Heel
Learn about how to train a dog to heel with expert tips and data-backed advice.
Teaching Your Dog to Walk Calmly at Your Side
The heel is one of the most practical skills you can teach a dog, and one of the most misunderstood. It is not simply "walking without pulling." A true heel means your dog moves with its shoulder roughly aligned with your left leg, maintains that position through turns and pace changes, and does so because it finds the behaviour rewarding — not because it fears correction. Getting there takes structured repetition, precise timing, and a clear understanding of how dogs learn.
Before you pick up a leash, it helps to understand what you are actually asking. Dogs do not generalise well. A dog that heels perfectly in your kitchen may fall apart on a busy street. That is not stubbornness — it is how canine cognition works. The Association of Professional Dog Trainers (APDT) notes that dogs learn behaviours in context, which is why proofing across environments is a non-negotiable part of any heel training programme.
The Science Behind the Behaviour
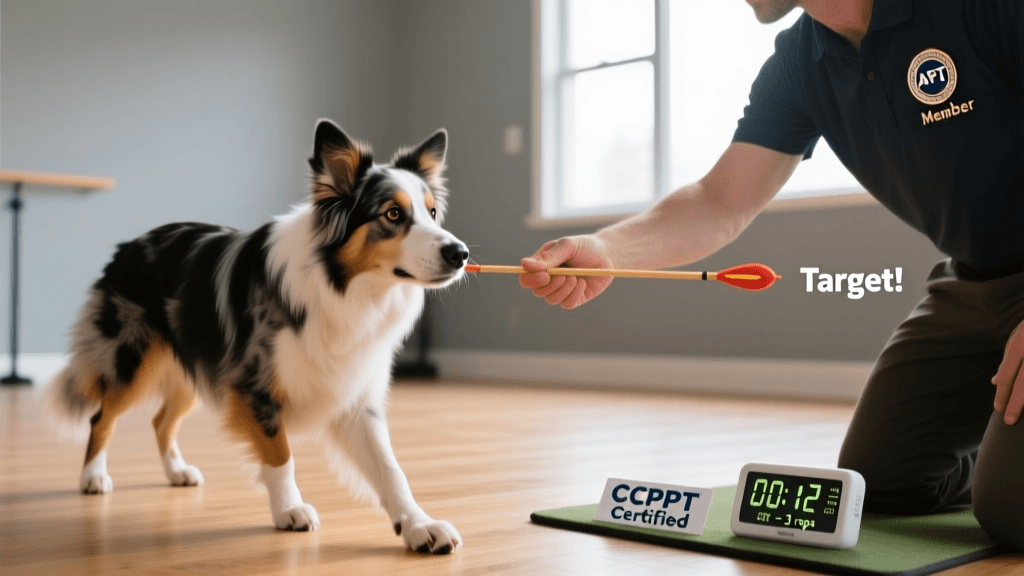
Heel training works best when it is grounded in operant conditioning, specifically positive reinforcement. When a dog performs a behaviour and something good immediately follows, the likelihood of that behaviour repeating increases. The critical word is "immediately." Research cited by the Certification Council for Professional Dog Trainers (CCPDT) in their 2022 competency standards indicates that the reinforcement window for dogs is approximately 1.3 seconds. Miss that window and you are reinforcing whatever the dog happened to be doing when the treat arrived — which may have nothing to do with heel position.
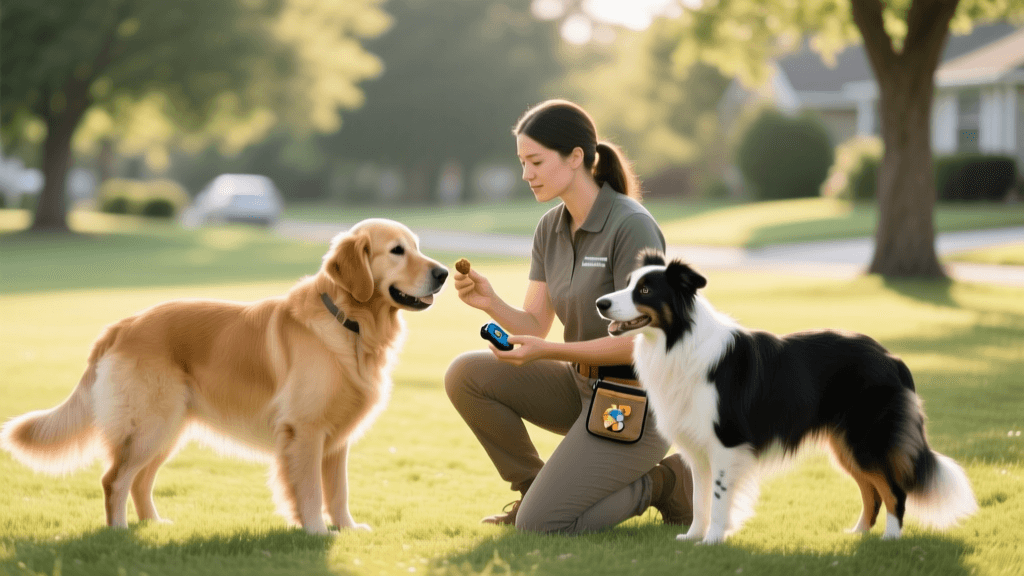
This is why marker training — using a clicker or a short verbal cue like "yes" — is so effective. The marker bridges the gap between the behaviour and the reward, giving you a precise way to communicate exactly what earned the treat. The marker itself becomes meaningful through classical conditioning: pair it with food 20 to 30 times before your first training session and the sound alone will carry weight.
Luring vs. Shaping
Two primary methods are used to get a dog into heel position initially. Luring uses food held in your hand to guide the dog into place. Shaping rewards successive approximations — first the dog stands near your left side, then closer, then with its shoulder aligned, then while moving. Both work. Luring is faster in the early stages; shaping tends to produce a dog that understands the position more deeply because it figured it out rather than following a food magnet.
Most trainers use a combination: lure the dog into position for the first three to five repetitions to give it the general idea, then fade the lure and begin rewarding the dog for offering the position independently. Keeping the lure too long creates a dog that only heels when it can see food in your hand.
Reward Schedules and Fading
In the early stages of heel training, reward every correct step — this is called a continuous reinforcement schedule (CRF). Once the dog is reliably holding position for 5 to 10 steps, begin moving to a variable ratio schedule: reward every second step, then every third, then unpredictably. Variable ratio schedules produce the most persistent behaviour because the dog never knows exactly when the next reward is coming. Slot machines operate on the same principle.
By the time your dog can heel for 30 consecutive steps in a low-distraction environment, you should be rewarding roughly every 8 to 12 steps on average, with occasional jackpots — three to five treats delivered rapidly — for particularly sharp performances.
Step-by-Step Training Protocol
The following protocol assumes a dog with no prior heel training and a handler using a clicker and small, high-value treats (approximately 1 cm pieces of cooked chicken or commercial training treats). Sessions should last no longer than 5 minutes for puppies under 6 months and no longer than 10 to 15 minutes for adult dogs. End every session before the dog loses focus, not after.
Week One: Position and Attention
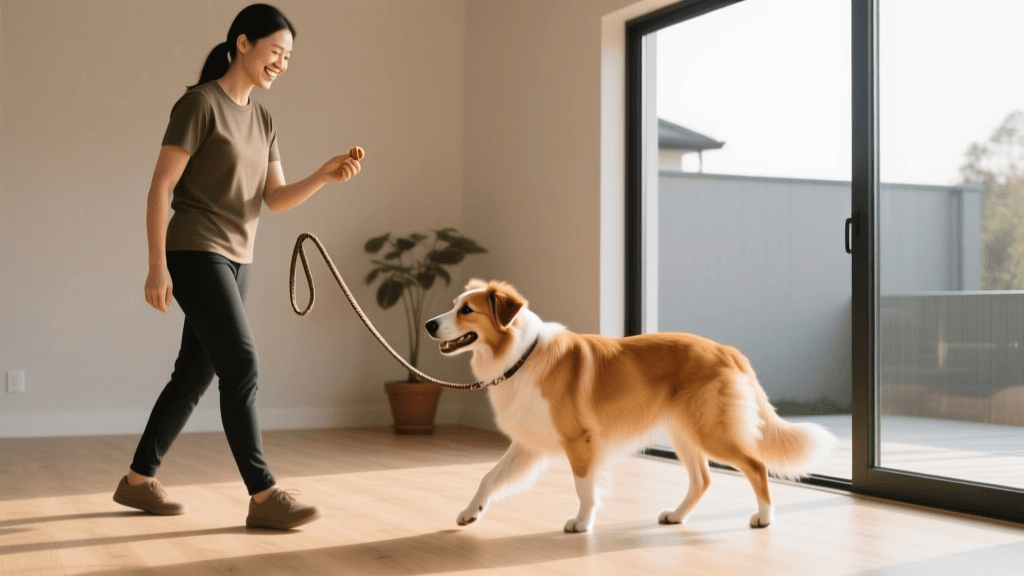
Start indoors with no leash. Hold a treat at your left hip and lure your dog into position beside your left leg. The moment its shoulder aligns with your leg, click and deliver the treat from your left hand at hip height. Repeat 10 times per session, twice daily. By day three, most dogs will begin moving toward the left-hip position without the lure visible. When that happens, ask for the position with an open left hand at your hip (the hand signal), click and reward when the dog arrives.
Introduce the verbal cue "heel" on day four or five, once the dog is reliably moving into position. Say "heel" once, pause one second, then give the hand signal. You are pairing the word with the action the dog already understands. Do not repeat the cue — saying "heel heel heel" teaches the dog that the third repetition is the real one.
Week Two: Movement
Take one step forward after the dog reaches heel position. Click and reward if it moves with you. Gradually extend to 3 steps, then 5, then 10. Add a left turn (which naturally brings the dog closer to you — easier) before adding a right turn (which requires the dog to speed up to stay in position — harder). Introduce an about-turn only after the dog is solid on both left and right turns.
Attach the leash during week two, but treat it as a safety net, not a steering wheel. If you are using the leash to keep the dog in position, you are not training heel — you are managing the dog. The leash should remain loose throughout every repetition.
Common Mistakes and How to Avoid Them
The most frequent error handlers make is moving too fast. A dog that heels for 10 steps in the living room is not ready for a 10-step heel on a park path. The APDT's 3D framework — Duration, Distance, and Distraction — should be increased one variable at a time. Increase duration (more steps) before adding distraction. Add distraction before increasing distance from the handler. Trying to add all three simultaneously is the single most common reason heel training stalls.
A second common mistake is punishing the dog for breaking heel. If your dog drifts out of position, the correct response is to stop moving, wait for the dog to re-orient to you, then mark and reward when it returns to position. Punishment tells the dog what not to do; it does not teach what to do instead. Dogs trained with aversive methods may appear to heel reliably in calm conditions but show significantly higher rates of stress behaviours and position breakdown under distraction, according to a 2021 study published in the journal Applied Animal Behaviour Science.
A third mistake is inconsistent criteria. Decide before you start exactly what heel means in your household: shoulder aligned with your left leg, dog's head forward, leash loose. Then reward only that. If you sometimes reward the dog for being vaguely near your left side, you are teaching "somewhere around here" rather than a precise position.
Training Benchmarks and Progression Milestones
Having clear benchmarks helps you know when to progress and when to consolidate. The table below outlines a realistic progression for a dog starting from scratch with no prior heel training.
| Week | Target Behaviour | Environment | Reward Frequency |
|---|---|---|---|
| 1 | Dog moves into heel position on hand signal | Indoors, no leash | Every repetition (CRF) |
| 2 | 5–10 steps in heel, left and right turns | Indoors, leash on | Every 2–3 steps |
| 3 | 20–30 steps, about-turns, pace changes | Quiet outdoor area | Every 5–8 steps |
| 4–6 | 50+ steps with mild distractions present | Suburban street, park edge | Every 8–12 steps, variable |
| 8–12 | Reliable heel past other dogs and people | High-distraction environments | Variable, jackpots for excellence |
Equipment That Supports — and Equipment That Undermines — Training
A standard flat collar or well-fitted harness with a front clip is appropriate for most dogs learning to heel. Front-clip harnesses reduce pulling mechanically, which can make early training sessions less frustrating, but they do not teach the dog anything on their own. The training still has to happen.
Avoid retractable leashes entirely during heel training. They teach the dog that pulling extends its range, which is the opposite of what you want. A standard 4-foot or 6-foot leash gives you enough slack to keep it loose while maintaining control.
Prong collars and e-collars are sometimes marketed as heel-training tools. The International Association of Animal Behavior Consultants (IAABC), headquartered in Cranberry Township, Pennsylvania, recommends against aversive tools as a first-line approach, citing evidence that they increase anxiety and can create negative associations with the handler. If you are working with a dog that has a history of leash reactivity or aggression, consult a certified professional — either a CCPDT-certified trainer (CPDT-KA or CPDT-KSA credential) or a veterinary behaviourist — before introducing any equipment beyond a standard collar or harness.
Proofing Heel in Real-World Conditions
Once your dog heels reliably in low-distraction environments, systematic proofing is what turns a training-room behaviour into a real-world skill. The Monks of New Skete, whose dog training programme at their monastery in Cambridge, New York has been influential since the 1970s, emphasise that a behaviour is only as strong as the variety of contexts in which it has been practised.
Build a proofing list and work through it methodically:
- Heel past a stationary person at 10 feet, then 5 feet, then directly past
- Heel past another dog on leash at increasing proximity
- Heel on different surfaces: grass, gravel, pavement, wet ground
- Heel with a bicycle passing at 20 feet, then 10 feet
- Heel when you are carrying bags or wearing a backpack
- Heel when you are talking on the phone or to another person
- Heel past food on the ground
Each item on the list is a new training challenge. Return to a higher reward frequency whenever you introduce a new distraction. A dog that heels past a bicycle for the first time deserves a jackpot, even if it has been heeling past people for weeks.
Proofing is also where many handlers discover gaps in their own mechanics. Inconsistent pace, tense leash handling, and looking down at the dog (which causes you to slow and curve your path) are all common handler errors that become visible under distraction. Video yourself from behind during a training session — the footage is often instructive.
Maintaining the Behaviour Long-Term
Heel is a behaviour that requires maintenance. A dog trained to heel at 18 months will not automatically heel perfectly at age 5 without continued practice. Short, frequent sessions — even 2 to 3 minutes of heel work built into a regular walk — are more effective than occasional long sessions. Reward the behaviour intermittently throughout the dog's life. The variable ratio schedule that built the behaviour in training is the same schedule that keeps it strong over years.
If the behaviour degrades — which can happen after illness, a move, a new baby, or any significant change in the household — treat it as a training regression rather than a character flaw. Go back to the last level at which the dog was reliable, rebuild from there, and progress more quickly the second time. Dogs retain motor patterns well; retraining a behaviour that has been learned before is almost always faster than the original training.
"The goal of training is not a dog that obeys under perfect conditions. It is a dog that understands what you are asking and chooses to do it because the relationship makes that worthwhile." — Karen Pryor, founder of Karen Pryor Clicker Training, whose work at the Oceanic Institute in Hawaii in the 1960s helped establish the scientific foundation for marker-based animal training.
Heel training, done well, is less about control and more about communication. A dog that heels reliably is a dog that is paying attention to you, that finds working with you rewarding, and that has been given enough clear, consistent information to understand exactly what you want. That takes time — typically 8 to 12 weeks of consistent work for a dog starting from scratch — but the result is a skill that makes every walk more enjoyable for both of you.
Tom Renshaw
All our authors care for dogs every day — read more of their work on the authors page.