Diagnose and Fix Dog Leash Reactivity: A Training Guide
Discover the root causes of dog leash reactivity and learn actionable, step-by-step training solutions to stop lunging and barking on walks.

Understanding Leash Reactivity: More Than Just Bad Behavior
Leash reactivity is one of the most common and frustrating behavioral issues reported by dog owners. It manifests as lunging, barking, growling, or frantic pulling when a dog sees a trigger—usually another dog, a stranger, or a fast-moving vehicle—while on a walk. According to the ASPCA, reactivity is often misunderstood as outright aggression, but it is primarily a stress response rooted in either fear or barrier frustration. Diagnosing the root cause of your dog's reactivity is the critical first step before implementing any training solutions. Without proper diagnosis, well-meaning owners often apply the wrong techniques, which can inadvertently worsen the behavior or damage the human-animal bond.
Diagnosing the Root Cause: Fear vs. Barrier Frustration
To effectively treat leash reactivity, you must determine whether your dog is reacting out of fear or frustration. The training protocols for each differ slightly in their execution and end goals.
Fear-Based Reactivity
A fearful dog reacts because they feel trapped by the leash and want the trigger to go away. Their body language often includes pinned-back ears, a tucked tail, whale eye (showing the whites of their eyes), and attempts to hide behind the owner. When the trigger retreats or the owner creates distance, the fearful dog will quickly de-escalate and show signs of relief, such as shaking off or taking a deep breath. The goal for fearful dogs is classical conditioning: changing their emotional response so they feel safe.
Barrier Frustration (Leash Rage)
A frustrated dog reacts because the leash prevents them from doing what they want—usually rushing forward to greet, play, or investigate. These dogs often have excellent off-leash social skills and play beautifully with other dogs in a fenced environment. On-leash, however, they lunge, whine, and bark out of sheer excitement and frustration at the physical barrier holding them back. The goal for frustrated dogs is operant conditioning: teaching impulse control and alternative, calm behaviors.
Essential Gear for Reactive Dog Training
Attempting to train a reactive dog with the wrong equipment is a recipe for failure and potential injury. Retractable leashes and choke chains can increase anxiety and cause physical harm. Invest in the following specific tools to set up your training sessions for success:
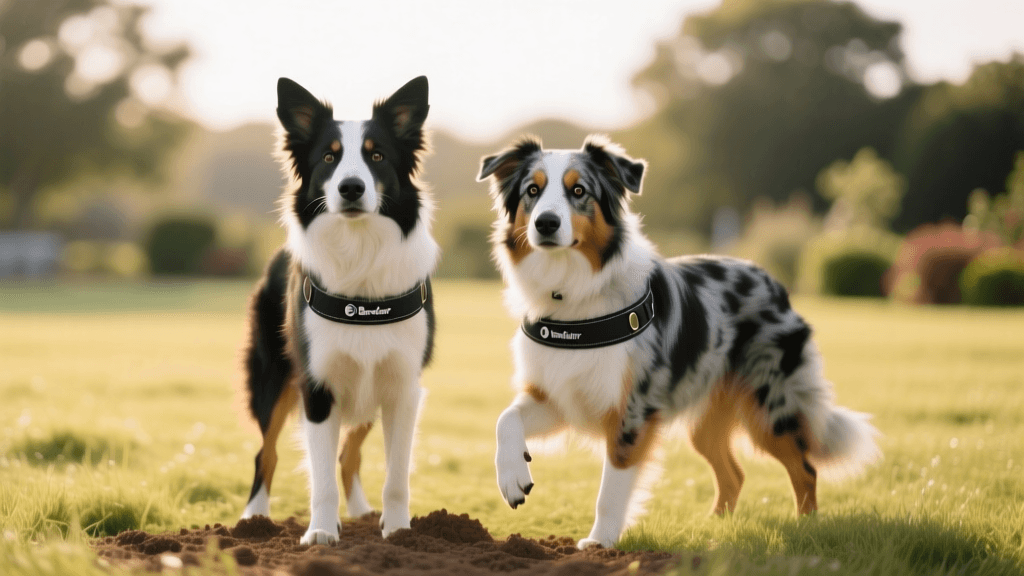
- Front-Clip Harness: A harness with a front chest ring redirects the dog's momentum toward you when they pull. The Ruffwear Front Range Harness (approx. $39.95) or the 2 Hounds Design Freedom No-Pull Harness (approx. $35.00) are excellent, durable choices that do not restrict shoulder movement.
- Standard Leash: Use a 6-foot leather or biothane leash. Leather provides an excellent grip and does not burn your hands if the dog pulls. The Mendota Products 6-foot British Oiled Leather Lead (approx. $45.00) is a professional-grade option. Avoid nylon leashes that can slip through your fingers.
- Long Line for Decompression: A 15-foot biothane long line (approx. $30.00) allows your dog to sniff and decompress in open, low-traffic areas without the tension of a short leash, which can trigger barrier frustration.
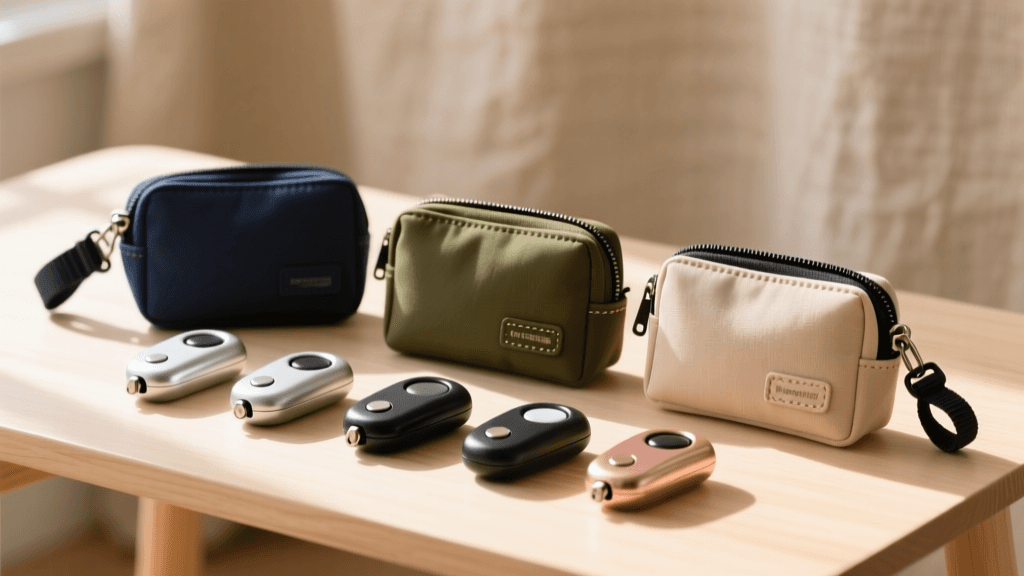
- Treat Pouch: You need rapid access to rewards. The Ruffwear Treat Trader (approx. $29.95) features a magnetic closure that allows for one-handed treat retrieval, which is crucial when managing a reactive dog.
- High-Value Treats: Dry kibble will not compete with the adrenaline of a trigger. Use soft, smelly treats like Zuke's Mini Naturals (approx. $7.00 per bag), boiled chicken breast, or string cheese. Cut them into pea-sized pieces to prevent overfeeding.
Understanding Thresholds and Trigger Stacking
A threshold is the invisible boundary at which your dog notices a trigger but remains capable of thinking, learning, and eating treats. Once a dog crosses over their threshold, their brain enters a fight-or-flight state, and the learning center of the brain essentially shuts down. According to the Humane Society of the United States, pushing a dog past their threshold repeatedly can lead to chronic stress and a lowered bite inhibition, making safety a primary concern.
You must also be aware of trigger stacking. This occurs when multiple minor stressors accumulate over a day, lowering the dog's overall threshold. For example, a loud garbage truck in the morning, a visitor at noon, and a hot afternoon can cause a dog to react to another dog at 50 feet, even if their normal threshold is 20 feet. Always assess your dog's baseline stress levels before heading out for a training walk.
Trigger Distance Management Chart
Use the following chart to diagnose your dog's current emotional state based on the distance to a trigger and dictate your immediate action plan.
| Zone | Distance to Trigger | Dog's Body Language & Behavior | Owner Action Plan |
|---|---|---|---|
| Green Zone | Below Threshold (e.g., 50+ ft) | Relaxed posture, ears neutral, willingly takes treats, responds to known cues like 'sit' or 'touch'. | Engage in active training. Play the Engage-Disengage game. Reward heavily for calm observation. |
| Yellow Zone | Approaching Threshold (e.g., 30 ft) | Stiffening, staring, closed mouth, ears pinned forward, slower to take treats or taking them harder. | Stop training. Create distance immediately. Use an emergency U-turn or cross the street. Toss treats on the ground for sniffing. |
| Red Zone | Over Threshold (e.g., 15 ft) | Lunging, barking, growling, refusing treats, pulling with full body weight, unresponsive to owner. | Do not punish. Calmly leash the dog and remove them from the situation. The training session is over; focus solely on safe management. |
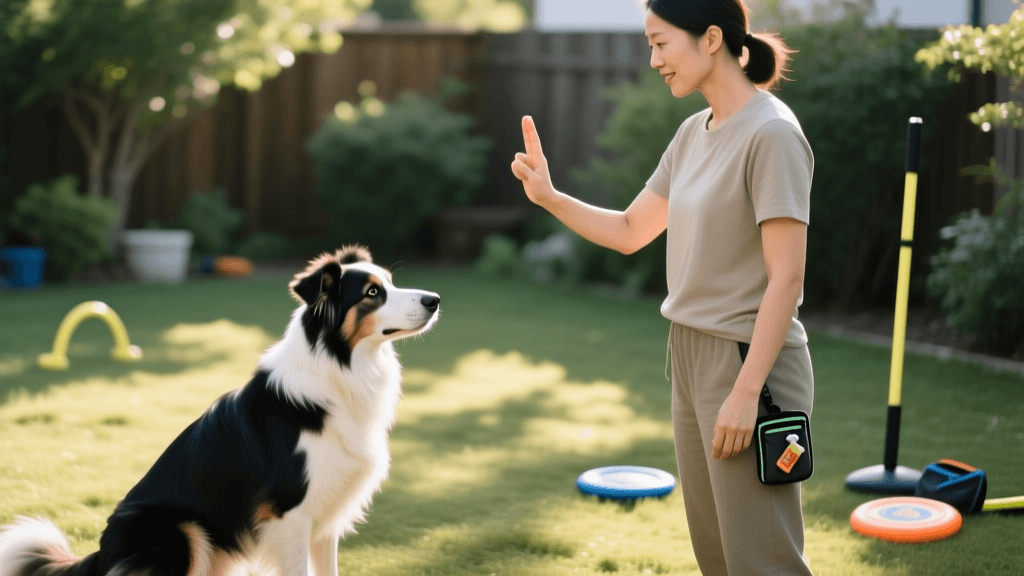
Step-by-Step Solution: The Engage-Disengage Game
Once you have the right gear and understand your dog's threshold, you can begin the Engage-Disengage game. This protocol, rooted in classical and operant conditioning, teaches the dog that looking at a trigger predicts a reward, and ultimately, that looking away from the trigger to the owner is the most rewarding choice.
Phase 1: Classical Conditioning (Engage)
- Spot the Trigger: Stand with your dog in the Green Zone, well below their threshold distance.
- Mark the Behavior: The exact second your dog looks at the trigger, use a marker word like 'Yes!' or click a clicker.
- Deliver the Reward: Immediately give a high-value treat. It does not matter if your dog is still staring at the trigger; you are building a positive emotional association. The trigger makes chicken appear.
- Repeat: Do this for 3 to 5 minutes, or until your dog begins to anticipate the treat when they see the trigger.
Phase 2: Operant Conditioning (Disengage)
- Wait for the Turn: When your dog looks at the trigger, wait up to 3 seconds. Do not mark immediately.
- Mark the Disengage: The moment your dog voluntarily turns their head away from the trigger to look at you, mark with 'Yes!'
- Reward Away from the Trigger: Deliver the treat away from the trigger line, encouraging the dog to maintain their focus on you.
- Build Duration: Gradually increase the time your dog must look at you before receiving the reward, building impulse control.
Emergency Protocols: The Magnet Walk and U-Turn
Even with meticulous planning, you will encounter unexpected triggers that push your dog into the Red Zone. You need emergency management protocols to keep everyone safe. The Centers for Disease Control and Prevention (CDC) emphasizes that preventing dog bites and conflicts relies heavily on owner awareness and immediate physical management.
The Magnet Walk
Keep a handful of high-value treats in your hand and press them against your dog's nose. Walk backward or sideways, luring your dog past the trigger while they are locked onto the food in your hand. This is not a training exercise; it is a management tool to bypass a trigger without your dog rehearsing the reactive behavior.
The Emergency U-Turn
Teach this in a low-distraction environment first. Say a specific cue like 'Let's Go!' in a cheerful voice, pivot 180 degrees, and jog a few steps away, tossing a handful of treats on the ground behind you. When a surprise dog appears around a corner, use this cue immediately to create distance before your dog has time to react.
Setting Realistic Timelines and Seeking Professional Help
Behavior modification is not a quick fix; it is a lifestyle adjustment. For mild frustration, you may see significant improvements in 4 to 6 weeks of consistent daily practice. For deep-seated fear-based reactivity, expect the process to take 3 to 6 months, or longer, depending on the dog's history and genetics.
If your dog has a bite history, or if you feel unsafe handling them on walks, it is imperative to hire a certified professional. Look for a Certified Applied Animal Behaviorist (CAAB) or a Victoria Stilwell Positively Dog Trainer who uses force-free, science-based methods. Professional sessions typically range from $150 to $250 per hour, but the investment is crucial for the safety of your dog and your community. Remember, the goal of training a reactive dog is not necessarily to make them a social butterfly, but to help them navigate the world calmly, safely, and without chronic stress.
hannah-wickes
All our authors care for dogs every day — read more of their work on the authors page.