First Week Crate Training: A Step-by-Step New Dog Guide
Master your new dog's first week with our step-by-step crate training guide. Learn sizing, timing, and positive reinforcement for success.
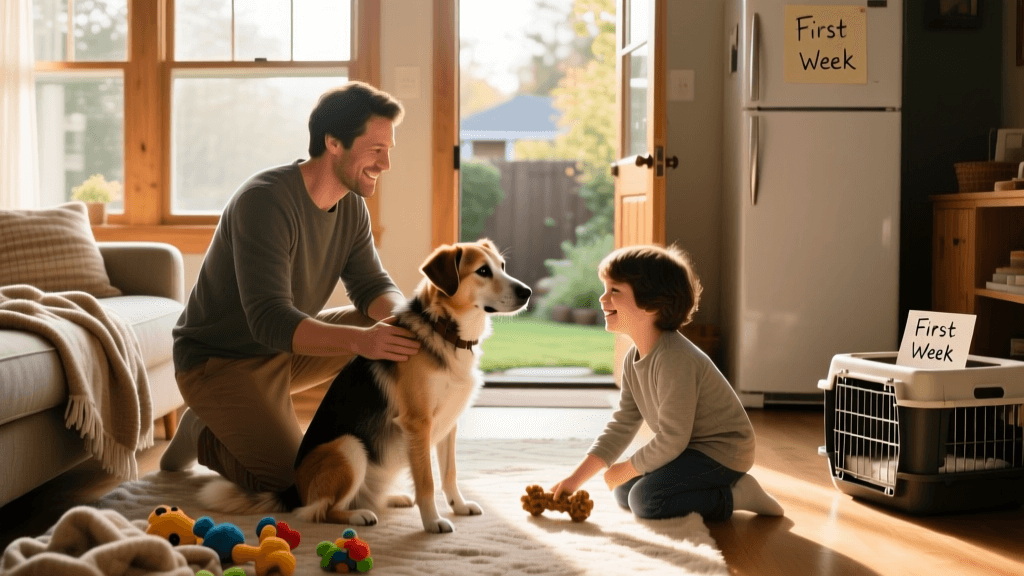
First Week Crate Training: Setting Your New Dog Up for Success
Bringing a new dog home is one of the most exciting milestones in a person’s life, but the first 72 hours are critical for establishing boundaries, routines, and a sense of security. Whether you have just adopted a senior rescue dog or purchased an eight-week-old puppy, the crate is your most valuable tool for a smooth transition. Crate training is not about confinement; it is about providing a predictable, safe den where your new dog can decompress from the overwhelming sensory input of a brand-new environment. In this comprehensive step-by-step guide, we will walk you through the exact process of crate training your new dog during their crucial first week at home, complete with product recommendations, timing schedules, and expert-backed behavioral strategies.
The Psychology Behind Crate Training
Dogs are naturally denning animals. In the wild, canines seek out small, enclosed spaces to sleep, hide, and raise their young. A properly introduced crate taps into this instinctual desire for a secure sanctuary. When a new dog enters your home, they are often experiencing severe overstimulation. The unfamiliar scents, new sounds, and different floor textures can cause anxiety. A crate offers a ‘safe zone’ where the dog knows they will not be disturbed by children, other pets, or household chaos. By leveraging positive reinforcement, you can transform a metal or plastic enclosure into your dog’s favorite retreat, effectively preventing separation anxiety and destructive behaviors before they even begin.
Step 1: Selecting the Right Crate and Supplies
Before your dog’s paws ever touch your living room floor, you must have the correct equipment ready. The size of the crate is the most common point of failure for new owners. If the crate is too large, a puppy may designate one corner for sleeping and the opposite corner for eliminating, which completely defeats the purpose of housetraining. If it is too small, the dog will feel cramped and anxious.
Sizing and Measurements
To find the perfect fit, measure your dog from the tip of their nose to the base of their tail, and then add two to four inches. Next, measure from the top of their head (or ears, if they are erect) to the ground, adding two inches. Your dog must be able to stand up without ducking their head, turn around in a full circle, and lie down stretched out. For growing puppies, purchase a crate with an adjustable divider panel. This allows you to expand the living space incrementally as they grow, saving you from buying multiple crates.
Product Recommendations and Costs
- Wire Crates: The Midwest Homes for Pets iCrate (approx. $50 - $70) is an industry standard. It folds flat for storage, includes a divider panel, and offers excellent visibility and ventilation.
- Plastic Airline Crates: The Petmate Sky Kennel (approx. $75 - $120) is ideal for anxious rescue dogs or travel. The enclosed sides create a darker, more secure den-like environment.
- Bedding: Avoid plush beds for the first week, as puppies and anxious rescues may chew and ingest the stuffing. Opt for a tightly woven, chew-resistant mat like the K9 Ballistics Tough Bed (approx. $80) or simply use folded, washable cotton towels.
- Enrichment Toys: A Kong Classic (approx. $15) stuffed with frozen peanut butter or plain pumpkin puree is essential for keeping your dog occupied and building positive associations with the crate.
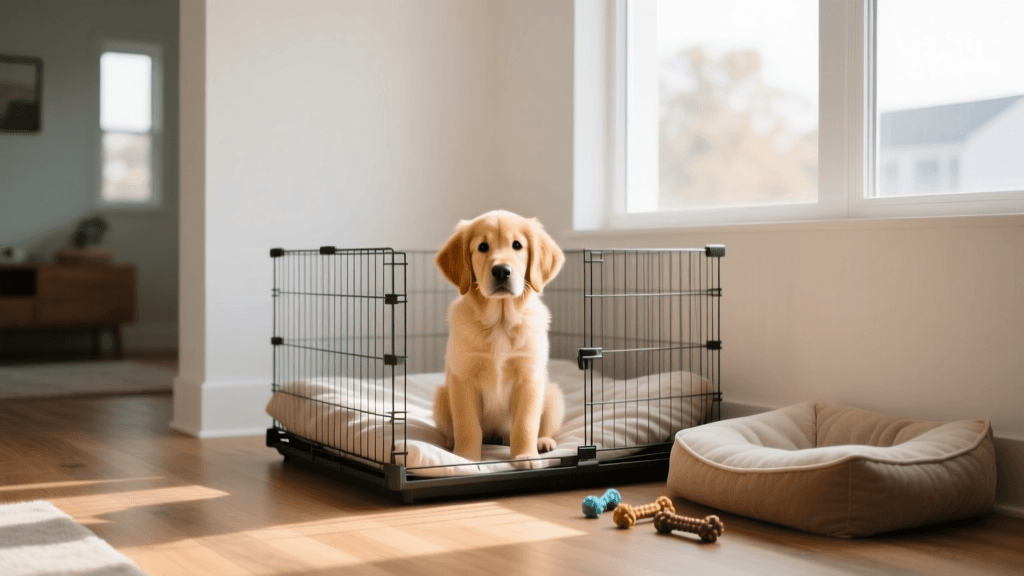
Step 2: Setting Up the Crate Environment
Location is everything. During the first week, do not banish the crate to a lonely basement or a distant laundry room. Dogs are social pack animals, and isolation during the decompression phase can trigger panic. Place the crate in a quiet corner of a high-traffic room, such as the living room or your bedroom. This allows your new dog to observe family activities and feel included without being in the center of the action. Ensure the crate is away from direct sunlight, heating vents, and drafty windows. Drape a light, breathable blanket over the top and back of a wire crate to simulate a den roof, which significantly lowers visual overstimulation for nervous rescues.
Step 3: The First 48 Hours – Introduction and Positive Association
According to the American Kennel Club (AKC), making the crate a positive space is paramount. Never force your new dog into the crate by pushing them from behind or dragging them by the collar. This will immediately associate the space with fear and coercion. Instead, use high-value treats like boiled chicken breast, Zuke’s Mini Naturals, or string cheese. Start by tossing treats just inside the threshold. Once the dog steps in willingly to retrieve the reward, toss the next treat further to the back. Feed your dog their first few meals at home inside the crate with the door wide open. This builds a powerful psychological link between the crate and survival resources.
Step 4: Building Duration and Nighttime Success
The ASPCA recommends gradually increasing the time your dog spends in the crate while you are present in the room before attempting to leave the house. For puppies, a general rule of thumb for bladder control is one hour per month of age (e.g., a two-month-old puppy can hold it for roughly two hours). Adult rescue dogs may have the physical capacity to hold it longer, but their emotional tolerance for confinement may be much lower due to past trauma. Always take your dog directly outside to their designated potty spot immediately after releasing them from the crate, and reward them heavily for eliminating outdoors.
Your 7-Day Crate Training Schedule
| Day | Daytime Goal | Nighttime Goal | Reward Type |
|---|---|---|---|
| Day 1-2 | 5-10 mins, door open or loosely shut | Bedroom, door open or closed | High-value treats, meals |
| Day 3-4 | 15-20 mins, door closed, owner visible | Bedroom, door closed | Meals inside crate |
| Day 5-6 | 30-45 mins, owner stepping out briefly | Bedroom, door closed | Frozen stuffed Kong toy |
| Day 7 | 1-2 hours, owner out of sight | Transition to final location | Praise and long-lasting chew |
Troubleshooting Whining and Barking
It is almost guaranteed that your new dog will vocalize their displeasure at some point during the first week. The Humane Society of the United States advises against using the crate as a punishment, emphasizing that it must remain a safe haven. If your dog whines or barks, wait for a brief moment of silence before opening the door. If you let them out while they are screaming, you have just taught them that making noise is the key to unlocking the door. If the whining persists and you suspect they need to eliminate, take them outside on a leash in silence, allow them to potty, and immediately return them to the crate. Do not offer playtime or affection during these midnight potty breaks, as this can accidentally reinforce the waking behavior.
Remember the 3-3-3 rule for rescue dogs: 3 days to decompress, 3 weeks to learn your routine, and 3 months to start feeling at home. Crate training must respect this emotional timeline. Patience is your greatest asset.
Common First-Week Mistakes to Avoid
- Using the Crate for Time-Outs: Never use the crate as a penalty box. If your dog chews a shoe, manage the environment better next time, but do not banish them to the crate in anger.
- Leaving the Dog Crated Too Long: Crating a dog for eight hours while you work, followed by crating them for eight hours while you sleep, is a recipe for behavioral disaster and muscle atrophy. Arrange for a midday dog walker or come home during lunch to provide a physical and mental break.
- Ignoring Potty Signals: A crate is a management tool, not a babysitter. If your dog is pacing, sniffing, or whining, they likely need to go outside immediately.
- Collars in the Crate: Always remove your dog’s collar, especially tags or choke chains, before crating them. Tags can easily become snagged on the wire grates or plastic ventilation slots, posing a severe strangulation hazard.
Final Thoughts on Your Dog's First Week
The first week with a new dog is a marathon of patience, sleep deprivation, and constant vigilance. By committing to this step-by-step crate training guide, you are laying a foundation of trust and structure that will benefit your dog for the rest of their life. Remember that setbacks are normal; a sudden bout of whining or a potty accident does not mean you have failed. Stick to the schedule, keep your energy calm and assertive, and celebrate the small victories. Within a few short weeks, you will likely find your dog voluntarily retreating to their crate for a peaceful nap, proving that you have successfully provided them with the security they desperately need in their new forever home.
jonas-cole
All our authors care for dogs every day — read more of their work on the authors page.