Step-by-Step Guide to Training Your Dog for Car Travel
Learn how to train your dog for safe car travel with this step-by-step guide. Discover crate sizing, harness ratings, and desensitization timelines.
The Hidden Dangers of Unrestrained Dogs in Vehicles
Many dog owners view car travel as a simple necessity, often allowing their pets to roam freely in the backseat or rest their heads out the window. However, an unrestrained dog in a moving vehicle poses a severe safety risk to both the pet and the human passengers. In the event of a sudden stop or collision, a 50-pound dog can generate over 2,000 pounds of projectile force. According to the ASPCA, pets should always be secured in a well-ventilated crate or carrier when traveling by car to prevent injury and minimize driver distraction. Furthermore, teaching your dog to associate the car with positive experiences is just as critical as the physical restraint system you choose. This comprehensive, step-by-step training guide will walk you through selecting the right gear, measuring for a perfect fit, and executing a 14-day desensitization protocol to ensure your dog is a calm, safe, and happy co-pilot.
Step 1: Select the Right Safety Restraint System
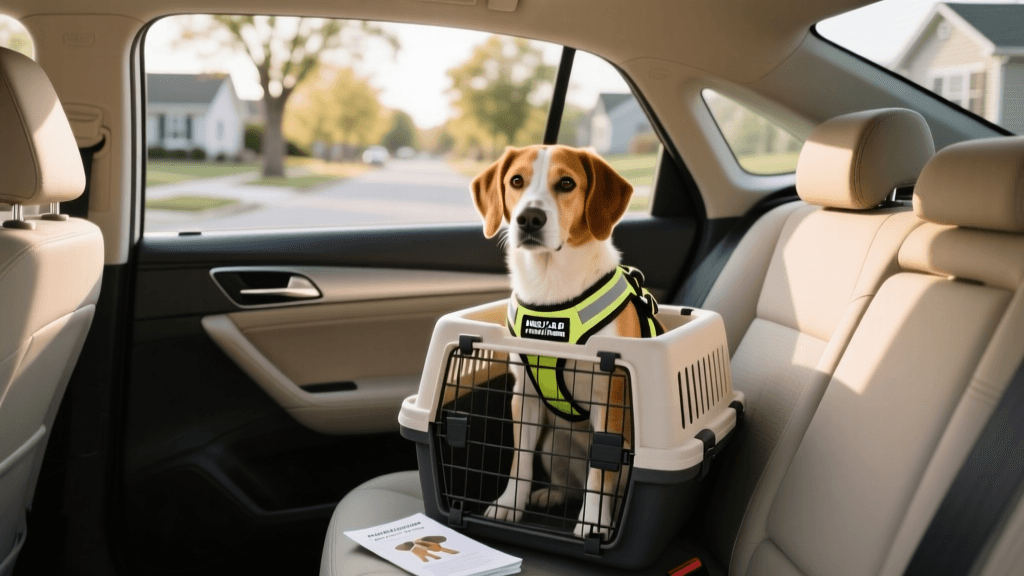
Before you begin training, you must invest in a proper restraint system. The Center for Pet Safety (CPS) is a non-profit organization that conducts rigorous, independent crash tests on pet travel products. When shopping, always look for the CPS certification seal. The two primary options are crash-tested crates and safety harnesses. Your choice will depend on your vehicle type, your dog's size, and your travel frequency.
| Restraint Type | Best For | Pros | Cons | Avg Cost |
|---|---|---|---|---|
| CPS-Certified Crate (e.g., Gunner G1) | Large dogs, SUVs, long road trips | Maximum protection, prevents projectile, highly durable | Heavy, takes up significant cargo space, expensive | $400 - $900 |
| CPS-Certified Harness (e.g., Sleepypod Clickit) | Medium dogs, sedans, daily commutes | Comfortable, easy to store, doubles as a walking harness | Does not prevent all lateral movement, requires seatbelt threading | $60 - $120 |
| Hard-Sided Airline Carrier | Small dogs (under 15 lbs), flights | Portable, versatile for air and auto travel | Minimal crash protection compared to auto-specific crates | $40 - $150 |
Step 2: Precise Measurements for Crates and Harnesses
An ill-fitting crate or harness can cause chafing, anxiety, and reduced safety efficacy. If you opt for a crate, your dog must be able to stand up without their head touching the top, turn around comfortably, and lie down flat. Use a soft measuring tape to record the following dimensions:
- Length: Measure from the tip of your dog's nose to the base of their tail (do not include the tail length). Add 3 inches to this measurement for the minimum interior crate length.
- Height: Measure from the floor to the top of your dog's head (or the tips of their ears if they are erect). Add 3 inches to determine the minimum interior crate height.
If you are using a harness, measure the girth of your dog's chest at its widest point (usually right behind the front elbows) and the base of the neck. Consult the specific manufacturer's sizing chart, as a 'Medium' in one brand may be a 'Large' in another.
Step 3: The 14-Day Desensitization and Training Protocol
Forcing a fearful dog into a car will only reinforce their anxiety. The American Kennel Club (AKC) recommends a gradual, positive-reinforcement-based approach to car training. Dedicate 10 to 15 minutes a day to the following 14-day protocol.
Phase 1: Days 1-3 (Indoor Introduction)
Before the crate or harness ever touches the car, introduce it in your living room. Leave the crate door open and place high-value treats, such as freeze-dried beef liver or Zuke's Mini Naturals (approx. $6 per bag), inside. Feed your dog their regular meals inside the crate to build a strong positive association. If using a harness, put it on for 5 minutes during playtime, rewarding heavily, then remove it before the dog shows signs of irritation.
Phase 2: Days 4-7 (The Driveway Stage)
Move the crate to the backseat or cargo area of your parked car. Do not turn on the engine. Use a specific cue word like 'Load up' and lure your dog inside with a favorite toy or a lick mat smeared with peanut butter. Sit in the car with your dog, offering calm praise and gentle petting. Keep these sessions under 10 minutes. The goal is to teach the dog that the car is a safe, relaxing environment, not just a precursor to a stressful vet visit.
Phase 3: Days 8-11 (Engine On and Short Idles)
Secure your dog in their restraint system. Start the car engine, but do not drive away. Turn on the air conditioning or heater to ensure a comfortable temperature. Provide a long-lasting chew, such as a natural bully stick ($8 each), to keep them occupied and associate the sound and vibration of the engine with a rewarding experience. After 5 minutes, turn the car off, release the dog, and go back inside the house.
Phase 4: Days 12-14 (Neighborhood Excursions)
Begin taking short, 5-minute drives around your neighborhood. Crucially, the destination must be highly rewarding. Drive to a local park, a pet-friendly store, or a friend's house where your dog loves to play. Avoid driving to the veterinarian or the groomer during this training phase, as these destinations can trigger anxiety and undo your progress. Always end the trip with a fun activity before heading home.
Step 4: Managing Canine Motion Sickness and Anxiety
Even with perfect training, some dogs suffer from physiological motion sickness due to an underdeveloped inner ear, or severe anxiety that manifests as panting, drooling, and whining. To mitigate these issues, withhold food for 2 to 3 hours before a car trip to prevent nausea, but ensure they have access to water. Consider using an Adaptil Transport Spray ($25), which releases synthetic dog-appeasing pheromones. Spray it inside the crate or on the harness 15 minutes before loading your dog. If your dog's motion sickness is severe, consult your veterinarian about prescribing Cerenia (maropitant citrate), a highly effective, non-drowsy anti-nausea medication specifically formulated for canines.
The Ultimate Dog Car Travel Packing Checklist
Preparation is the cornerstone of safe and stress-free travel. Keep a dedicated 'dog travel bag' in your trunk stocked with the following essentials:
- Collapsible Silicone Water Bowl ($10): Essential for hydration on trips longer than two hours.
- Spill-Proof Water Bottle ($15): Prevents messes in the vehicle while keeping fresh water accessible.
- Poop Bags and Cleaning Wipes ($8): For inevitable bathroom breaks and accidental car sickness cleanups.
- Updated ID Tags and Microchip Info: Ensure your dog's collar tag has your current mobile number in case they slip out of the car at a rest stop.
- Familiar Comfort Item: A worn t-shirt with your scent or their favorite blanket to reduce environmental stress.
Conclusion
Training your dog for safe car travel is an investment in their well-being and your peace of mind. By selecting CPS-certified restraints, taking precise measurements, and committing to a patient, 14-day desensitization protocol, you can transform car rides from a stressful ordeal into an enjoyable bonding experience. Remember that consistency and positive reinforcement are your greatest tools. With time, your dog will learn to love the open road just as much as you do.
beth-carrasco
All our authors care for dogs every day — read more of their work on the authors page.