Essential Dog First Aid Kit and Evacuation Plan Guide
Learn how to build a comprehensive dog first aid kit and create a pet-friendly emergency evacuation plan to keep your dog safe during natural disasters.
Why Every Dog Owner Needs an Emergency Action Plan
When a natural disaster strikes, whether it is a rapidly spreading wildfire, a sudden hurricane, or a severe winter storm, the chaos can be overwhelming. For dog owners, the stakes are even higher because our pets rely entirely on us for their safety and survival. According to the Federal Emergency Management Agency (FEMA), millions of pets are separated from their owners or injured during disasters each year simply because families lacked a concrete evacuation plan and proper emergency supplies. Preparing for the unexpected is not just a recommendation; it is a fundamental responsibility of pet ownership.
Creating a robust emergency strategy involves two main components: assembling a specialized canine first-aid kit and developing a step-by-step evacuation protocol. In high-stress situations, your cognitive function may be impaired by adrenaline and panic. Having a pre-packed kit and a rehearsed plan ensures that you can act swiftly, efficiently, and safely to protect your dog's life. This guide will walk you through the exact supplies, measurements, and strategies you need to build a comprehensive emergency preparedness system for your dog.
Building the Ultimate Dog First-Aid Kit
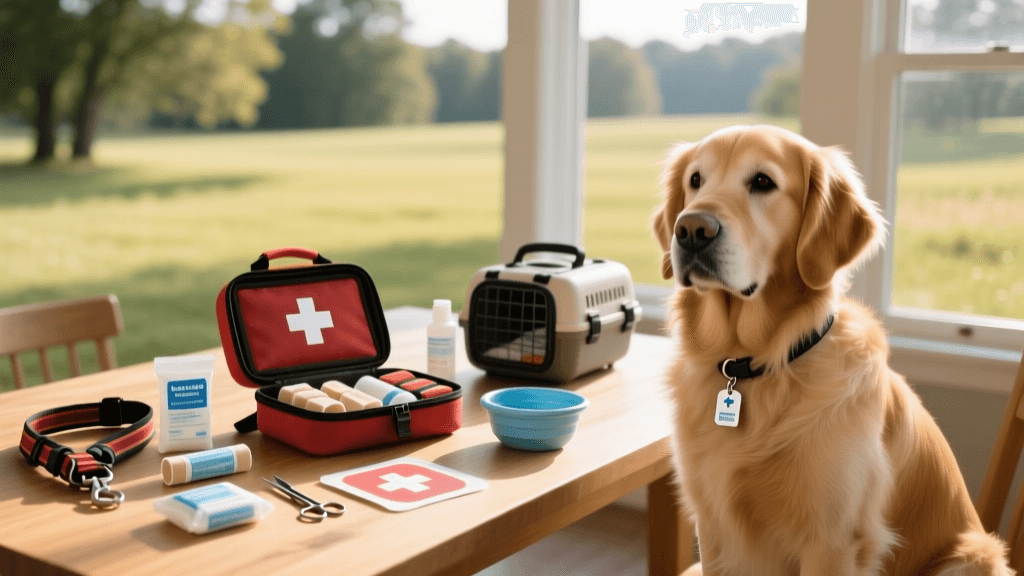
A human first-aid kit is not sufficient for a dog. Canine anatomy, physiology, and common emergency scenarios require specific tools and medications. Your dog's first-aid kit should be stored in a durable, waterproof, and easily accessible container, such as a hard-sided tackle box or a specialized waterproof dry bag. Keep this kit in your home near your primary exit, and consider keeping a smaller, duplicate version in your vehicle.
Essential Medical Supplies and Tools
The following table outlines the critical items your kit must contain, their specific purposes, and the estimated cost to help you budget for your setup.
| Item | Purpose | Est. Cost | Replacement Frequency |
|---|---|---|---|
| Self-adhering bandage wrap (Vetwrap) | Secures dressings without sticking to fur; applies pressure to stop bleeding. | $12 | As used or every 2 years |
| 3% Hydrogen Peroxide (USP grade) | Used ONLY under vet direction to induce vomiting for recent toxin ingestion. | $5 | Every 6 months |
| Digital pet thermometer | Checks core body temperature (normal range: 101.0°F to 102.5°F). | $15 | As needed |
| Basket muzzle | Prevents biting; even the gentlest dogs may bite when experiencing severe pain or shock. | $25 | As needed |
| Styptic powder | Stops bleeding from torn nails or minor pad lacerations. | $8 | Check expiration date |
| Sterile saline eye wash | Flushes debris, smoke particles, or chemicals from the eyes. | $7 | Check expiration date |
| Tweezers and blunt-nosed scissors | Removes ticks, thorns, or glass; cuts bandages and matted fur safely. | $10 | As needed |
Critical Warning: Hydrogen Peroxide Usage
Many owners mistakenly believe hydrogen peroxide is a cure-all for toxin ingestion. You must ONLY use standard 3% USP hydrogen peroxide—never use higher concentrations like 6% or 9% hair bleach, as these will cause severe internal tissue burns and hemorrhaging. The standard emergency dosage is 1 teaspoon (5 ml) per 5 pounds of body weight, up to a maximum of 3 tablespoons. However, the ASPCA Animal Poison Control Center strongly advises calling a veterinarian or poison control hotline before administering it, as inducing vomiting can be fatal if the dog ingested corrosive substances, petroleum distillates, or sharp objects.
Designing Your Pet-Friendly Evacuation Strategy
If local authorities issue an evacuation order, you must leave immediately. Never leave your dog behind, and never assume you will be able to return home quickly. Your evacuation plan must account for transport, temporary sheltering, and sustenance.
Step 1: Assemble the Canine Go-Bag
Your dog's Go-Bag should contain enough supplies to sustain them for a minimum of five to seven days. Pack the following items in a dedicated, lightweight backpack:
- Food and Water: Pack at least 5 days of non-perishable canned or freeze-dried dog food, along with a manual can opener. Include 1 gallon of water per day for a large dog, or half a gallon for a small dog.
- Collapsible Bowls: Silicone collapsible bowls save space and are easy to clean.
- Leash and Harness: Pack a sturdy, 6-foot nylon or leather leash (retractable leashes are dangerous in chaotic environments) and a secure, escape-proof harness.
- Waste Management: Include a roll of biodegradable poop bags and a small bottle of enzymatic cleaner for indoor accidents at temporary shelters.
- Comfort Items: A familiar-smelling blanket and a durable chew toy can significantly reduce your dog's anxiety in a loud, unfamiliar shelter environment.
Step 2: Map Out Pet-Friendly Shelters and Routes
Not all emergency shelters accept pets due to health codes and allergy concerns. According to the American Red Cross, you must identify pet-friendly options well before a disaster occurs. Research and write down the addresses and phone numbers of:
- At least three pet-friendly hotels or motels located at least 50 miles outside your immediate evacuation zone.
- Local boarding facilities or veterinary clinics that offer emergency sheltering.
- Friends or family members who live out of town and are willing to take in your dog.
Map out two separate driving routes to your designated safe zone. Primary highways often become gridlocked during mass evacuations, so knowing secondary backroads can save hours of travel time and reduce your dog's stress.
Identification, Microchipping, and Documentation
In the chaos of a disaster, dogs can easily slip out of open doors, jump through broken windows, or panic and break away from their leashes. Ensuring your dog has multiple forms of identification is the single most effective way to guarantee a reunion if you become separated.
Microchipping and Collar Tags
Ensure your dog is implanted with an ISO 11784/11785 compliant 15-digit pet microchip. Crucially, verify that your current phone number and address are registered with the microchip company's database. A microchip is useless if the registry contains outdated contact information. Additionally, your dog should wear a sturdy collar with a riveted or engraved metal ID tag displaying your mobile number and the word 'MICROCHIPPED'.
The Emergency Document Pouch
Keep a waterproof pouch in your Go-Bag containing physical copies of the following documents:
- Proof of current rabies vaccination and a complete veterinary medical record.
- A recent, high-quality, full-body photograph of your dog (to create lost pet flyers if necessary).
- A signed authorization letter designating a trusted friend or neighbor to evacuate your dog if you are not home when a disaster strikes.
- A list of your dog's daily medications, including exact dosages and the prescribing veterinarian's contact information.
Post-Disaster Safety and Returning Home
The danger does not end when the storm passes or the fire is extinguished. Returning home presents a unique set of hazards for your dog. Before allowing your dog to roam freely in your house or yard, conduct a thorough safety sweep.
Look for downed power lines, broken glass, exposed nails, and structural weaknesses. Check for chemical spills, such as antifreeze, bleach, or pesticides, which may have leaked from damaged containers. Be highly aware of displaced wildlife; snakes, rodents, and larger predators often seek refuge in human structures and yards during natural disasters. Keep your dog on a short leash during the first few days back home, as familiar scent markers may be destroyed, causing your dog to become easily disoriented and lost.
Kit Maintenance and Rotation Schedule
An emergency kit is only useful if its contents are viable. Set a recurring reminder on your digital calendar every six months (for example, when you change your clocks for Daylight Saving Time) to audit your dog's first-aid kit and Go-Bag.
Pro-Tip: Rotate your dog's emergency food and water supply by donating the older items to a local animal shelter and replacing them with fresh stock. This ensures your dog's emergency rations are always palatable and nutritionally sound, while simultaneously supporting a worthy cause in your community.
Check the expiration dates on all medical supplies, particularly the hydrogen peroxide, saline wash, and any prescription medications. Ensure that your dog's harness and leash still fit correctly, especially if your dog has gained or lost weight, or if they are a growing puppy. By dedicating just thirty minutes twice a year to maintaining your emergency supplies, you ensure that when the unthinkable happens, you are fully equipped to protect your best friend.
Conclusion
Emergencies are inherently unpredictable, but your response to them does not have to be. By investing the time to build a comprehensive dog first-aid kit, packing a dedicated Go-Bag, and establishing a clear, rehearsed evacuation plan, you transform potential panic into purposeful action. Your dog provides you with unconditional love and loyalty every single day; having a robust emergency and safety plan is the ultimate way to return that devotion and ensure their safety when it matters most.
hannah-wickes
All our authors care for dogs every day — read more of their work on the authors page.