DIY Puppy-Proofing: Homemade Cleaners and Home Hacks
Discover budget-friendly DIY puppy-proofing hacks and homemade pet-safe cleaners to prepare your home for a new dog. Keep your pup safe and happy!
Welcoming a New Dog: Why DIY Puppy-Proofing Matters
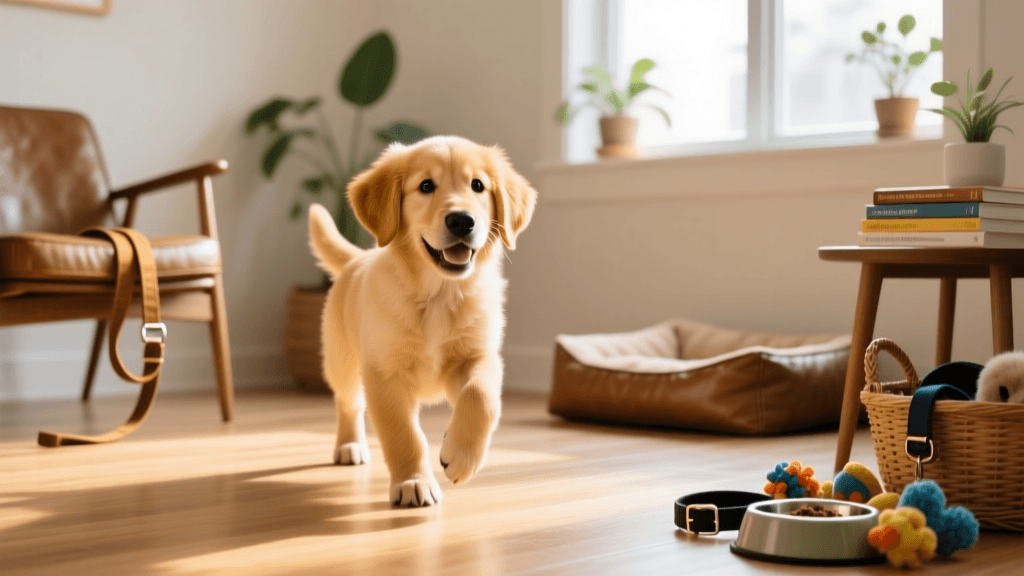
Bringing a new dog or puppy into your home is an incredibly exciting milestone, but it also marks the beginning of a major lifestyle adjustment. Before your new furry friend crosses the threshold, your living space needs to be transformed into a safe, welcoming environment. Puppies and newly adopted adult dogs explore the world primarily through their mouths and noses, meaning everyday household items can quickly become dangerous hazards. While the pet care industry offers countless commercial puppy-proofing products, outfitting an entire house with store-bought gates, specialized enzymatic cleaners, and heavy-duty cord protectors can easily cost hundreds of dollars.
Fortunately, preparing your home does not require a massive financial investment. By utilizing DIY puppy-proofing methods and homemade solutions, you can create a secure environment that protects both your belongings and your new pet. Not only are these homemade alternatives budget-friendly, but they also give you complete control over the ingredients and materials used in your home, ensuring that your dog is not exposed to harsh,unnecessary chemicals during their crucial first weeks of adjustment.
The Hidden Dangers of Commercial Household Cleaners
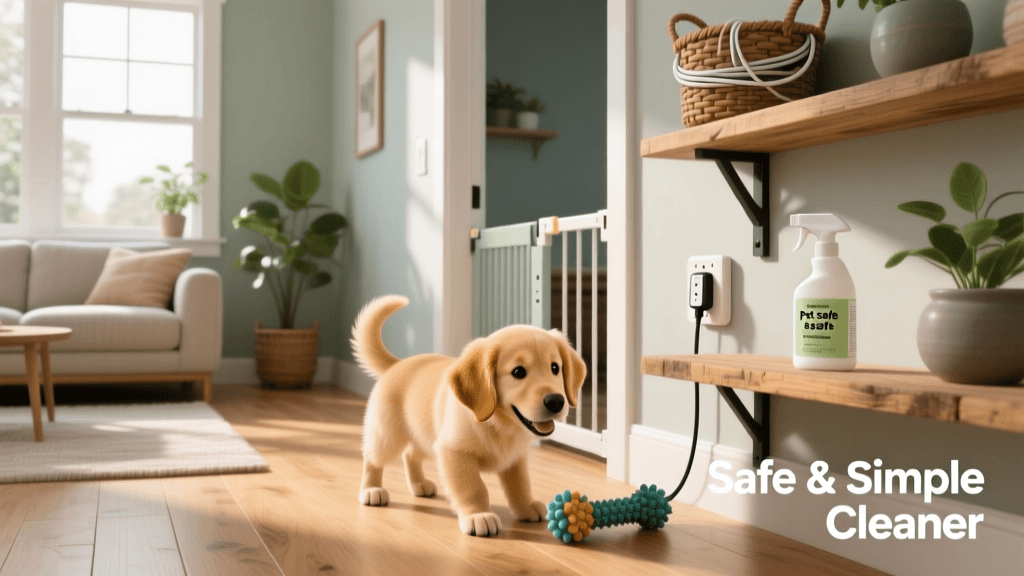
When getting a dog, one of the most overlooked aspects of home preparation is evaluating your cleaning supplies. Dogs spend their lives close to the floor, walking on surfaces that have been treated with chemical residues and subsequently licking their paws. Many commercial floor cleaners, glass sprays, and bathroom disinfectants contain phenols, ammonia, bleach, and synthetic fragrances that can cause severe respiratory irritation, gastrointestinal distress, or even chemical burns if ingested.
The ASPCA Animal Poison Control Center frequently lists household cleaning chemicals among the top ten most common pet toxins. Transitioning to homemade, pet-safe cleaning solutions before your dog arrives is a critical step in puppy-proofing your home. By making your own cleaners, you eliminate the risk of toxic residue and ensure that accidental licks or sniffs do not result in an emergency veterinary visit.
Homemade Pet-Safe Cleaning Recipes
The Everyday Vinegar-Wash (All-Purpose Surface Cleaner)
White vinegar is a powerhouse natural disinfectant that cuts through grease, neutralizes odors, and leaves surfaces safe for paws. While the smell of vinegar is strong during application, it dissipates completely as it dries, leaving no lingering scent to bother your dog's sensitive nose.
- Ingredients: 1 cup distilled white vinegar, 1 cup distilled water, 1 teaspoon unscented liquid castile soap (such as Dr. Bronner's Baby Unscented).
- Instructions: Combine the ingredients in a 16-ounce glass spray bottle. Shake gently before each use to mix the soap. Spray on countertops, sealed hard floors, and baseboards, then wipe with a microfiber cloth.
- Cost: Approximately $0.15 per bottle, compared to $5.00+ for commercial pet-safe surface cleaners.
The 'Accident' Eraser (DIY Stain and Odor Remover)
House-training accidents are inevitable when getting a puppy. Commercial enzymatic cleaners are effective but expensive. For fresh accidents, this homemade oxygen-based solution works wonders on carpets and upholstery by breaking down uric acid crystals without toxic chemicals.
- Ingredients: 1/2 cup 3% hydrogen peroxide, 1 teaspoon unscented dish soap, 2 tablespoons baking soda.
- Instructions: First, blot the accident with paper towels to absorb as much moisture as possible. Sprinkle baking soda generously over the area. In a separate bowl, mix the hydrogen peroxide and dish soap. Slowly pour the liquid mixture over the baking soda and gently work it into the carpet fibers with a soft brush. Let it sit for 15 minutes, then blot dry and vacuum once completely dry.
- Caution: Hydrogen peroxide can have a mild bleaching effect. Always test this solution on a hidden area of your carpet or rug first.
DIY Physical Barriers and Puppy-Proofing Hacks
Physical barriers are essential for restricting access to hazardous areas like kitchens, staircases, and home offices. The American Kennel Club emphasizes the importance of limiting a new puppy's roaming space to prevent destructive chewing and accidental ingestion of foreign objects. Instead of buying expensive pressure-mounted gates, consider these DIY alternatives.
Tension Rod Cabinet Locks
Puppies love exploring lower kitchen and bathroom cabinets, which often contain dangerous items like trash cans, cleaning supplies, and small choking hazards. Instead of drilling holes for traditional child-proof locks, use heavy-duty shower tension rods. Simply place a tension rod horizontally inside the cabinet, pressing it firmly against the interior walls behind the cabinet doors. This creates an interior barrier that prevents the doors from opening more than an inch—enough for you to reach in from the top if needed, but completely blocking a puppy's snout.
Split-Loom Cord Concealment
Chewing on electrical cords is a leading cause of emergency vet visits for new dogs. While you can buy expensive cord covers, a highly effective and incredibly cheap DIY solution is split-loom tubing, available at any hardware or automotive store. This flexible, corrugated plastic tubing has a slit running down its length. You can easily pinch the tubing open, slide your electrical cords inside, and tuck the edges together. The hard, ridged plastic is highly unappealing to chew on and provides a robust physical barrier against sharp puppy teeth. For an extra layer of protection, wrap the tubing in aluminum foil or apply a homemade bitter spray (made from steeped lemon peels and water) to the outside of the tube.
Upcycled PVC Playpen
Creating a 'safe zone' or puppy playpen is crucial for the first few weeks. You can build a custom-sized, lightweight playpen using 1-inch PVC pipes and elbow connectors from a local hardware store. Cut the PVC into uniform lengths (e.g., 2-foot sections) and connect them to form rectangular frames. Drape heavy-duty canvas or secure zip-tie wire fencing to the frames. This DIY pen costs a fraction of the price of metal wire crates and can be easily disassembled and stored when your dog is fully house-trained.
Cost and Safety Comparison: Commercial vs. DIY Solutions
Understanding the financial and safety benefits of DIY preparation can help new owners make informed decisions. Below is a comparison of standard commercial products versus their homemade counterparts.
| Solution Type | Commercial Cost | DIY Cost | Toxicity Risk | Prep Time |
|---|---|---|---|---|
| All-Purpose Cleaner | $6.00 - $12.00 | $0.15 | Moderate (Commercial) | 2 Minutes |
| Carpet Stain Remover | $10.00 - $18.00 | $0.50 | Low (DIY) | 5 Minutes |
| Cabinet Child-Locks | $15.00 - $25.00 | $4.00 (Tension Rods) | N/A | 10 Minutes |
| Cord Protectors | $20.00 - $35.00 | $5.00 (Split-Loom) | N/A | 15 Minutes |
DIY Enrichment and Safe Zone Preparation
Preparing your home is not just about removing dangers; it is also about providing appropriate outlets for your new dog's energy and anxiety. The Humane Society of the United States notes that providing adequate mental stimulation and safe chewing alternatives is a vital component of pet-proofing, as a bored dog will inevitably find their own (often destructive) entertainment.
Braided Fleece Tug Toys
Store-bought rope toys can fray and pose an intestinal blockage risk if ingested. Instead, upcycle old, clean fleece blankets or thick t-shirts into heavy-duty braided tug toys. Cut the fabric into three long, thick strips, braid them tightly, and tie secure overhand knots at both ends. Fleece is soft on developing puppy gums, highly durable, and if a small piece is accidentally swallowed, it is generally safer than synthetic nylon ropes. Making a batch of five toys costs virtually nothing and ensures you always have a clean rotation available.
Broth-Pops for Teething and Anxiety
The first few nights in a new home can be highly stressful for a dog, leading to whining and restlessness. You can create soothing, DIY frozen treats to help them settle into their safe zone. Fill a silicone ice cube tray with low-sodium, onion-and-garlic-free chicken or beef bone broth. Drop a few pieces of kibble or small carrot chunks into each compartment before freezing. These 'broth-pops' provide excellent mental enrichment, soothe inflamed teething gums, and keep your new dog quietly occupied in their pen while you work or relax nearby.
Final Thoughts on Preparing Your Home
Getting a dog is a journey that requires patience, foresight, and a willingness to adapt your living space. By embracing DIY and homemade solutions, you are not only saving a significant amount of money during an already expensive time, but you are also actively curating a non-toxic, highly secure environment for your new companion. From mixing up a fresh batch of vinegar surface cleaner to assembling a custom PVC playpen, these hands-on preparations will give you peace of mind. When your new dog finally arrives, you can focus entirely on building a bond, knowing your home is perfectly tailored to keep them safe, happy, and thriving.
jonas-cole
All our authors care for dogs every day — read more of their work on the authors page.