DIY Dog Paw Balm: Homemade Recipes for Dry, Cracked Paws
Learn to make DIY dog paw balm at home. Discover natural, cost-effective recipes to heal dry, cracked paws and noses using safe, pet-friendly ingredients.
The Hidden Dangers Lurking Beneath Your Dog's Paws
Your dog’s paw pads are marvels of biological engineering, designed to provide traction, shock absorption, and protection across various terrains. However, they are not invincible. Every day, your dog’s paws endure extreme environmental stressors that can compromise their skin barrier. In the winter, chemical ice melts and salt can cause severe chemical burns and dry out the skin. In the summer, hot asphalt can literally cook the delicate tissues of the paw pads, leading to blistering and peeling.
Beyond seasonal hazards, everyday exposure to rough concrete, artificial turf, and household floor cleaners strips the natural moisture from your dog's paws. When the pads lose their elasticity, they become brittle, leading to painful fissures and cracks. According to VCA Animal Hospitals, cracked paw pads can expose deep tissue to bacteria and yeast, resulting in secondary infections that cause severe pain, alter your dog's gait, and potentially lead to long-term joint issues.
The Science of the Paw Pad: Why Dogs Need Extra Moisture
The outermost layer of a dog’s paw pad, known as the stratum corneum, is significantly thicker than human skin. While this thickness provides necessary protection, it lacks the sebaceous (oil) glands that human skin uses to naturally maintain suppleness. Because canine paw pads rely heavily on environmental moisture and internal hydration, they are highly susceptible to drying out.
When a paw pad becomes excessively dry, a condition known as hyperkeratosis can develop, where the body produces excess keratin, leading to a crusty, hardened surface. To prevent this, a lipid-rich barrier is required to seal in moisture and protect the skin from external irritants. This is where a high-quality paw balm becomes an essential part of your dog’s preventative healthcare routine.
Why Choose a DIY Dog Paw Balm Over Commercial Brands?
Walk into any boutique pet store, and you will find commercial paw balms priced anywhere from $15 to $25 for a tiny two-ounce tin. While many of these products are effective, they often contain unnecessary fillers, artificial fragrances, or synthetic preservatives like parabens. Because dogs frequently lick their paws, any topical product you apply will eventually be ingested.
Making a DIY dog paw balm at home offers three distinct advantages:
- Complete Ingredient Control: You know exactly what is going into the balm, ensuring every component is 100% food-grade and safe for ingestion.
- Cost-Effectiveness: A homemade batch costs roughly $4 to $6 to make and yields up to eight ounces of balm, saving you a significant amount of money over your dog's lifetime.
- Customization: You can tailor the recipes to address specific issues, such as adding soothing botanicals for allergic dogs or extra beeswax for winter protection.
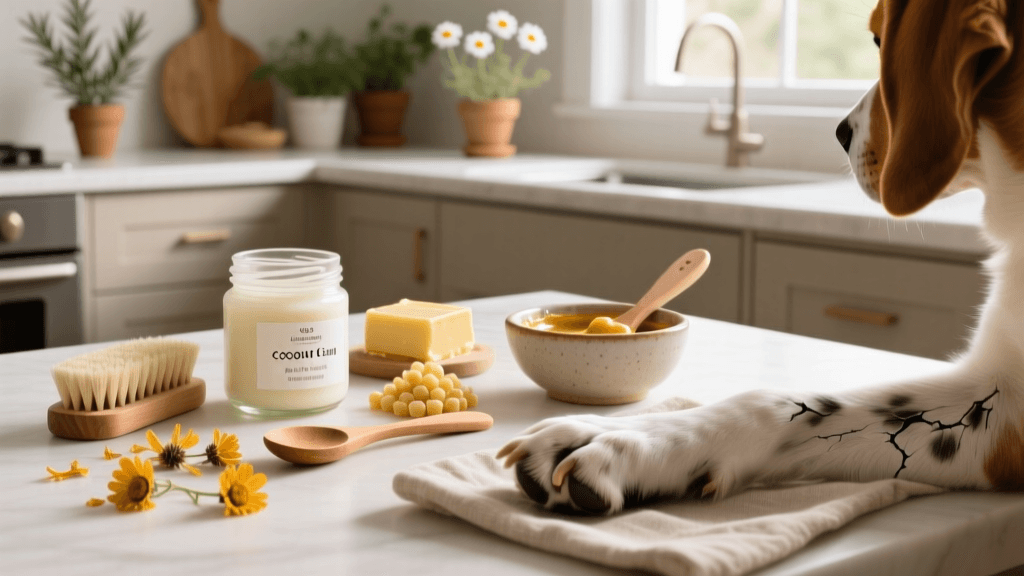
The Anatomy of a Healing Paw Butter: Ingredient Breakdown
Before we dive into the recipes, it is crucial to understand the purpose of each ingredient. A successful paw balm requires a balance of hard waxes (for a protective barrier), solid butters (for deep moisturization), and liquid oils (for absorption and healing).
| Ingredient | Purpose | Canine Safety Profile |
|---|---|---|
| Beeswax Pellets | Creates a breathable, water-resistant barrier against ice, salt, and hot pavement. | Non-toxic, safe if licked; provides structural hardness to the balm. |
| Shea Butter | Delivers deep hydration and contains vitamins A and E to promote skin cell repair. | Highly safe, deeply nourishing, and helps soften hardened keratin. |
| Unrefined Coconut Oil | Offers natural antibacterial and antifungal properties to prevent yeast infections between toes. | Safe for ingestion; supports skin lipid barrier. |
| Sweet Almond Oil | Acts as a carrier oil, rich in fatty acids to soothe inflammation and redness. | Safe for dogs; avoid if your dog has severe tree nut allergies. |
| Vitamin E Oil | Accelerates wound healing, reduces scarring, and acts as a natural preservative for the balm. | Safe in small topical doses; promotes tissue regeneration. |
Recipe 1: The Ultimate 4-Ingredient Restorative Paw Balm
This is the gold-standard DIY recipe for everyday maintenance and winter protection. It creates a firm but spreadable balm that melts upon contact with your dog's warm skin.
Ingredients:
- 2 tablespoons cosmetic-grade beeswax pellets
- 2 tablespoons raw, unrefined shea butter
- 2 tablespoons unrefined virgin coconut oil
- 1 tablespoon sweet almond oil (or extra virgin olive oil)
- 1/2 teaspoon liquid Vitamin E oil
Instructions:
- Set up a double boiler: Fill a saucepan with two inches of water and place a heat-safe glass measuring cup or metal bowl inside. Bring the water to a gentle simmer.
- Melt the hard ingredients: Add the beeswax pellets to the glass bowl. Beeswax has the highest melting point, so it needs a head start. Once it is mostly melted, stir in the shea butter and coconut oil.
- Combine and cool: Once all the solids are completely liquefied, remove the bowl from the heat. Carefully stir in the sweet almond oil and Vitamin E oil.
- Pour and set: Immediately pour the liquid mixture into clean, dry aluminum or glass tins. Let the tins sit undisturbed at room temperature for 2 to 3 hours until the balm turns opaque and solidifies.
Shelf Life: Stored in a cool, dark place, this balm will last for 12 to 18 months.
Recipe 2: Calendula and Oatmeal Soothing Salve
If your dog suffers from environmental allergies, frequently chews their paws, or has red, inflamed skin between the toes, this soothing salve is the perfect remedy. Calendula is renowned for its anti-inflammatory properties, while colloidal oatmeal relieves itching.
Ingredients:
- 2 tablespoons beeswax pellets
- 3 tablespoons calendula-infused oil (steep dried calendula flowers in olive oil for 2 weeks, then strain)
- 1 tablespoon shea butter
- 1 teaspoon finely ground colloidal oatmeal
Instructions:
- Melt the beeswax and shea butter together using the double boiler method described above.
- Remove from heat and stir in the calendula-infused oil.
- Whisk in the colloidal oatmeal vigorously to ensure it is evenly suspended and does not sink to the bottom.
- Pour into tins and allow to set. The oatmeal will provide a very gentle, soothing exfoliation when massaged into the paws.
How to Apply and Maximize Absorption
Applying paw balm is not just about slapping it on; technique matters for maximum efficacy. The American Kennel Club (AKC) recommends establishing a consistent paw care routine, especially after walks in harsh weather.
"For optimal results, always apply paw balms after a bath or a walk when the paws are clean. Trapping dirt or bacteria under a layer of balm can lead to localized infections."
- Cleanse: Wipe your dog’s paws with a warm, damp washcloth to remove dirt, salt, or allergens. Pay special attention to the crevices between the toes.
- Dry Thoroughly: Moisture trapped under the balm can promote yeast growth. Ensure the paws are completely dry.
- Massage: Scoop a pea-sized amount of balm and massage it deeply into the paw pads and the spaces between the toes. The friction helps the butters melt and absorb.
- Distract and Protect: Dogs will instinctively want to lick the new scent off their paws. Distract them with a high-value treat or a lick mat for 5 minutes. For severe cracks, apply a thick layer before bed and put breathable cotton dog socks on their feet overnight to allow for deep tissue repair.
Crucial Safety Warnings: What NEVER to Put on Dog Paws
When formulating DIY pet care products, what you leave out is just as important as what you put in. The internet is rife with dangerous advice regarding essential oils. Never add tea tree, eucalyptus, peppermint, or citrus essential oils to your dog's paw balm. These oils are highly concentrated and can cause severe neurological toxicity, liver damage, and respiratory distress in dogs when absorbed through the skin or ingested via licking.
Furthermore, never substitute a DIY paw balm with human lotions or foot creams. Human products often contain urea, salicylic acid, or xylitol (birch sugar). While urea softens human calluses, it can break down the protective stratum corneum of a dog's paw pad, making it dangerously soft and prone to tearing. Xylitol, a common sweetener in human cosmetics, is lethally toxic to dogs even in microscopic amounts.
Finally, while DIY balms are incredible for environmental dryness and minor abrasions, they are not a cure-all. PetMD notes that chronic, severe hyperkeratosis or persistent cracking that does not heal with topical balms may be a symptom of underlying systemic issues, such as hypothyroidism, zinc-responsive dermatosis, or autoimmune diseases like pemphigus. If your dog's paws do not show significant improvement after two weeks of consistent DIY balm application, or if the cracks are bleeding and oozing, consult your veterinarian immediately for a comprehensive medical evaluation.
Conclusion
Taking the time to craft a DIY dog paw balm is one of the most rewarding, cost-effective, and health-conscious decisions you can make for your canine companion. By utilizing the power of natural beeswax, shea butter, and healing oils, you are providing a non-toxic shield against the elements. Your dog relies on their paws to explore the world, run, play, and navigate life by your side. With these simple homemade recipes, you can ensure every step they take is comfortable, protected, and pain-free.
robin-maitland
All our authors care for dogs every day — read more of their work on the authors page.