DIY Dog Agility Course: Build Backyard Training Gear
Learn how to build a DIY dog agility course in your backyard. Discover step-by-step plans, costs, and dimensions for homemade jumps, weaves, and tables.
Why Build a DIY Dog Agility Course?
Agility training is one of the most rewarding activities you can share with your dog. It builds confidence, strengthens the human-canine bond, and provides essential physical and mental stimulation. According to the American Kennel Club (AKC), agility is a fast-paced sport that requires teamwork and communication. However, purchasing a full set of commercial, competition-grade agility equipment can easily cost between $500 and $1,500. For hobbyists, backyard enthusiasts, and those just starting out, building your own DIY dog agility course is a highly effective, budget-friendly alternative.
Safety First: Protecting Your Dog's Joints
Before you pick up a hammer, it is vital to understand the physical limitations of your dog. Puppies and young dogs have open growth plates that do not fully close until they are between 12 and 18 months old, depending on the breed. High-impact activities, such as jumping over raised bars or executing tight turns on weave poles, can cause permanent orthopedic damage. The American Veterinary Medical Association (AVMA) emphasizes the importance of age-appropriate exercise to protect developing joints. If your dog is under a year old, keep all jump bars flat on the ground and focus on flat-work, tunneling, and building foundational obedience. Always consult your veterinarian before starting any rigorous exercise program.
Essential DIY Agility Equipment Guide
Building your own obstacles allows you to customize dimensions to your dog's size and your yard's layout. Here are three foundational obstacles you can build this weekend using easily sourced hardware store materials.
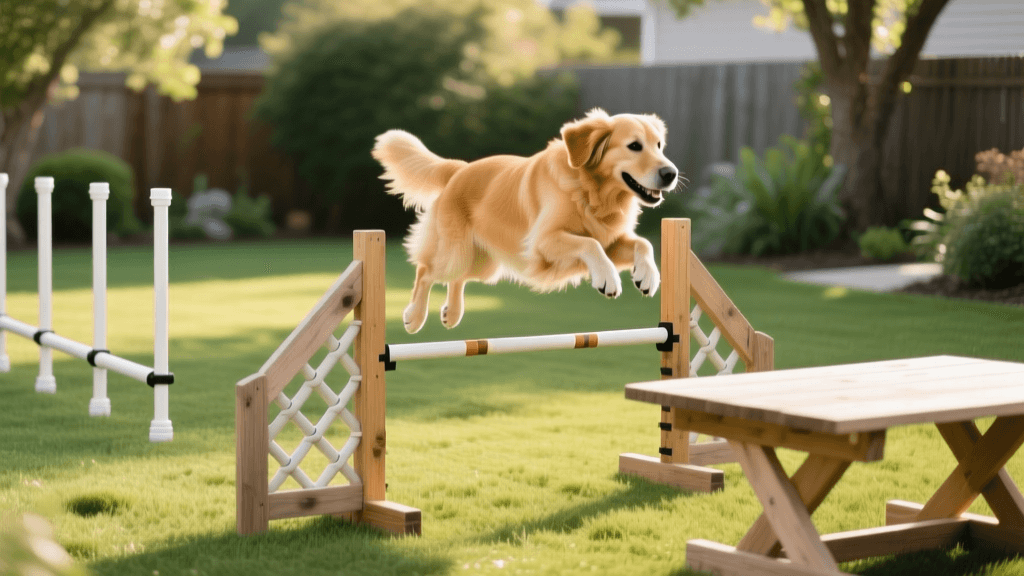
1. The Adjustable PVC Bar Jump
The bar jump is the most common obstacle in agility. A DIY PVC jump is lightweight, easy to move, and inexpensive to build.
Materials Needed:
- Four 10-foot lengths of 1-inch Schedule 40 PVC pipe
- Four PVC T-fittings and four PVC elbow fittings
- Eight PVC end caps
- A lightweight wooden dowel or brightly colored PVC pipe for the jump bar (4 feet long)
Measurements and Assembly:
Cut the PVC to create two uprights, each standing 36 inches tall, with a 24-inch wide base for stability. Use the T-fittings to attach the base to the uprights. To make the jump bar adjustable, drill holes every 4 inches up the side of the uprights and insert small pegs or bolts to rest the bar upon. The total cost for this build is typically under $30.
2. The 2x2 Weave Pole Channel
Weave poles are notoriously difficult to train. The 2x2 method uses a channel of poles that gradually closes as the dog learns the weaving motion.
Materials Needed:
- Twelve 36-inch lengths of 3/4-inch PVC pipe
- Twelve 18-inch landscaping stakes (rebar or fiberglass)
- Twelve PVC end caps
Measurements and Assembly:
Drive the landscaping stakes into the ground, leaving about 2 inches exposed. Cap the stakes and slide the PVC pipes over them. Space the poles exactly 24 inches apart in a straight line. To create the channel, start with the left and right poles spaced 3 feet apart, and gradually move them closer to the center line over several weeks of training. This DIY setup costs roughly $40 and saves your lawn from the damage caused by heavy metal bases.
3. The Pause Table
The pause table requires the dog to jump onto an elevated surface and hold a sit or down position for five seconds.
Materials Needed:
- One 36x36-inch sheet of 3/4-inch exterior-grade plywood
- Four 8-inch wooden furniture legs or 4x4 posts
- Non-slip rubberized paint or a glued-on yoga mat
Measurements and Assembly:
Attach the legs to the corners of the plywood. Sand all edges thoroughly to prevent splinters. Paint the top surface with non-slip paint, or use heavy-duty adhesive to attach a textured rubber mat. The table must be stable and wobble-free to ensure your dog feels secure when landing. Material costs hover around $45.
Cost and Effort Comparison: DIY vs. Commercial
To help you decide which route is best for your training goals, review the comparison table below.
| Equipment Type | Estimated DIY Cost | Commercial Cost | Build / Setup Time | Customization Level |
|---|---|---|---|---|
| Adjustable Bar Jump | $25 - $35 | $120 - $200 | 1 - 2 Hours | High (Custom heights/colors) |
| Set of 12 Weave Poles | $40 - $60 | $150 - $350 | 2 - 3 Hours | Medium (Spacing adjustable) |
| Pause Table | $40 - $55 | $130 - $250 | 1 Hour | High (Custom surface grip) |
| Agility Tunnel (15 ft) | $60 (Buy, don't build) | $150 - $300 | N/A | Low |
Note: While jumps, weaves, and tables are excellent DIY projects, agility tunnels are highly complex to manufacture safely at home. It is highly recommended to purchase a basic, sandbag-secured tunnel from a reputable online retailer rather than attempting to build one from flexible ducting, which can collapse and terrify your dog.
Training Methodology: Shaping the Obstacles
Building the equipment is only half the battle; teaching your dog to navigate it requires patience and positive reinforcement. Best Friends Animal Society highlights that mental enrichment activities, like puzzle-solving and shaping new behaviors, drastically reduce anxiety and destructive behaviors at home. Agility is the ultimate enrichment puzzle.
Shaping the Jump
Never force or lure a dog over a jump in a way that allows them to walk around it. Start with the bar on the ground. Stand on the side of the jump, toss a high-value treat (like freeze-dried liver or boiled chicken) over the bar, and mark the behavior with a clicker or a verbal "Yes!" the moment all four paws cross the plane of the jump. Gradually raise the bar in 2-inch increments only when your dog is confidently clearing the current height.
Mastering the Weave Channel
Using your DIY 2x2 channel, start with the poles wide apart so the dog can run straight down the middle. Toss a toy or treat at the end of the channel to build forward drive. As your dog understands the path, narrow the channel by a few inches each session. This builds muscle memory without the frustration of traditional weave pole training. Keep sessions incredibly short—no more than 3 to 5 minutes of weave work at a time to prevent physical fatigue and mental burnout.
Choosing the Right Rewards for High-Drive Training
When teaching complex motor skills like weave pole entries or contact zone hits, the value of your reward matters immensely. Standard kibble rarely suffices for high-arousal environments. Utilize a reward hierarchy: reserve ultra-high-value treats like boiled chicken breast, freeze-dried minnows, or specialized training pastes for breakthrough moments when your dog successfully solves a difficult obstacle puzzle. For repetitive sequence work, use mid-value rewards like soft training bites or a quick game of tug with a fleece braided toy. This strategic reward system keeps your dog's motivation sky-high while preventing them from becoming overly saturated or distracted during the learning process.
Structuring a Successful Training Session
A well-structured session prevents injuries and keeps your dog's drive high. Follow this blueprint for every backyard agility session:
- The Warm-Up (5 Minutes): Engage in light jogging, figure-eight weaving through your legs, and basic obedience tricks (sit, spin, bow) to get the blood flowing and synovial fluid lubricating the joints.
- The Working Phase (10-15 Minutes): Focus on one or two specific obstacles. Do not run full courses. Repetition of small, achievable sequences builds confidence. End the working phase on a massive success, even if it means lowering your criteria for the final rep.
- The Cool-Down (5 Minutes): Walk your dog on a loose leash around the yard. Allow them to sniff and decompress. This lowers their heart rate and signals that the "work" is done.
- Reward and Rest: Provide a long-lasting chew or a frozen Kong to help them transition into a relaxed state.
Always be mindful of the weather. PVC and wood can become dangerously hot in direct summer sunlight, potentially burning your dog's paw pads. Train during the early morning or late evening, and always test the surface of your pause table with the back of your hand before asking your dog to jump onto it. Hydration is equally critical; keep a collapsible travel bowl and fresh water just outside the training perimeter.
Final Thoughts on DIY Agility
Creating a homemade agility course transforms your backyard into an interactive training arena. It proves that you do not need an enormous budget to provide world-class mental and physical enrichment for your canine companion. By prioritizing joint safety, utilizing cost-effective PVC and wood builds, and employing positive reinforcement shaping techniques, you and your dog will master the fundamentals of agility right from the comfort of your own lawn. Grab your measuring tape, head to the hardware store, and start building your bond today.
priya-sutaria
All our authors care for dogs every day — read more of their work on the authors page.