DIY Dog Agility Training: Budget-Friendly Backyard Setup
Learn how to build a budget-friendly DIY dog agility course in your backyard. Save money while boosting your pup's obedience and fitness.
Dog agility is an exhilarating sport that builds confidence, strengthens the human-animal bond, and provides essential mental and physical stimulation. However, the financial barrier to entry can be steep. Between weekly group classes, private coaching sessions, and commercial-grade equipment, agility training can easily cost hundreds, if not thousands, of dollars a year. Fortunately, you do not need a massive budget or a sprawling estate to introduce your dog to the world of agility. By leveraging affordable hardware store materials and utilizing positive reinforcement techniques at home, you can create a highly effective, budget-friendly backyard agility course.
The High Cost of Canine Agility
Professional agility facilities typically charge anywhere from $150 to $300 for a multi-week beginner course. If you wish to practice outside of class, open gym rentals often cost $15 to $25 per hour. Furthermore, purchasing commercial-grade aluminum jumps, regulation weave poles, and specialized chutes can easily exceed $1,000. For the budget-conscious dog owner, these costs are prohibitive. However, the core objective of agility—navigating obstacles with speed and precision—can be achieved with DIY alternatives that cost a fraction of the price.
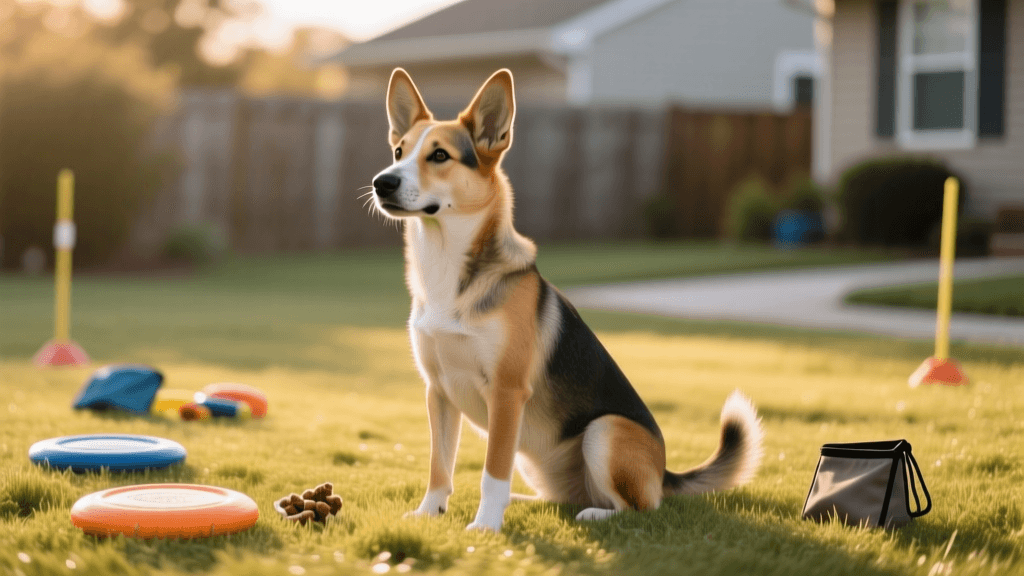
Building Your Budget-Friendly Backyard Course
You can construct a functional starter course for under $50 using items found at your local hardware or discount store. Here is a breakdown of how to build three essential obstacles.
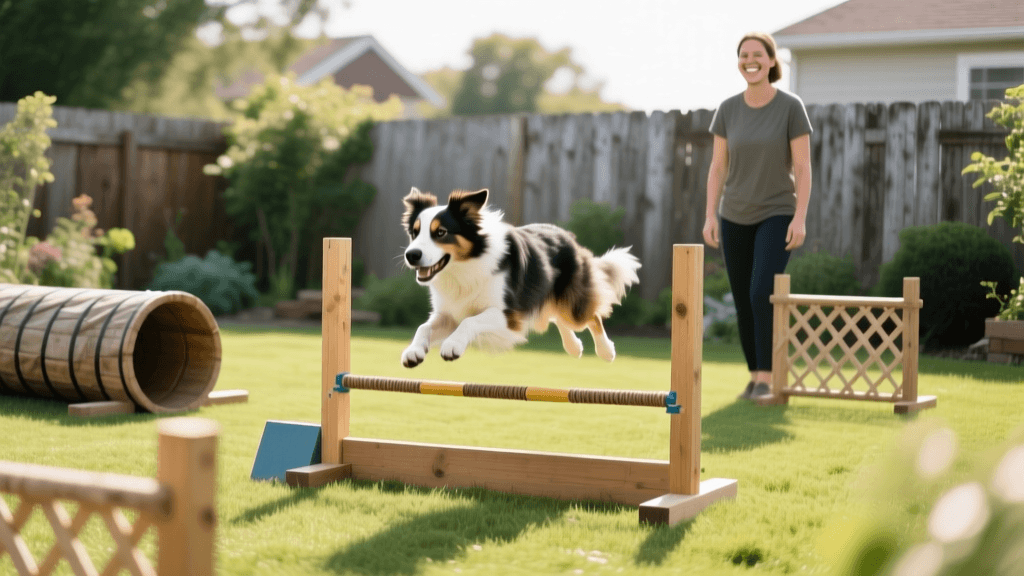
1. The PVC Bar Jump
A standard bar jump is the most fundamental agility obstacle. You can build a sturdy, adjustable jump using 1-inch PVC pipe. Materials needed include two 10-foot lengths of 1-inch PVC pipe, four T-connectors, and four end caps. Total cost: approximately $15. Cut the pipe into the following measurements: two 36-inch pieces for the uprights, one 48-inch piece for the crossbar, and four 12-inch pieces for the base feet. Assemble the base by attaching the 12-inch feet to the T-connectors, then insert the 36-inch uprights. To make the crossbar adjustable, you can drill holes at varying heights on the uprights and use small PVC pegs to rest the 48-inch crossbar. This design is lightweight, safe if your dog knocks it down, and easily disassembled for storage.
2. The Hardware Store Tunnel
Commercial agility tunnels are made of heavy-duty nylon and can cost over $150. A brilliant budget alternative is a concrete form tube (often sold under the brand name Sonotube) from a hardware store. A 12-inch diameter tube cut to a 4-foot length costs about $15. While it is rigid rather than collapsible, it is perfectly safe and highly visible for beginner dogs. Alternatively, you can purchase a collapsible children’s play tunnel from an online retailer or discount store for around $20 to $25. Secure the tunnel to the ground using U-shaped garden stakes to prevent it from rolling or collapsing while your dog runs through.
3. Garden Stake Weave Poles
Weave poles are notoriously difficult to train and expensive to buy. For a beginner setup, purchase a pack of six 36-inch fiberglass garden stakes from a home improvement store for about $12. Space them exactly 24 inches apart in a straight line, pushing them firmly into the soil. Fiberglass stakes have a slight flex, making them safe if your dog bumps into them during the learning phase.
Cost Comparison: Professional vs. DIY Setup
To truly understand the savings, consider the following cost breakdown comparing a traditional professional agility route versus a budget-friendly DIY approach for your first year of training.
| Expense Category | Professional Facility | DIY Backyard |
|---|---|---|
| Equipment | $800 - $1,500 | $42 |
| Classes / Access (1 Year) | $600 - $1,200 | $0 |
| Training Treats | $200+ | $50 (Homemade) |
| Total First Year | $1,600 - $2,900 | $92 |
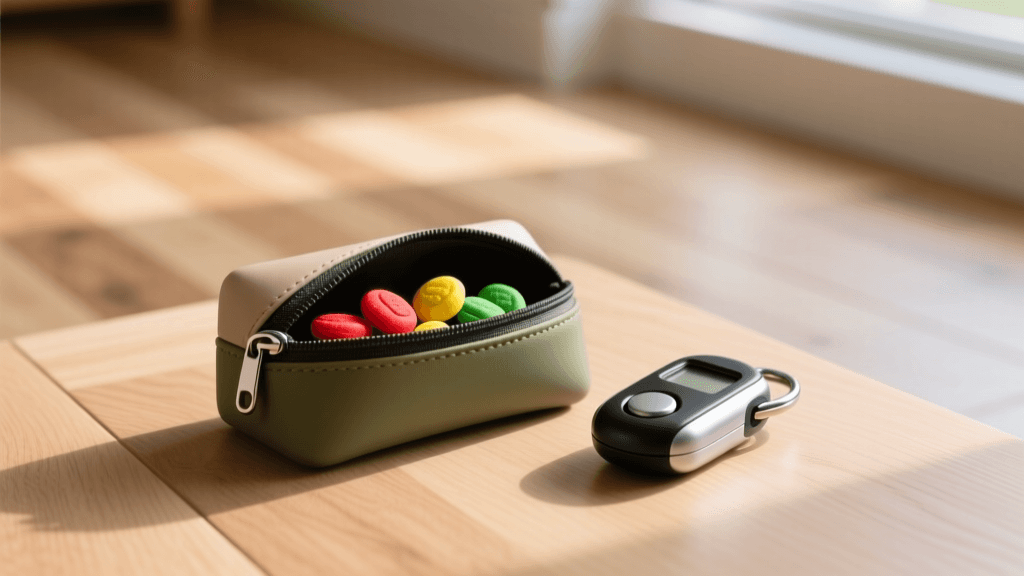
High-Value, Low-Cost Training Rewards
Agility requires high-value treats to maintain your dog's focus and drive. Commercial training treats can cost $8 to $15 per bag and often contain unnecessary fillers. Instead, prepare budget-friendly, single-ingredient rewards at home. Boiled, shredded chicken breast is a classic high-value reward that costs just a few dollars per batch. Another excellent option is DIY dehydrated sweet potato chews. Simply slice a sweet potato into 1/4-inch thick rounds and bake them on a wire rack at 200°F (93°C) for two to three hours until they are leathery. These cost pennies per serving and are highly motivating for most dogs.
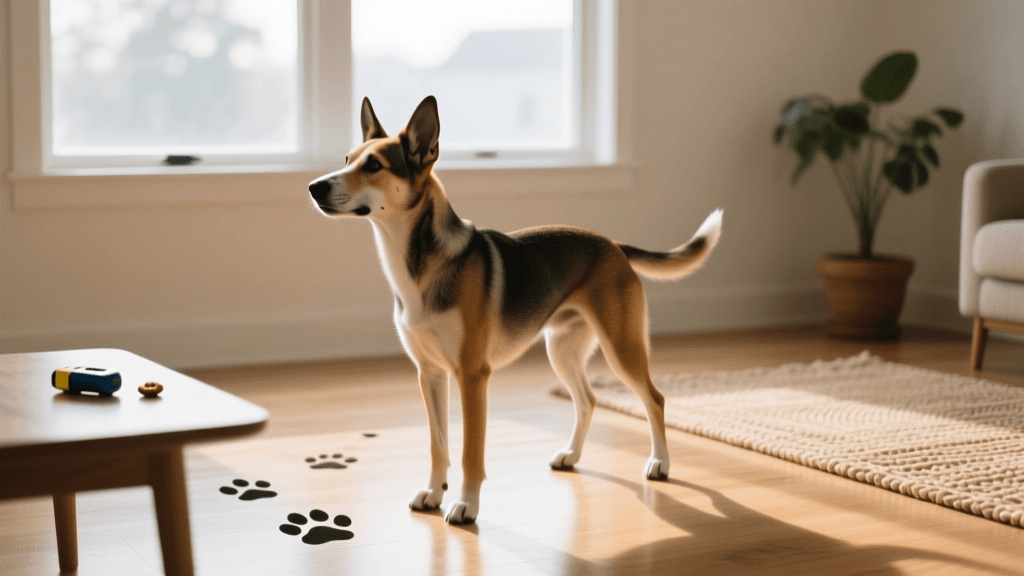
Step-by-Step Training Methodology
When introducing your dog to DIY equipment, patience and positive reinforcement are paramount. According to the Humane Society's tips for successful dog training, keeping sessions short, positive, and reward-based is the key to long-term behavioral conditioning.
Start with the 'Luring' technique. Hold a high-value treat near your dog's nose and guide them over the lowered PVC crossbar or through the tunnel. The moment they complete the obstacle, mark the behavior with a clicker or a verbal 'Yes!' and deliver the treat. As the American Kennel Club's guide to dog agility emphasizes, foundation skills and confidence-building are far more important than speed in the early stages.
Limit your training sessions to 10 to 15 minutes. Agility is mentally exhausting for dogs, and pushing them past their attention span can lead to frustration and a negative association with the equipment. Always end the session on a successful note, even if it means lowering the jump bar or shortening the tunnel to guarantee a win.
Pro Tip: Never force or physically push your dog through an obstacle. This creates fear and avoidance. Always let the dog choose to engage with the equipment for a reward.
Safety First: Ground Rules for Home Agility
While DIY equipment saves money, you must never compromise on your dog's physical safety. Always set up your course on a forgiving surface like natural grass or dirt. Avoid concrete, asphalt, or slick wooden decks, as these can cause severe joint impact or paw pad abrasions. The ASPCA's general dog care and exercise guidelines strongly recommend monitoring your dog's physical limits and ensuring proper warm-ups before vigorous exercise. Spend five minutes doing light leash walking and basic obedience stretches before asking your dog to tackle the obstacles. Furthermore, ensure your PVC joints are sanded smooth and that no sharp hardware store edges are exposed.
Conclusion
Dog agility should be an accessible joy, not a financial burden. By utilizing PVC pipes, garden stakes, and homemade treats, you can cultivate a thrilling training environment right in your own backyard. This budget-friendly approach not only saves you hundreds of dollars but also fosters a deeper, more collaborative bond between you and your canine companion.
priya-sutaria
All our authors care for dogs every day — read more of their work on the authors page.