DIY Backyard Agility Course: Train Focus and Confidence
Learn how to build a DIY backyard agility course to train your dog's focus, obedience, and confidence using affordable, homemade PVC and wood obstacles.
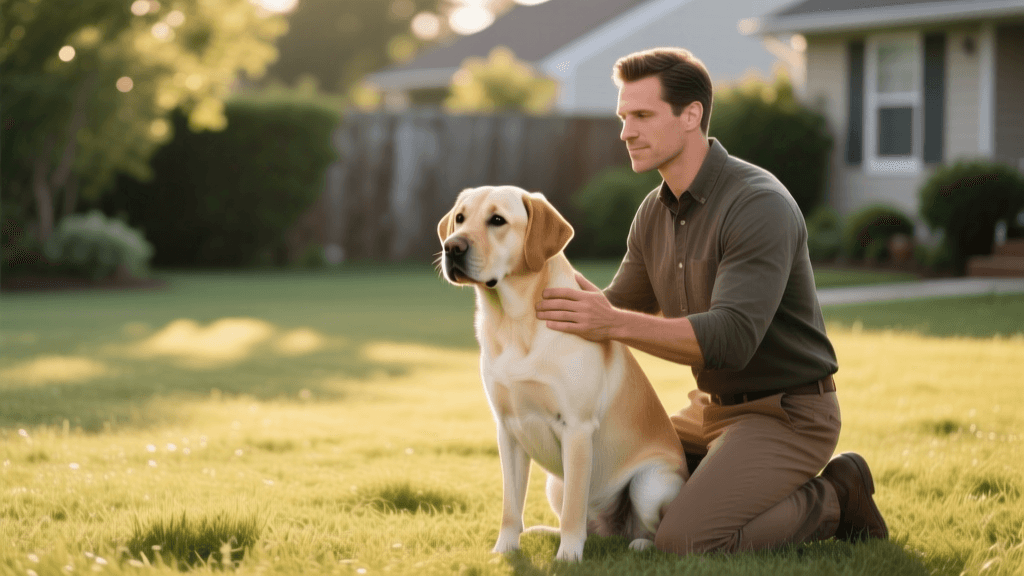
The Behavioral Benefits of Agility Training
Agility is often viewed strictly as a competitive sport, but its roots lie deeply in behavioral conditioning, confidence building, and advanced obedience training. Navigating obstacles requires a dog to practice impulse control, focus on their handler amidst distractions, and overcome environmental fears. According to the American Kennel Club (AKC), agility training strengthens the bond between dog and owner while providing essential mental and physical stimulation. For dogs struggling with reactivity, anxiety, or poor recall, a structured backyard agility course offers a controlled environment to shape positive behaviors using high-value rewards and clear communication.
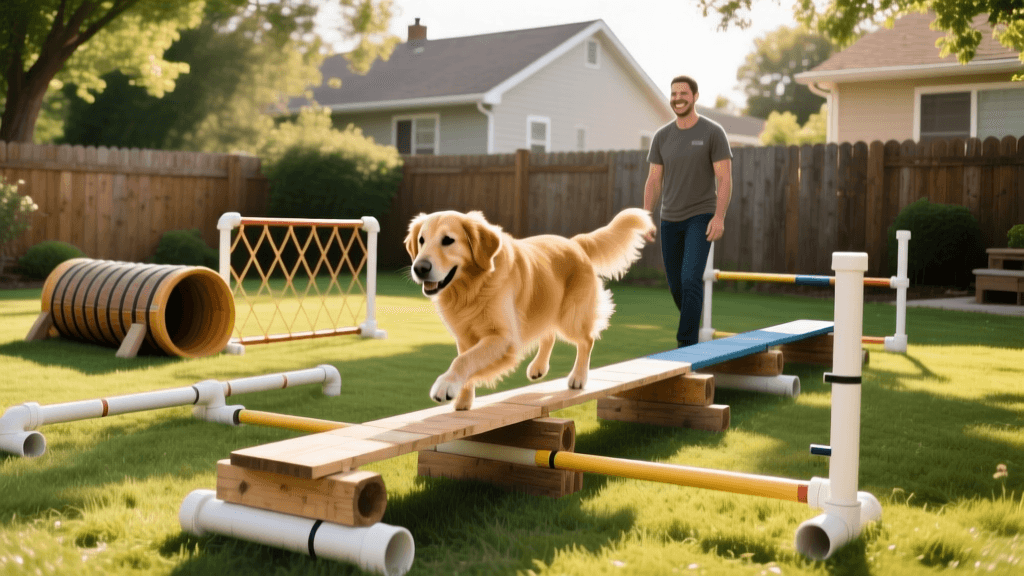
Commercial agility equipment can cost hundreds, if not thousands, of dollars. However, by utilizing DIY and homemade solutions, you can create a fully functional training course in your backyard for a fraction of the cost. This guide will walk you through building three essential obstacles and detail the specific training protocols required to condition your dog for success.
Essential DIY Agility Obstacles and How to Build Them
1. The PVC Adjustable Jump
The jump is the most fundamental agility obstacle. It teaches your dog forward momentum, responsiveness to directional cues, and hind-end awareness.
- Materials Needed: Four 1-inch PVC pipes (36 inches long), two 1-inch PVC pipes (48 inches long), four 1-inch PVC T-connectors, four 1-inch PVC end caps, and a lightweight wooden or PVC jump bar (48 inches).
- Estimated Cost: $18 - $25 at a local hardware store.
- Assembly: Connect the 36-inch pipes to the T-connectors to form two L-shaped bases. Insert the 48-inch upright pipes into the T-connectors. Drill holes every 4 inches up the uprights to rest your jump bar. Use end caps on the bottom of the bases for stability.
Training Protocol: Start with the bar on the ground. Lure your dog over the bar using a high-value treat, marking the exact moment their back paws clear the obstacle with a clicker or a verbal 'Yes!', then reward on the landing side. This builds forward drive. Gradually raise the bar by 4-inch increments. Never punish a knocked bar; simply reset it to maintain your dog's confidence.
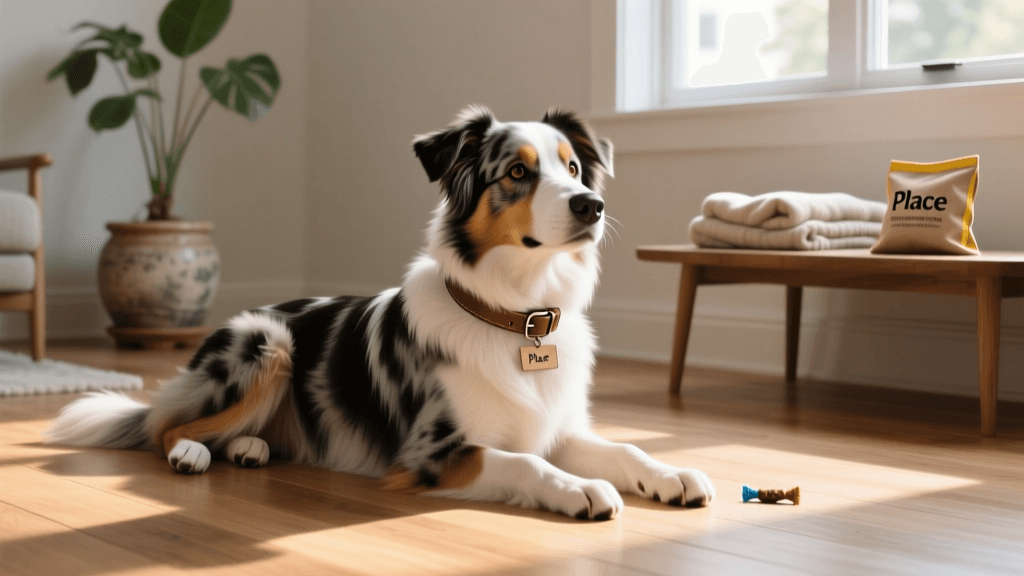
2. The Wooden Pause Box
The pause box is a 36x36 inch square where your dog must enter and hold a stationary position (sit or down) for a designated time, usually 5 to 10 seconds. This is unparalleled for teaching impulse control and the 'stay' command.
- Materials Needed: Four 8-foot wooden landscaping timbers or 2x4 lumber, exterior wood screws, and bright outdoor paint.
- Estimated Cost: $30 - $45.
- Assembly: Cut the lumber into four 36-inch segments. Screw them together to form a perfect square. Paint the inside a bright, contrasting color (like yellow or blue) to help your dog visually identify the target zone.
Training Protocol: Treat the pause box like a 'place' mat. Toss a treat inside the box and cue 'Box' or 'Place'. Once all four paws are inside, ask for a 'down'. Reward heavily for duration. Start with 1-second holds and progressively build to 10 seconds. If your dog breaks the stay, calmly guide them back without offering a treat, resetting the timer. This conditions emotional regulation and patience.
3. Garden Stake Weave Poles
Weave poles are notoriously difficult to train but offer incredible mental stimulation. They require a dog to cross their midline, engaging both hemispheres of the brain.
- Materials Needed: Six 4-foot fiberglass garden stakes, six 12-inch pieces of 1-inch PVC pipe (to act as ground sleeves), and a rubber mallet.
- Estimated Cost: $20 - $30.
- Assembly: Pound the 12-inch PVC sleeves into the ground in a straight line, spaced exactly 24 inches apart from center to center. Slide the flexible fiberglass stakes into the sleeves. The PVC sleeves protect the stakes and allow for a slight, safe flex if your dog bumps them.
Training Protocol: Do not force your dog through the poles. Use the 'channel method' by initially offsetting the stakes slightly to create a wide runway, allowing your dog to run straight through while technically weaving. Alternatively, use wire guide arches (which can be bent from cheap wire fencing) over the poles to prevent your dog from exiting the weave line early. Reward heavily at the exit of the final pole.
Cost Comparison: Commercial vs. DIY Agility Equipment
Building your own equipment not only saves money but allows you to customize the dimensions to your specific dog's size and your yard's layout. Below is a comparison of typical costs and build metrics.
| Equipment Type | Commercial Cost | DIY Material Cost | Build Time | Portability |
|---|---|---|---|---|
| Adjustable Jump | $80 - $150 | $18 - $25 | 45 mins | High |
| Pause Box | $120 - $200 | $30 - $45 | 1 hour | Medium |
| 6 Weave Poles | $90 - $130 | $20 - $30 | 30 mins | High |
Training Protocols: Shaping Behavior on Homemade Gear
When introducing your dog to DIY equipment, the methodology you use is just as important as the obstacle itself. The ASPCA strongly advocates for positive reinforcement techniques, which are highly effective in agility training. Avoid physical manipulation or forcing your dog onto equipment, as this can trigger fear periods and create long-term avoidance behaviors.
Instead, utilize shaping and luring. Shaping involves rewarding successive approximations of the desired behavior. For example, if your dog is hesitant to enter the wooden pause box, reward them first for looking at it, then for taking one step toward it, then for sniffing the wood, and finally for stepping inside. Keep training sessions incredibly short—no more than 5 to 10 minutes at a time. Canine learning plateaus when fatigue sets in, and agility is as mentally taxing as it is physically demanding.
Always pair your homemade obstacles with a specific verbal cue. Use 'Over' for jumps, 'Box' for the pause table, and 'Weave' for the poles. Consistency in your verbal markers will accelerate your dog's comprehension and build a reliable obedience vocabulary.
Safety First: Ground Conditions and Joint Health
While DIY obstacles save money, you must never compromise on safety. The surface beneath your homemade course is critical for protecting your dog's orthopedic health. High-impact activities like jumping and weaving place significant stress on the carpal, tarsal, and spinal joints.
Never set up your agility course on concrete, asphalt, or hard-packed dirt. According to veterinary rehabilitation experts featured by the Humane Society, repetitive impact on unforgiving surfaces can lead to premature joint degradation, arthritis, and soft tissue injuries. Ideal surfaces include:
- Well-maintained natural grass: Provides excellent natural shock absorption, provided it is not muddy or slippery.
- Short-pile artificial turf: Offers consistent traction and drainage, though it can get hot in direct summer sunlight.
- Interlocking foam gym mats: An affordable, temporary DIY solution for small spaces or patios, providing vital cushioning for the pause box and jump landings.
Furthermore, ensure your DIY PVC jumps are designed to dislodge easily if your dog misjudges the height. A rigid, unyielding jump bar can cause severe tripping injuries. Use lightweight wooden dowels or hollow PVC pipes for the jump bar that will easily fall off the rests upon impact.
Trainer's Tip: End every single training session on a success. If your dog struggles with the weave poles, lower your criteria. Ask them to simply run through a wide channel of poles, reward heavily, and put the equipment away. Leaving your dog wanting more ensures they approach your homemade agility course with enthusiasm and confidence the next day.
hannah-wickes
All our authors care for dogs every day — read more of their work on the authors page.