DIY Backyard Agility Course: Build Homemade Dog Training Obstacles
Learn how to build a DIY backyard agility course. Discover step-by-step instructions, material costs, and measurements for homemade dog training obstacles.
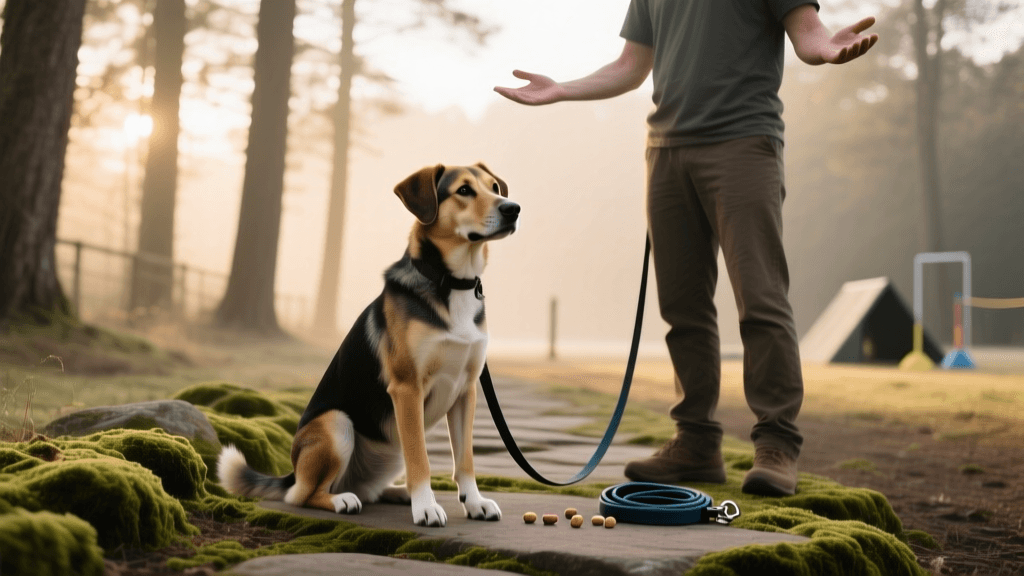
Dog agility is one of the most exhilarating and bonding activities you can share with your canine companion. It builds confidence, burns off excess energy, and sharpens obedience skills. However, purchasing a commercial agility kit can easily cost upwards of $500 to $1,000. For the crafty and budget-conscious dog owner, building a DIY backyard agility course is a highly rewarding alternative that provides professional-grade training opportunities at a fraction of the cost.
In this comprehensive guide, we will explore how to design, build, and train your dog on homemade agility obstacles. Whether you are preparing for competitive trials or simply looking for a fun weekend project to enhance your dog's behavioral conditioning, these DIY solutions offer exact measurements, cost-effective materials, and actionable training advice.
The Benefits of Backyard Agility Training
Agility is more than just running and jumping; it is a complex form of behavioral conditioning and communication. According to the American Kennel Club (AKC), agility training fosters a profound bond between handler and dog, relying heavily on positive reinforcement, body language, and verbal cues. Furthermore, navigating obstacles provides immense mental stimulation, which is crucial for preventing destructive behaviors in high-energy breeds.
Planning Your Course: Space and Surface Requirements
Before purchasing materials, evaluate your backyard. You need a relatively flat area of at least 50x50 feet to safely sequence multiple obstacles. The surface is critical for preventing joint injuries. Natural grass or packed dirt is ideal. Avoid concrete, asphalt, or slippery wooden decks, as these can cause severe paw pad abrasions and orthopedic injuries during high-speed turns.
Essential Tools and Material Cost Breakdown
Most DIY agility equipment can be constructed using standard hardware store materials. Below is a comparison chart of estimated costs for building a basic four-obstacle course compared to buying commercial equivalents.
| Obstacle Type | DIY Materials Needed | Estimated DIY Cost | Commercial Cost |
|---|---|---|---|
| Adjustable Jump | PVC pipes, T-connectors, wood dowel | $15 - $25 | $80 - $150 |
| Weave Poles (6 set) | 1-inch PVC, rebar stakes, caps | $30 - $45 | $120 - $200 |
| Pause Table | Plywood, 4x4 wooden posts, outdoor paint | $40 - $60 | $150 - $250 |
| Collapsed Tunnel | Flexible drainage pipe, canvas drop cloth | $35 - $50 | $150 - $300 |
Note: Prices are approximate and based on average US hardware store pricing. Upcycling materials like scrap wood or leftover PVC can reduce these costs to near zero.
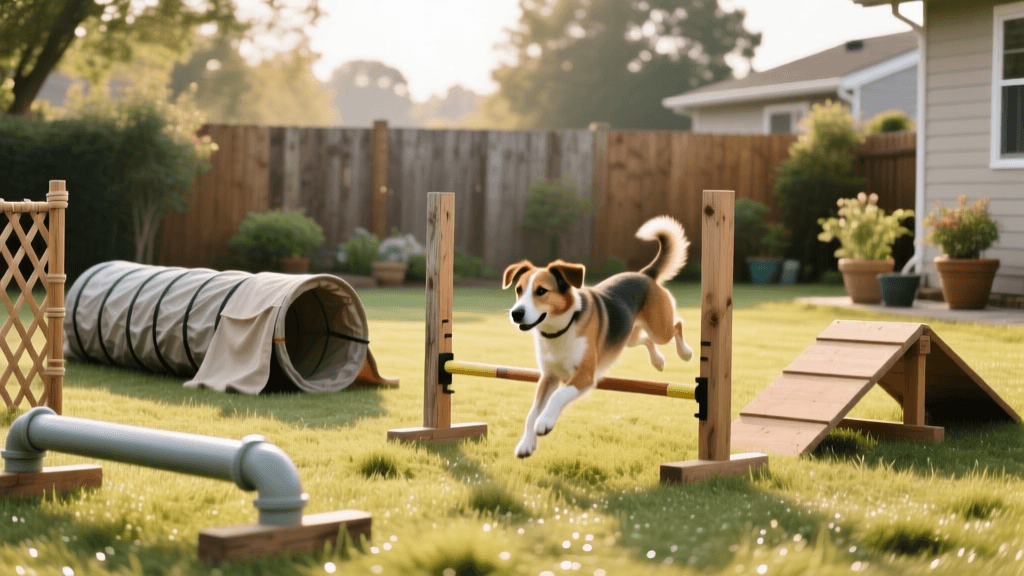
Project 1: Building an Adjustable DIY Jump
The jump is the most fundamental obstacle in agility. Your DIY jump must be displaceable, meaning the bar should fall easily if the dog hits it, preventing injury.
Measurements and Materials
- Uprights: Two 40-inch lengths of 1.5-inch PVC pipe.
- Bases: Two 24-inch lengths of 1.5-inch PVC pipe connected with T-fittings to form a stable cross base.
- Jump Bar: A 48-inch lightweight wooden dowel or thin PVC pipe wrapped in high-visibility electrical tape.
- Jump Cups: Metal or heavy-duty plastic brackets screwed into the PVC uprights every 4 inches.
Construction Steps
- Assemble the bases using PVC T-connectors, ensuring they are wide enough to prevent tipping.
- Insert the uprights into the center of the T-connectors.
- Measure and mark the uprights starting at 8 inches from the ground, continuing every 4 inches up to 36 inches.
- Screw the jump cups into the marked spots. Ensure the cups face inward and are perfectly level with one another.
Project 2: Homemade Weave Poles
Weave poles are notoriously difficult to master, but building them at home allows for endless practice. The United States Dog Agility Association (USDAA) mandates that standard weave poles be 40 inches tall and spaced exactly 24 inches apart.
The DIY Rebar and PVC Method
Instead of building a bulky wooden frame, use the rebar stake method for a flexible, easy-to-store solution.
- Cut six 40-inch lengths of 1-inch PVC pipe.
- Drive 24-inch lengths of 3/8-inch steel rebar into the ground, leaving exactly 12 inches exposed above the soil. Space them precisely 24 inches apart in a straight line.
- Slide the PVC pipes over the exposed rebar. The steel core provides rigidity, while the PVC exterior is safe and flexible if your dog bumps into it.
Training the Weaves
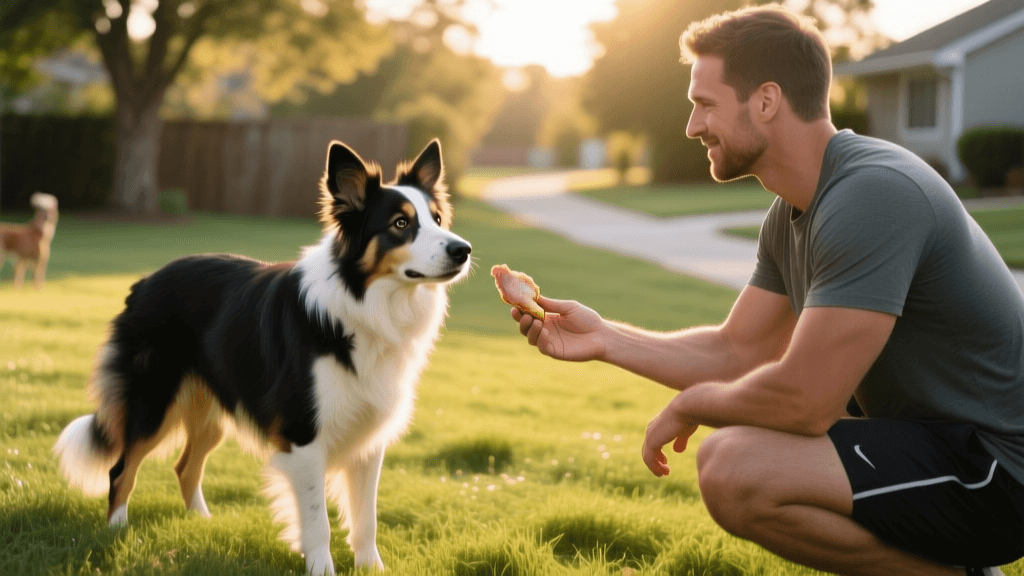
Do not force your dog through the poles. Use the 2x2 method or the channel method to shape the behavior. Start with just two poles placed slightly apart to create a channel. Reward the dog heavily with high-value treats like boiled chicken or freeze-dried liver for running straight through the gap. Gradually narrow the gap and add more poles over several weeks.
Project 3: The DIY Pause Table
The pause table requires your dog to jump onto a raised surface and hold a sit or down position for a designated time, usually 5 seconds. This obstacle tests impulse control and obedience amidst high arousal.
Construction Guide
Cut a 3x3 foot square from 3/4-inch exterior-grade plywood. Sand the edges thoroughly and apply a coat of outdoor, non-slip paint mixed with fine sand to provide grip. Attach four 2x4 wooden legs cut to 12 inches in height, or use adjustable metal furniture legs for height variations. Ensure the table is heavy enough not to tip when a large dog leaps onto it, but light enough for you to move.
Project 4: The Collapsed Tunnel (Chute)
A collapsed tunnel features a rigid entrance and a fabric chute that the dog must push through. This builds confidence in dogs that are hesitant about confined spaces.
- The Hoop: Use a 24-inch diameter heavy-duty hula hoop or bend a thick PVC pipe into a circle.
- The Chute: Sew a 6-foot long tube from a durable canvas drop cloth or ripstop nylon. The diameter should be slightly larger than the hoop.
- Assembly: Zip-tie the fabric tube to the hoop. Stake the hoop securely to the ground using U-shaped landscaping stakes. Let the fabric chute drape flat on the ground.
Training Methodologies for Homemade Equipment
Building the equipment is only half the battle; teaching your dog to navigate it safely requires structured behavioral conditioning.
Luring vs. Shaping
For beginners, luring (using a treat to guide the dog's nose over a jump or onto a table) is the fastest way to introduce an obstacle. However, shaping (rewarding incremental steps toward the final behavior) creates a more confident and independent thinker. For example, when introducing the pause table, reward the dog for simply looking at the table, then for taking a step toward it, then for placing one paw on it, and finally for jumping up entirely.
Reward Placement and Timing
In agility, where you deliver the reward is just as important as the reward itself. If you are training the jump, toss the treat straight ahead over the bar so the dog learns to drive forward. If you reward from your pocket while the dog turns back toward you, you inadvertently train the dog to look back at you over their shoulder, which causes knocked bars and poor course flow. Use a treat pouch or keep high-value rewards in a designated container at the end of the sequence to build drive and speed.
Patience is the cornerstone of agility training. Never physically push or pull your dog over an obstacle. This creates negative associations and can lead to a phenomenon known as agility stress, where the dog shuts down or avoids the equipment entirely.
Crucial Safety and Conditioning Protocols
Safety must be your primary concern when engaging in any canine sport. The Kennel Club strongly advises that puppies and young dogs should not jump or weave until their growth plates have fully closed, which typically occurs between 12 to 18 months of age depending on the breed. For young dogs, keep all jump bars on the ground and focus on flatwork, tunnel work, and foundational obedience.
Warm-Up and Cool-Down
Just like human athletes, dogs require a proper warm-up to prevent muscle strains. Spend 5 to 10 minutes doing brisk walking, light trotting, and basic obedience tricks like spins and figure-eights through your legs to increase blood flow to the muscles. After the session, a slow 5-minute walk helps flush lactic acid from the muscles and brings the heart rate down safely.
Equipment Maintenance and Inspection
Homemade equipment requires regular maintenance to ensure it remains safe for your dog. Inspect PVC joints weekly for cracks or brittleness caused by UV exposure. Sand down any wooden surfaces that have developed splinters, and reapply the non-slip sand paint to the pause table every few months. Ensure that rebar stakes in the weave poles have not shifted or heaved upward due to frost or heavy rain, as exposed metal ends pose a severe impalement risk.
Conclusion
Creating a DIY backyard agility course is an incredibly fulfilling project that transforms your outdoor space into a dynamic training arena. By utilizing affordable materials like PVC and plywood, you can construct safe, regulation-inspired obstacles that challenge your dog physically and mentally. Remember to prioritize positive reinforcement, respect your dog's physical limits, and celebrate every small victory. With consistency and homemade equipment, you and your dog will be mastering the backyard course in no time.
anouk-beaumont
All our authors care for dogs every day — read more of their work on the authors page.