Step-by-Step Crate and Potty Training for New Dogs
Master your new dog's first week with our step-by-step crate and potty training guide. Learn schedules, setup tips, and positive reinforcement methods.

Bringing a new dog or puppy into your home is one of life’s most rewarding experiences, but the first seven days can also be the most chaotic. As you navigate the transition from a shelter or breeder environment to your living room, establishing a predictable routine is paramount. According to the Humane Society's house training resources, consistency and positive reinforcement are the foundational pillars of successful behavioral conditioning. This comprehensive, step-by-step guide will walk you through the exact process of crate and potty training your newly adopted dog during their critical first week, ensuring a harmonious relationship from day one.
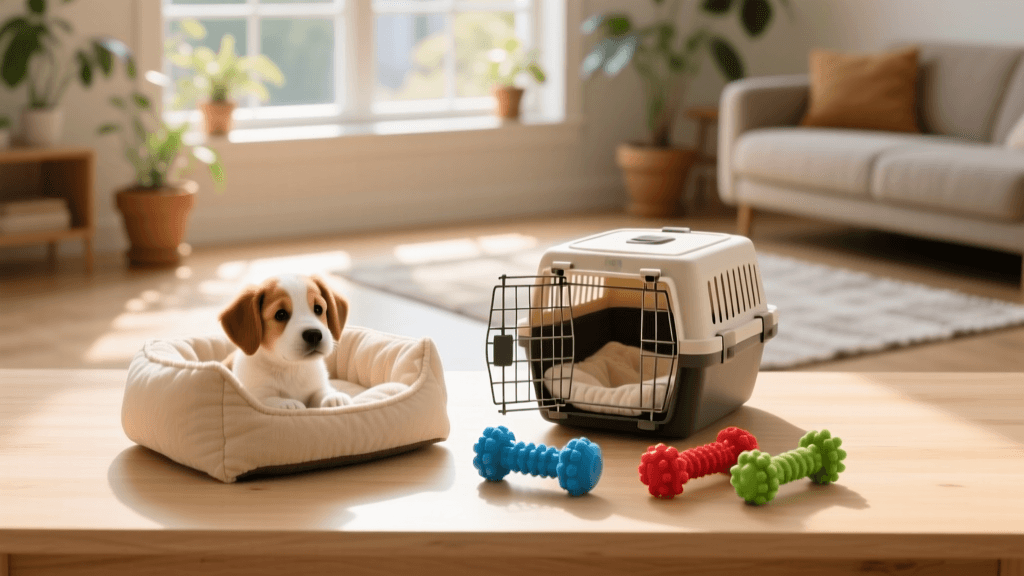
Step 1: Selecting and Setting Up the Perfect Crate
The crate is not a cage; it is a den, a sanctuary, and your most valuable management tool. When selecting a crate, you generally have three options: wire, plastic, or soft-sided. For initial training, a wire crate like the MidWest Homes for Pets iCrate (typically costing between $60 and $90) is highly recommended. Wire crates offer maximum visibility and airflow, and crucially, they come with adjustable divider panels. This allows you to buy a crate sized for your dog’s adult weight while restricting the space to prevent them from soiling one corner and sleeping in the other. Dogs naturally avoid soiling their immediate sleeping area, and a properly sized crate leverages this instinct.
Below is a standard sizing chart to help you select the correct dimensions based on your dog's anticipated adult weight:
| Dog Weight | Crate Size | Dimensions (L x W x H) |
|---|---|---|
| 11 - 25 lbs | Small | 24 x 18 x 19 inches |
| 26 - 40 lbs | Medium | 30 x 19 x 21 inches |
| 41 - 70 lbs | Large | 36 x 23 x 25 inches |
| 71 - 90 lbs | X-Large | 42 x 28 x 30 inches |
| 91+ lbs | XX-Large | 48 x 30 x 33 inches |
Placement is equally critical. Position the crate in a low-traffic area where your dog can decompress, but not entirely isolated from the family. A quiet corner of the living room or a dedicated alcove in your bedroom works best. Avoid placing the crate in direct sunlight or near drafty windows and heating vents. Outfit the interior with a washable fleece pad or a durable cot-style bed, avoiding plush beds that might be chewed and ingested during the first few weeks of teething or anxiety.
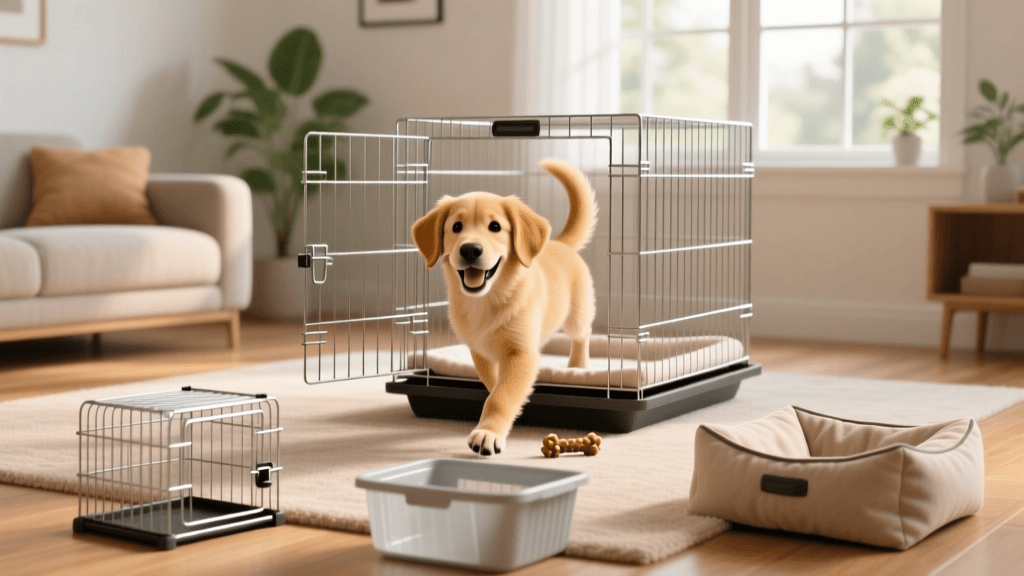
Step 2: The Positive Association Protocol
Never force your new dog into the crate, and never use it as a punishment. The ASPCA's guidelines on crate training emphasize that the crate must be associated exclusively with positive experiences. Begin the introduction process the moment you arrive home.
- Phase 1: Exploration. Toss high-value treats, such as freeze-dried chicken or small pieces of hot dog, near the crate entrance, then gradually further inside. Feed your dog their first few meals near the crate, then just inside the doorway, and finally at the very back.
- Phase 2: The KONG Method. Purchase a classic red KONG toy ($15-$25) and stuff it with dog-safe peanut butter, plain yogurt, and kibble. Freeze it for two hours. Give this frozen treat to your dog only when they are inside the crate. This creates a powerful positive association and keeps them occupied for 30 to 45 minutes.
- Phase 3: Closing the Door. Once your dog enters willingly, gently close the door while they eat their meal or chew their KONG. Sit right next to the crate. After a few days, begin stepping away for one minute, then five, then fifteen. If your dog whines, do not immediately open the door, or you will reinforce the whining behavior. Wait for a brief moment of silence before releasing them.
Step 3: Potty Training Fundamentals and Management
Potty training is less about teaching your dog what to do and more about managing their environment so they cannot make mistakes. The golden rule of potty training is supervision. If you cannot actively watch your dog, they must be in their crate or a secure exercise pen.
Implement the 'Umbilical Cord' method when your dog is out of the crate. Attach a 4-foot lightweight leash to their harness and clip the other end to your belt loop. This prevents them from wandering into another room to have an accident. Take your dog outside on a leash every single time they need to eliminate. This allows you to reward them immediately with a treat and verbal praise the second they finish.
Accidents will happen. When they do, your cleaning protocol is just as important as your training protocol. You must use a high-quality enzymatic cleaner, such as Nature's Miracle Advanced Stain and Odor Eliminator ($12-$18) or Rocco & Roxie Professional Strength Eliminator ($20-$25). Standard household cleaners or ammonia-based products will not break down the uric acid crystals in dog urine. If the scent remains, your dog's highly sensitive nose will detect it and encourage them to use that exact spot again. Saturate the area thoroughly, let it sit for the recommended 10 to 15 minutes, and blot it dry.
Step 4: Your First 7 Days Daily Blueprint
Dogs thrive on predictability. During the first week, adhere to a strict schedule to regulate their digestive system and bladder. Puppies can generally hold their bladder for one hour per month of age, plus one. An eight-week-old puppy needs a break every two to three hours, while an adult rescue dog may hold it for six to eight hours.
Here is a sample daily blueprint for a newly adopted puppy or dog:
- 6:30 AM: Wake up, immediately carry or leash outside to the designated potty spot. Reward heavily.
- 7:00 AM: Breakfast served inside the crate or on a mat.
- 7:30 AM: Second potty break outside, followed by 15 minutes of supervised play or training.
- 8:00 AM: Crate time for a morning nap (2 to 3 hours).
- 11:00 AM: Potty break, followed by mental enrichment (sniffle mat or training session).
- 12:00 PM: Lunch (for puppies under 6 months) and immediate potty break.
- 1:00 PM: Afternoon crate nap.
- 4:00 PM: Potty break and a 20-minute structured walk.
- 6:00 PM: Dinner and potty break.
- 7:00 PM: Supervised family time and chew toys.
- 8:00 PM: Water bowl removed to prevent overnight accidents.
- 10:00 PM: Final potty break, then into the crate for the night.
Step 5: Nighttime Survival and Troubleshooting
The first few nights are notoriously difficult. Your dog is in an unfamiliar environment, separated from their littermates or previous owners. To ease nighttime anxiety, place a ticking clock wrapped in a towel or a Snuggle Puppy with a heartbeat simulator ($40-$50) inside the crate.
Set an alarm for 2:00 AM and 4:00 AM for young puppies. Take them out on a leash in the dark, keep interactions completely boring and silent, and return them directly to the crate. Do not play or feed them during these midnight excursions.
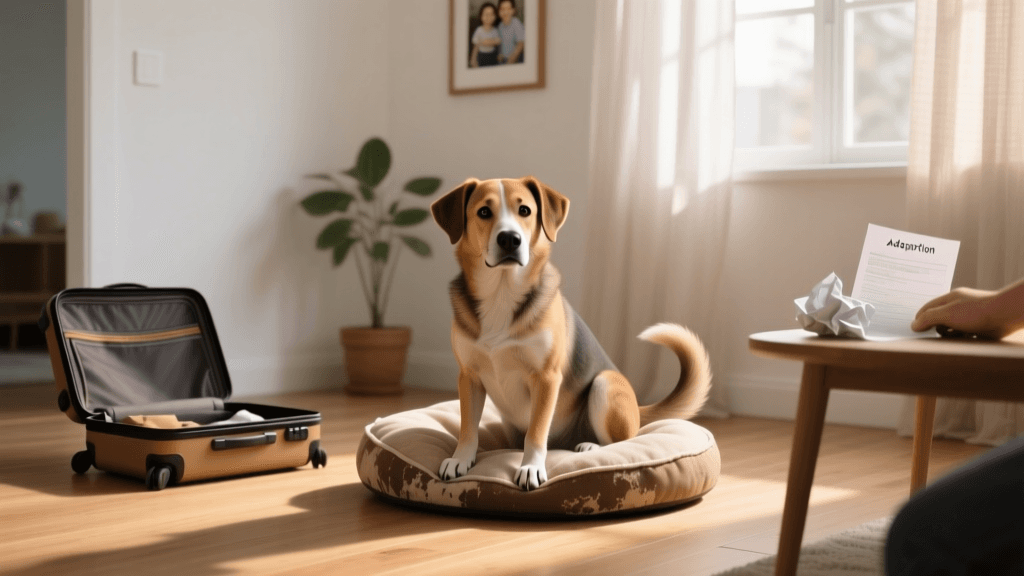
If your dog experiences stress-induced diarrhea or frequent regression, consult your veterinarian to rule out parasites like Giardia or Coccidia, which are common in shelter environments. For behavioral regression, revert to the basics: increase supervision, decrease their allowed roaming space, and reward heavily for outdoor elimination. The American Kennel Club (AKC) notes that patience and a return to foundational management are the most effective remedies for training plateaus.
Conclusion
By committing to this step-by-step protocol, you are not just teaching your dog where to potty or where to sleep; you are establishing a language of trust, boundaries, and clear communication. The effort you invest in these first seven days will yield a confident, well-adjusted companion for the next decade and beyond.
tom-renshaw
All our authors care for dogs every day — read more of their work on the authors page.