Canine Proprioception Training: A Joint Health Progression Plan
Discover a step-by-step canine proprioception training progression plan to improve your dog's balance, prevent joint injuries, and boost mobility.

What is Canine Proprioception and Why Does It Matter?
Proprioception is often described as the body's "sixth sense." It is the neurological ability of a dog to perceive the position, movement, and orientation of their own body in space without relying on vision. Mechanoreceptors located in your dog's joints, muscles, tendons, and skin continuously send signals to the brain, allowing them to navigate uneven terrain, catch a frisbee mid-air, or simply stand up from a nap without stumbling. When a dog's proprioceptive pathways are sharp, their risk of traumatic joint injuries decreases significantly.
Unfortunately, proprioception can degrade due to aging, neurological conditions, or orthopedic issues. According to the ACVS guidelines on canine osteoarthritis, joint degeneration often leads to a loss of muscle mass and a decline in spatial awareness, creating a vicious cycle of instability and further injury. By implementing a structured, progressive proprioception training plan, you can actively strengthen your dog's neuromuscular pathways, improve core stability, and protect vulnerable joints like the cranial cruciate ligament (CCL) and hips.
Pre-Requisites: Veterinary Clearance and Baseline Assessment
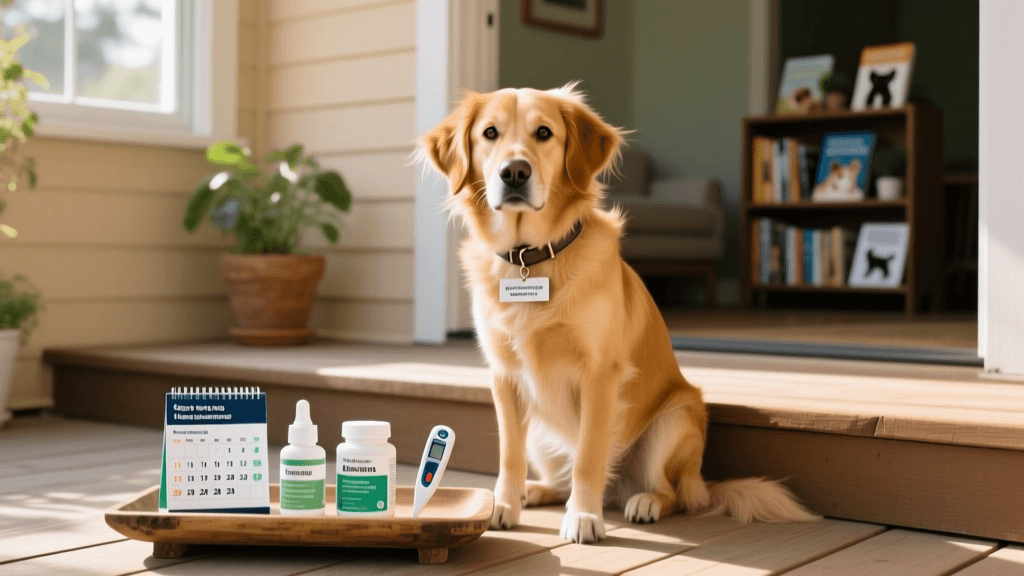
Before initiating any balance or conditioning program, it is imperative to secure veterinary clearance. Dogs with undiagnosed hip dysplasia, partial cranial cruciate ligament tears, or spinal issues can suffer severe setbacks if forced onto unstable surfaces prematurely. Schedule a comprehensive orthopedic exam with your veterinarian or a certified canine rehabilitation therapist (CCRT) to establish a safe baseline. Once cleared, you can begin the 12-week progression plan outlined below.
Essential Equipment and Estimated Costs
You do not need a commercial gym to train your dog at home, but investing in specialized, puncture-resistant canine fitness equipment ensures safety and proper inflation levels. Below is a starter kit for a medium-to-large breed dog:
- FitPAWS Paw Pods (Set of 4): Approximately $35. These small, inflatable half-domes are perfect for isolated paw targeting and static weight-bearing.
- K9 Fitness Z-Bone or FitPAWS Peanut: Approximately $55 to $75. These larger, peanut-shaped inflatable tools force the dog to engage their core and stabilizer muscles to maintain a standing position.
- Cavaletti Poles (Adjustable Set): Approximately $60. Used for dynamic stepping and spatial awareness. (DIY alternative: Use PVC pipes and cones for about $15).
- Non-Slip Yoga Mat: Approximately $20. Crucial for providing a safe, high-traction base under and around the inflatable equipment to prevent catastrophic slipping.
- High-Value, Low-Calorie Treats: Zuke's Mini Naturals (approx. $8 per bag). At just 3 calories per treat, these allow for high-repetition marking without causing weight gain, which is detrimental to joint health.
Total Estimated Starter Cost: $178 to $218.
The 12-Week Proprioception Training Progression Plan
This plan is divided into three distinct phases, moving from static ground awareness to dynamic, multi-planar movements. Sessions should be kept short to avoid mental fatigue and physical overexertion.
| Phase | Weeks | Core Objective | Primary Equipment | Session Length & Frequency |
|---|---|---|---|---|
| Phase 1 | 1 - 4 | Foundation & Static Weight Shifting | Yoga Mat, Paw Pods | 10 mins, 3x per week |
| Phase 2 | 5 - 8 | Unstable Surfaces & Core Activation | Peanut / Z-Bone, Paw Pods | 15 mins, 3x per week |
| Phase 3 | 9 - 12 | Dynamic Movement & Spatial Awareness | Cavaletti Poles, Peanut | 15-20 mins, 2x per week |
Phase 1: Foundation and Static Weight Shifting (Weeks 1-4)
The goal of Phase 1 is to build conscious awareness of the paws, particularly the hind paws, which many dogs tend to drag or neglect. All exercises in this phase are performed on a flat, non-slip surface or on low-profile, stable Paw Pods.
Exercise 1: The Sit-to-Stand (Canine Squat)
Have your dog sit squarely in front of you. Using a low-calorie treat, lure their nose straight up and slightly back toward their tail, encouraging them to stand up using their hind legs rather than stepping forward with their front paws. Hold the standing position for 3 seconds, then lure them back into a sit. Perform 2 sets of 6 repetitions. This builds gluteal and hamstring strength, vital for stifle (knee) stabilization.
Exercise 2: Hind Paw Targeting
Place a single FitPAWS Paw Pod or a small, folded towel on the ground. Lure your dog forward so their front paws pass the object, then gently guide them backward or use a treat to lure their hindquarters until one or both hind paws step onto the pod. Mark the behavior with a "Yes!" and reward. This forces the dog to consciously think about where their back feet are planted.
Phase 2: Unstable Surfaces and Core Activation (Weeks 5-8)
Phase 2 introduces micro-movements and instability. When a dog stands on an inflatable surface, the air shifts, forcing the brain to fire rapid signals to the small stabilizer muscles surrounding the joints to prevent falling.
Equipment Prep: Inflate your Peanut or Z-Bone to about 80% capacity using a standard bicycle pump. A softer surface creates more instability; a firmer surface is easier. Always start slightly firmer and release air as the dog gains confidence.
Exercise 1: Front Paws Elevated
Lure your dog to place only their two front paws on the Z-Bone or Peanut, leaving their hind paws on the non-slip mat. Ask for a "Stay" or simply feed treats continuously for 10 to 15 seconds. The dog will naturally make micro-adjustments in their shoulders and core to maintain balance. Perform 4 repetitions with a 30-second rest in between.
Exercise 2: Weight Shifting on Unstable Surfaces
With the dog's front paws on the inflatable equipment, use a treat to slowly lure their head to the left, shifting their body weight onto their right front leg. Hold for 3 seconds, then lure to the right side. This lateral weight shifting strengthens the medial and lateral joint stabilizers, directly combating the forces that cause CCL injuries.
Phase 3: Dynamic Movement and Spatial Awareness (Weeks 9-12)
The final phase transitions from static holding to controlled, dynamic movement. The dog must now calculate distance, height, and limb placement while in motion.
Exercise 1: Cavaletti Rails
Set up 4 to 6 Cavaletti poles on the ground. The distance between the poles should be roughly equal to the distance from your dog's wrist (carpus) to their shoulder, or simply measure the length of their stride at a normal walk. Lure your dog through the poles at a slow, deliberate walking pace. They must lift each paw consciously to clear the obstacles without knocking them over. This dramatically improves spinal flexibility, hip flexion, and shoulder extension. Complete 5 passes per session.
Exercise 2: The Back-Up Over an Obstacle
Place a single Cavaletti pole or a broomstick on the ground. Stand facing your dog and take a step toward them, prompting them to take a step backward. Reward heavily when their hind paws step over the pole without looking back. Backing up requires immense proprioceptive skill, as dogs cannot easily see what is behind them. This exercise is a staple in canine sports conditioning and post-operative orthopedic rehab.
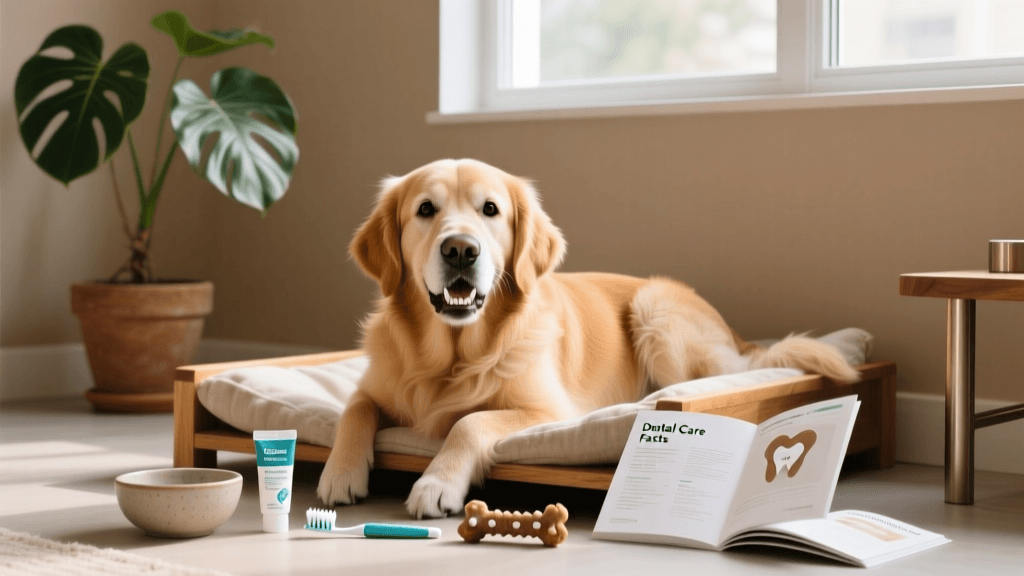
Nutritional Support for Joint and Muscle Health
Training progression must be paired with internal support. As your dog builds new muscle and stresses their joints in new ways, ensure their diet includes adequate levels of Omega-3 fatty acids (specifically EPA and DHA), which are proven to reduce joint inflammation. Consult your veterinarian about adding a high-quality joint supplement containing Glucosamine Hydrochloride, Chondroitin Sulfate, and Green Lipped Mussel extract. Additionally, keep your dog at a lean body condition score (BCS of 4 or 5 out of 9); excess adipose tissue places exponential stress on the stifle and hip joints, negating the benefits of your proprioception training.
Safety Protocols and Recovery
Proprioception training is as mentally taxing as it is physically demanding. A 15-minute session on a peanut or navigating Cavaletti rails can leave a dog as tired as a 3-mile run. Always provide a minimum of 48 hours of active recovery (light leash walking, sniffaris) between Phase 2 and Phase 3 sessions. Watch for signs of fatigue, such as panting, lip licking, or a sudden decrease in precision. If your dog begins knocking over poles or sliding off the equipment, the session is over. Consistency, patience, and a methodical progression are the keys to unlocking your dog's physical potential and ensuring a lifetime of vibrant, pain-free mobility.
priya-sutaria
All our authors care for dogs every day — read more of their work on the authors page.