Training Your Dog for Airplane Cabin Travel & Airport Etiquette
Learn how to train your dog for airplane cabin travel. Discover step-by-step airport etiquette, carrier acclimation, and essential travel gear.

Preparing Your Dog for the Skies: A Comprehensive Training Guide
Traveling by air with your furry best friend is an exciting prospect, but it requires meticulous preparation and dedicated behavioral conditioning. Unlike a road trip where you can pull over for a break, airplane cabin travel demands that your dog remain calm, quiet, and confined in a soft-sided carrier under the seat in front of you for hours at a time. According to the ASPCA, proper acclimation to a carrier and the bustling airport environment is the single most important factor in reducing travel anxiety for pets. This comprehensive training guide will walk you through the exact steps, timelines, and gear needed to transform your dog into a seasoned, stress-free airplane cabin companion.
Understanding Airline and Security Requirements
Before beginning your training protocol, you must understand the rules of the environment. The Transportation Security Administration (TSA) requires that all pets be removed from their carriers at the security checkpoint and carried through the metal detector, while the empty carrier is sent through the X-ray machine. Furthermore, the USDA APHIS outlines strict health and containment guidelines for interstate and international animal transport. Your dog must be comfortable being handled by strangers, wearing a secure harness, and navigating loud, crowded terminals without reacting to luggage carts, loud announcements, or other passing animals.
Phase 1: Carrier Acclimation Training (Weeks 1-3)
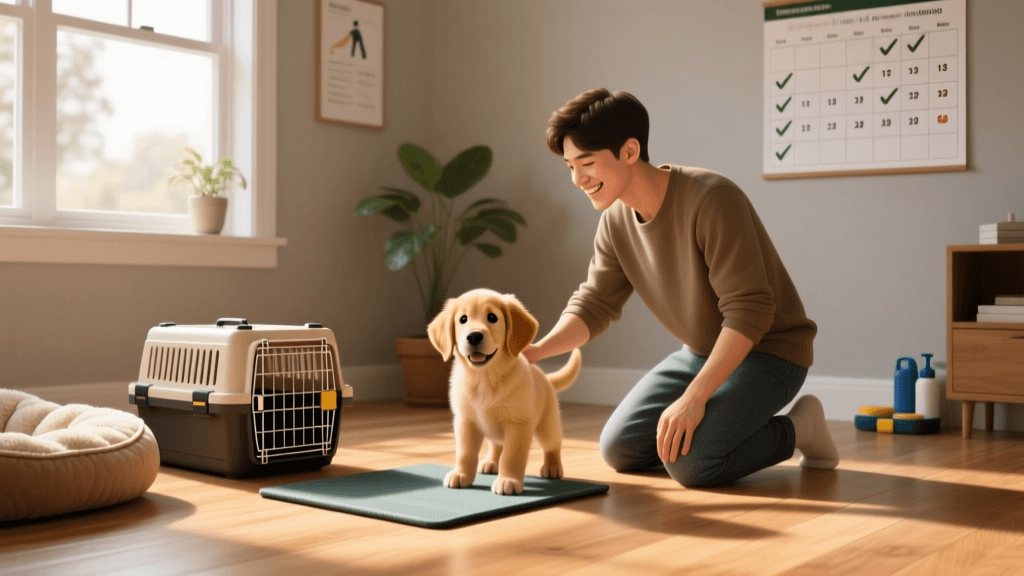
The foundation of cabin travel is the carrier. Your dog must view the carrier not as a trap, but as a safe, rewarding den. Start this process at least eight weeks before your flight.
Step 1: The Open-Door Policy
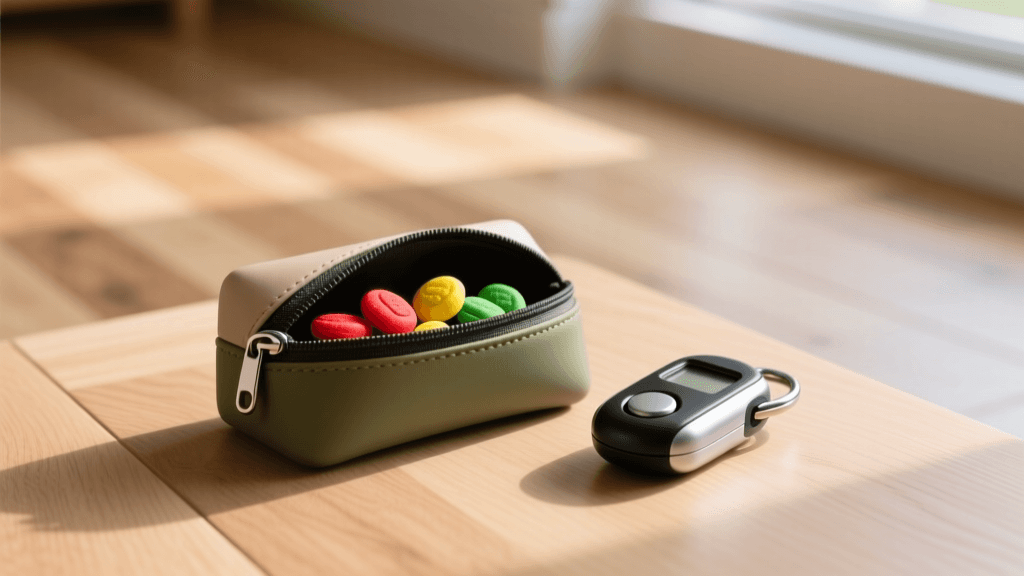
Leave the soft-sided carrier open in your living room. Place high-value treats, such as freeze-dried beef liver or Zuke's Mini Naturals, inside. Feed your dog their regular meals exclusively inside the carrier for the first two weeks. This builds a positive classical conditioning response.
Step 2: Duration Building
Once your dog willingly enters the carrier, begin closing the zipper. Start with five-second intervals, immediately rewarding with a treat through the mesh window. Gradually increase the duration by five seconds each session. Aim for three 15-minute training sessions per day. By week three, your dog should comfortably rest inside the zipped carrier for 45 to 60 minutes while you watch television or read in the same room.
According to certified veterinary behaviorists, a dog's ability to relax in a confined space is directly tied to their early positive associations with that space, rather than forced confinement.
Phase 2: Desensitization to Airport Sounds and Motion (Weeks 4-6)
Airports are sensory overload zones. Jet engines, rolling suitcases, and echoing PA systems can trigger fear responses.
Audio Conditioning
Use a Bluetooth speaker to play YouTube videos of airport ambiance and airplane cabin white noise. Start at a volume so low that your dog does not react, and feed them a long-lasting chew, like a bully stick or a Kong stuffed with frozen peanut butter. Over two weeks, incrementally raise the volume. If your dog shows signs of stress, lower the volume immediately.
Motion Sickness and Vibration Training
Place the carrier in your car. Do not turn on the engine immediately. Give treats. Next, turn on the engine to introduce vibration without movement. Finally, take short, five-minute drives to pleasant locations, like a local park. This prevents the carrier from solely predicting a trip to the veterinarian.
Phase 3: Airport Security and Etiquette (Weeks 7-8)
The most stressful part of air travel for a dog is the security checkpoint. As mandated by the TSA, you must take your dog out of the carrier in a highly stimulating environment.
Harness and Leash Training
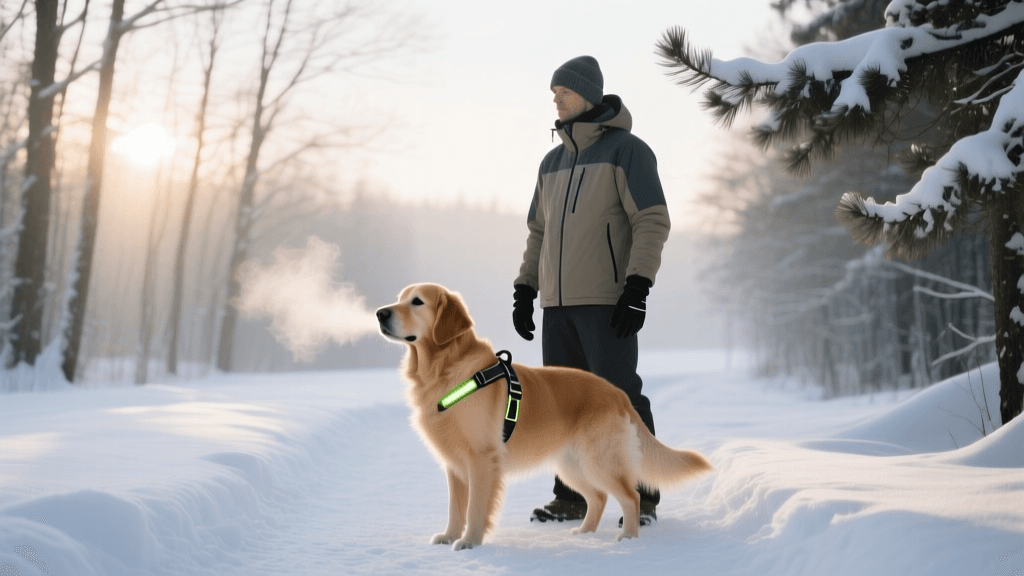
Never attach a leash to a collar at the airport; dogs can easily slip out and bolt into the terminal. Invest in an escape-proof harness, such as the Ruffwear Web Master or the Kurgo Tru-Fit Smart Harness. Practice putting the harness on and immediately picking your dog up or holding them tightly against your chest. Teach a solid 'watch me' command to maintain eye contact amidst distractions.
Potty Training on Artificial Turf
Most airport pet relief areas utilize artificial grass or gravel. If your dog is only used to real grass, they may refuse to eliminate. Purchase a small piece of synthetic turf from a hardware store and place it on your balcony or in your yard. Train your dog to use the 'go potty' command exclusively on this surface, rewarding heavily with treats like boiled chicken breast.
Reading Your Dog's Stress Signals
During your training sessions, it is vital to monitor your dog's body language. Pushing a dog past their threshold can result in a panic attack at the airport. Watch for these common calming signals and stress indicators:
- Whale Eye: Showing the whites of their eyes while keeping their head still, indicating hyper-vigilance.
- Lip Licking: Quick, repetitive flicks of the tongue when not eating or drinking.
- Shaking Off: Shaking their entire body as if wet, used to discharge accumulated stress.
- Panting: Rapid, shallow breathing when the environment is not hot.
If you observe these signs, end the training session on a positive note with a simple command your dog knows well, and give them a break.
Essential Travel Gear Comparison
Choosing the right carrier is critical for airline compliance and your dog's comfort. Most major airlines require soft-sided carriers that fit under the seat, typically not exceeding 18 x 11 x 11 inches, though dimensions vary by aircraft. Below is a comparison of top-rated, airline-compliant carriers.
| Carrier Model | Dimensions (L x W x H) | Max Pet Weight | Average Cost |
|---|---|---|---|
| Sherpa Original Deluxe | 19.5 x 10.5 x 11 in | 22 lbs | $50 - $70 |
| Sleepypod Air | 21.5 x 10.5 x 9 in | 18 lbs | $180 - $200 |
| Kurgo Wander Carrier | 18 x 11 x 11 in | 25 lbs | $120 - $140 |
| SturdiBag Pro 2.0 | 18 x 11 x 11 in | 20 lbs | $90 - $110 |
Day-of-Travel Routine and Fasting Protocols
To minimize the risk of motion sickness and accidents in the carrier, the ASPCA and most veterinarians recommend a fasting window. Withhold solid food for four to six hours prior to your flight. Provide hydration by offering ice cubes to lick, which prevents gulping large amounts of water while keeping the mouth moist.
Arrive at the airport no more than two hours before your domestic flight to minimize the time your dog spends in the stressful terminal environment. Locate the indoor or outdoor pet relief areas immediately upon arrival using the airport's digital directory. Bring a small towel and an enzymatic cleaner just in case of accidents.
Conclusion
Training your dog for airplane cabin travel is an investment of time that pays off with a lifetime of shared adventures. By systematically acclimating your dog to their carrier, desensitizing them to the chaotic airport environment, and practicing strict security checkpoint etiquette, you ensure a safe and pleasant journey for both of you. Remember to always consult your veterinarian before flying, especially if your dog has underlying health conditions or severe anxiety that may require temporary pharmacological support. Happy travels!
priya-sutaria
All our authors care for dogs every day — read more of their work on the authors page.