Step-by-Step Crate Training Guide for Your New Puppy
Master crate training your new puppy with our step-by-step first-week guide. Learn crate sizing, timing, and positive reinforcement techniques.
Why Crate Training is Essential for Your New Puppy
Bringing a new puppy home is one of life’s greatest joys, but it also comes with a steep learning curve for both you and your new furry friend. Among the myriad of first-day essentials, crate training stands out as a foundational skill. According to the American Kennel Club (AKC), crate training taps into a dog's natural den instinct, providing them with a secure sanctuary while simultaneously accelerating housebreaking and preventing destructive behavior when unsupervised.
When executed with patience and positive reinforcement, the crate becomes your puppy’s favorite room in the house. This step-by-step guide will walk you through the exact measurements, product recommendations, and daily progression needed to successfully crate train your new dog during their crucial first week home.
Step 1: Choosing and Sizing the Right Crate
Before you begin training, you must select the appropriate crate. A crate that is too large will allow your puppy to eliminate in one corner and sleep in the other, entirely defeating the purpose of housebreaking. A crate that is too small will cause physical discomfort and anxiety.
How to Measure Your Puppy
Measure your puppy from the tip of their nose to the base of their tail, and add 2 to 4 inches. Measure their height from the floor to the top of their head (or ears, if erect), and add 2 inches. Because puppies grow rapidly, invest in a wire crate with an adjustable divider panel. This allows you to expand the living space as your dog grows, saving you from buying multiple crates.
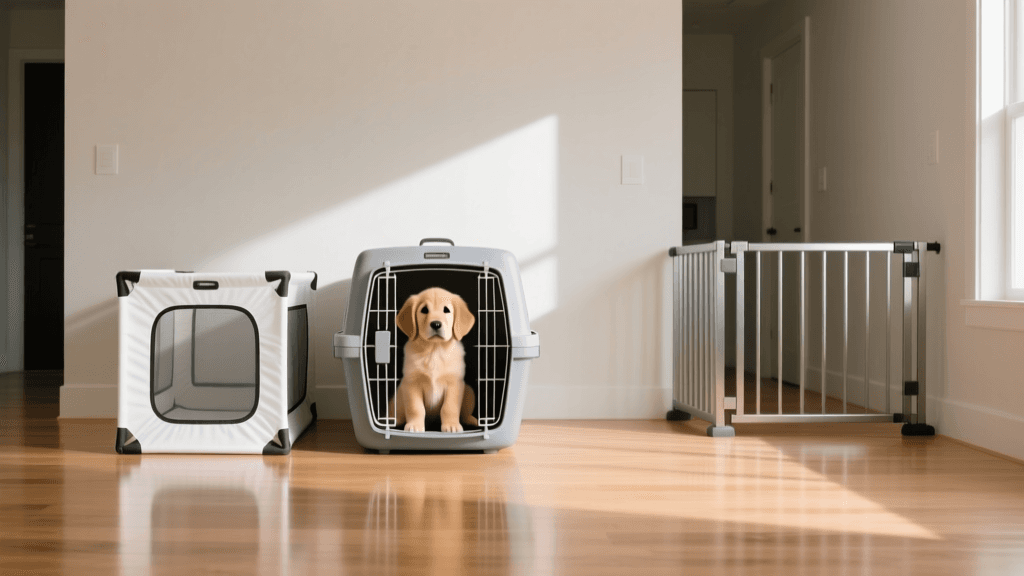
Crate Types Comparison Chart
| Crate Type | Best For | Average Cost | Pros & Cons |
|---|---|---|---|
| Wire Crate (e.g., Midwest iCrate) | Puppies, Home Training | $50 - $80 | Pros: Foldable, great visibility, divider panels. Cons: Heavy, not ideal for travel. |
| Plastic Kennel (e.g., Petmate Sky) | Travel, Den-loving Dogs | $40 - $100 | Pros: Airline approved, cozy den feel. Cons: Poor ventilation, harder to clean. |
| Soft-Sided (e.g., EliteField) | Fully Trained Adults | $30 - $60 | Pros: Lightweight, highly portable. Cons: Easily chewed and destroyed by teething puppies. |
For a new puppy, a heavy-duty wire crate with a divider is universally recommended by trainers for its versatility and ease of cleaning.
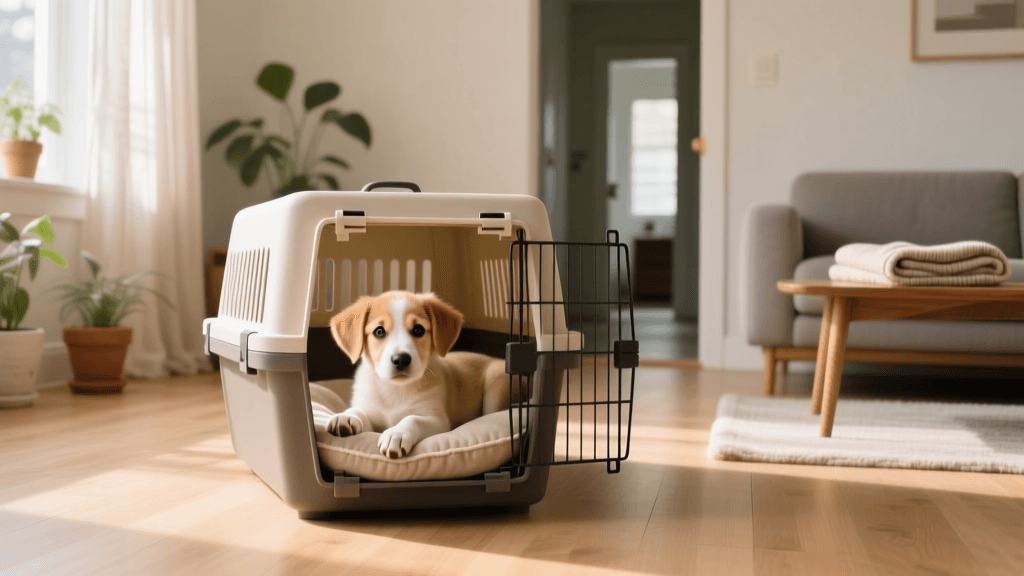
Step 2: Setting Up the Crate for Success
Location and comfort are paramount. Place the crate in a high-traffic family area, such as the living room or a corner of the kitchen, so your puppy doesn't feel isolated. However, avoid placing it directly next to loud appliances or in direct sunlight.
Essential Crate Accessories
- Bedding: Avoid plush beds initially, as teething puppies will shred and potentially ingest them. Use a washable fleece blanket or a specialized chew-proof pad like the K9 Ballistics Tough Bed ($60).
- Enrichment Toys: A classic KONG toy ($15) stuffed with frozen peanut butter and kibble is essential for keeping your puppy occupied and building positive associations with the crate.
- Calming Aids: For the first few nights, a Snuggle Puppy ($40) with a simulated heartbeat and heat pack can drastically reduce separation anxiety and whining.
Step 3: The 7-Day Crate Training Progression
Never force your puppy into the crate or use it as a punishment. The goal is to make the crate a magnet for good things. Follow this daily timeline for the first week.
Day 1: The Open Door Policy
Leave the crate door open and secured so it doesn't swing and startle your puppy. Toss high-value treats (like boiled chicken or Zuke's Mini Naturals) near the entrance, then just inside, and finally all the way to the back. Let the puppy enter and exit freely. Feed them their first meal near the crate entrance.
Day 2: Mealtime Associations
Move your puppy’s food bowl all the way to the back of the crate. As they eat, gently close the door but do not latch it. If they panic, open it immediately. By the third meal, latch the door while they eat, and open it the second they finish.
Day 3: Closing the Door and Building Duration
After your puppy finishes their meal inside the latched crate, sit quietly next to the crate for 5 minutes. Do not make eye contact or speak to them; simply read a book or look at your phone. After 5 minutes, let them out. Repeat this 3-4 times throughout the day, gradually increasing the post-meal sit time to 10 minutes.
Day 4: Stepping Out of Sight
Give your puppy a frozen KONG, place them in the crate, and latch the door. Stand up and leave the room for 2 minutes. Return calmly, wait for a moment of silence, and then let them out. Gradually increase your absence to 5, then 10 minutes. This teaches them that your departure is temporary.
Day 5: First Short Departures
Introduce a verbal cue like "Crate" or "Kennel" right before tossing a treat inside. Once they are inside, latch the door, leave the house, and get in your car for exactly 15 minutes. Return, ignore any whining, and release them only when they are calm.
Day 6: Solidifying the Nighttime Routine
Move the crate to your bedroom for the night. Puppies need to hear and smell you to feel secure. Follow a strict nighttime potty schedule (detailed below) to prevent accidents and reinforce the crate as a sleeping zone.
Day 7: Naptime Enforcement
Puppies need 18-20 hours of sleep a day but will fight it like toddlers. Begin enforcing mandatory crate naps. After 45 minutes of active play or training, place your puppy in the crate with a chew toy. They will likely protest for 3-5 minutes before crashing into a deep sleep.
Step 4: Mastering the Nighttime Potty Schedule
Nighttime crate training requires managing your puppy's biological limits. The ASPCA notes that puppies can generally hold their bladder for one hour per month of age. Therefore, a 2-month-old puppy can only hold it for about 2 hours at night.
Sample Nighttime Schedule (for an 8-12 Week Old Puppy)
- 8:00 PM: Last meal and water removed to allow for digestion before bed.
- 10:00 PM: Final outdoor potty break on a leash. Keep it boring and business-like.
- 10:15 PM: Puppy goes into the crate with a Snuggle Puppy. Lights out.
- 2:00 AM: Set an alarm. Carry or leash the puppy outside immediately. No play, no talking. Back into the crate.
- 6:00 AM: Morning wake-up. Take outside immediately to prevent morning accidents.
As your puppy matures, gradually push the 2:00 AM alarm back by 30-minute increments until they are sleeping through the night.
Common Mistakes to Avoid
Even well-intentioned owners can sabotage the crate training process. Avoid these critical errors:
- Using the Crate as Punishment: Never send your dog to the crate when you are angry. This destroys the "safe haven" association.
- Letting Them Out When Whining: If you release your puppy while they are barking or scratching, you have just taught them that noise is the key to freedom. Wait for 3 seconds of silence before opening the door.
- Leaving Them Too Long: Crating a puppy for 8 hours while you work is cruel and leads to severe behavioral issues and urinary tract infections. Hire a dog walker or use a puppy-proofed exercise pen for midday breaks.
"A crate is not a jail; it is a safe haven. When introduced properly, your dog will view the crate as their personal bedroom, a place to retreat when the household gets too chaotic." — Humane Society of the United States (HSUS)
Conclusion
Crate training your new puppy requires consistency, high-value treats, and a heavy dose of patience. By selecting the right wire crate with a divider, following a structured 7-day progression, and adhering to a strict nighttime potty schedule, you will lay the groundwork for a well-adjusted, house-trained adult dog. Remember, the effort you invest in the first week will pay dividends for the next decade of your life together.
aaron-whyte
All our authors care for dogs every day — read more of their work on the authors page.