How To Trim Your Dogs Nails At Home
Learn about how to trim your dogs nails at home with expert tips and data-backed advice.
Getting Started With Home Nail Trimming
Keeping your dog's nails at the right length is one of the most overlooked aspects of routine pet care. Overgrown nails don't just look untidy — they can alter your dog's gait, place stress on joints, and in severe cases lead to painful nail bed infections. The PDSA estimates that nail-related problems account for a notable proportion of the minor orthopaedic complaints seen in general practice each year, yet the majority are entirely preventable with regular home maintenance.
Many owners avoid trimming at home out of fear of causing pain or cutting the quick — the blood vessel running through each nail. That anxiety is understandable, but with the right tools, a calm approach, and a clear understanding of your dog's anatomy, home trimming is well within reach for most pet owners. This guide walks you through everything you need, from choosing clippers to handling a nervous dog.
Understanding Nail Anatomy Before You Cut
A dog's nail is composed of a hard outer shell of keratin and an inner core of living tissue called the quick, which contains both blood vessels and nerve endings. In dogs with white or pale nails, the quick is visible as a pink shadow running through the centre of the nail. In dogs with dark or black nails, the quick is invisible from the outside, which is what makes trimming more challenging.
The quick grows longer as the nail grows. If nails are left untrimmed for extended periods, the quick extends further toward the tip, leaving less safe nail to remove. Regular trimming — typically every 3 to 4 weeks — encourages the quick to recede gradually, making future trims easier and safer. According to guidance published by the British Small Animal Veterinary Association (BSAVA, 2022), nails that touch the ground when the dog is standing are already too long and require immediate attention.
The Dewclaw: Don't Forget It
The dewclaw is the small nail located on the inner side of the leg, roughly where a thumb would be. Most dogs have dewclaws on their front legs; some breeds also have them on the hind legs. Because dewclaws never make contact with the ground, they receive no natural wear and can curl around and grow back into the skin if neglected. Dewclaw injuries account for approximately 15% of all nail-related veterinary visits in the UK, according to data cited by the PDSA (2023).
Always include the dewclaws in your trimming routine. They require the same technique as regular nails but may need trimming slightly more frequently — every 2 to 3 weeks in some dogs — because they grow without any natural abrasion.
Choosing the Right Tools
Using the correct equipment makes a significant difference to both the quality of the trim and your dog's comfort. There are three main types of nail clippers available for home use:
- Guillotine clippers: A hole in the blade accepts the nail tip, and a squeezing action brings a blade down to cut. These work well for small to medium breeds but can crush rather than cut cleanly on thick nails.
- Scissor or plier-style clippers: These operate like heavy-duty scissors and are suitable for medium to large breeds with thicker nails. They provide good control and a clean cut.
- Rotary grinders (Dremels): Electric tools that file the nail down gradually rather than cutting. Ideal for dogs who react badly to the pressure of clippers, and useful for smoothing sharp edges after cutting.
Regardless of type, blades must be sharp. Dull blades crush and split the nail rather than cutting cleanly, which is uncomfortable for the dog and increases the risk of cracking. Replace clipper blades or the entire tool at least once a year, or sooner if you notice the nail bending before it cuts.
You should also keep styptic powder on hand. This is a clotting agent — the most widely available brand in the UK is Trimmex — that stops bleeding quickly if you accidentally cut the quick. A small pinch pressed firmly against the nail tip for 30 seconds is usually sufficient to stop minor bleeding.
Preparing Your Workspace
Choose a well-lit area where you can clearly see the nail. Natural daylight or a bright lamp positioned to illuminate the nail from the side makes it much easier to identify the quick in pale nails. Have your clippers, styptic powder, and a supply of small, high-value treats within easy reach before you bring your dog into the space.
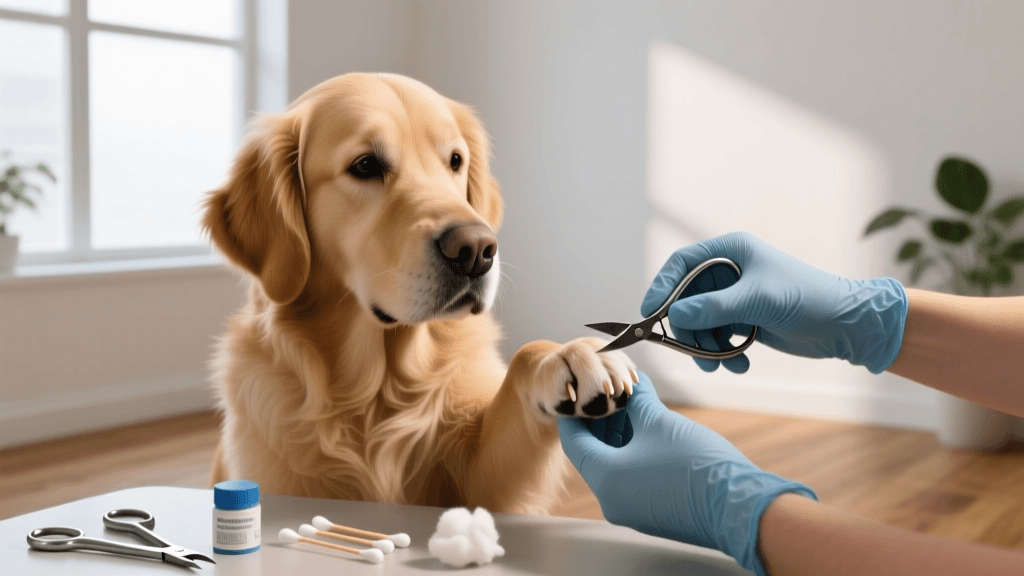
Step-by-Step Trimming Technique
Begin by handling your dog's paws regularly in the days before the first trim, even if you're not cutting anything. Pick up each paw, press gently on the pads to extend the nails, and reward with a treat. This desensitisation process is particularly important for puppies and for dogs who have had a negative experience with nail trimming in the past.
When you're ready to trim, follow these steps:
- Position your dog: Small dogs can be placed on a non-slip surface at table height. Larger dogs can sit or lie on the floor. Have a second person hold the dog gently if needed.
- Extend the nail: Hold the paw firmly but gently, pressing the pad to extend the nail forward.
- Identify the safe cutting zone: On pale nails, cut 2 mm below the visible pink quick. On dark nails, cut small slices of 1–2 mm at a time and look at the cut surface — when you see a small dark dot appear in the centre of the nail, you are approaching the quick and should stop.
- Cut at a slight angle: Aim for roughly 45 degrees, following the natural curve of the nail tip.
- Reward immediately: Give a treat after each nail, not just at the end of the session. This builds a positive association with each individual cut.
- Smooth rough edges: Use a nail file or grinder briefly to remove any sharp edges that could snag on carpet or scratch skin.
If your dog becomes distressed at any point, stop and try again later. Forcing the process creates lasting negative associations that make future trims significantly harder. It is far better to trim two nails today and two tomorrow than to complete the session at the cost of your dog's trust.
Handling Dark Nails Safely
Dark nails require a more cautious approach. Rather than attempting to remove a large amount in one cut, work in 1 mm increments. After each cut, examine the cross-section of the nail. Initially you will see a white or chalky interior. As you approach the quick, the centre of the cut surface will show a small grey or pink oval — this is your signal to stop. The Royal Veterinary College (RVC) advises that owners of dogs with predominantly dark nails consider a professional demonstration from their vet or veterinary nurse before attempting home trimming for the first time.
Frequency and Maintenance Schedule
The appropriate trimming interval varies by dog, lifestyle, and surface type. Dogs who walk regularly on concrete or tarmac will wear their nails down naturally and may need trimming less often. Dogs who primarily walk on grass or soft ground retain nail length and typically need more frequent attention.
"As a general rule, if you can hear your dog's nails clicking on a hard floor, they are already overdue for a trim. Nails should not make contact with the ground when the dog is standing in a natural position." — PDSA Veterinary Guidance, 2023
The following table provides a general maintenance schedule based on dog size and activity level:
| Dog Size | Primarily Outdoors on Hard Surfaces | Primarily Indoors or on Soft Ground | Dewclaw Frequency |
|---|---|---|---|
| Small (under 10 kg) | Every 4–6 weeks | Every 3–4 weeks | Every 2–3 weeks |
| Medium (10–25 kg) | Every 4–5 weeks | Every 3–4 weeks | Every 2–3 weeks |
| Large (over 25 kg) | Every 3–5 weeks | Every 3 weeks | Every 2–3 weeks |
These are starting points rather than fixed rules. Monitor your individual dog and adjust accordingly. If you notice the nails touching the ground between scheduled trims, shorten the interval by one week.
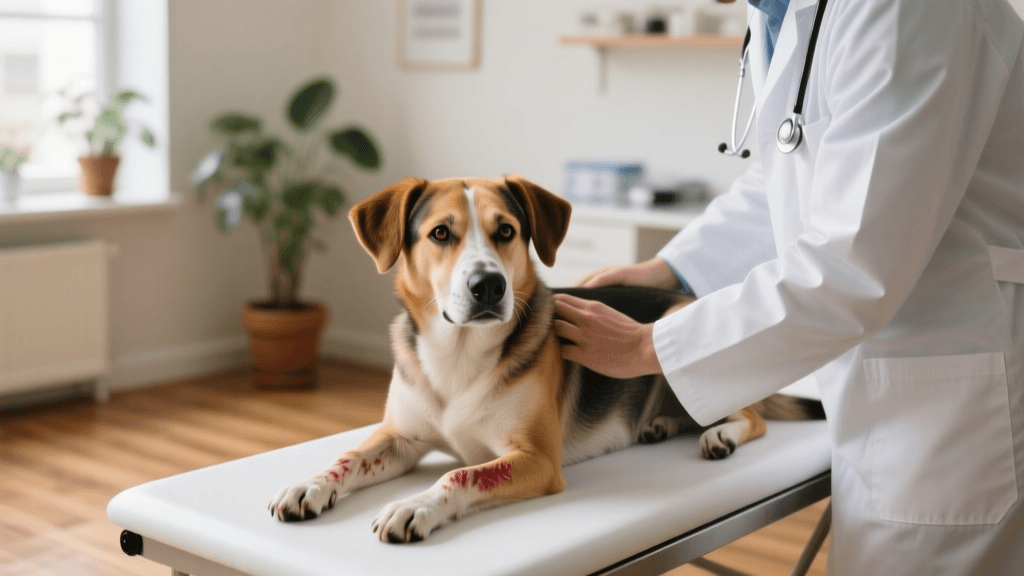
When to Seek Veterinary Help
Home trimming is appropriate for routine maintenance, but certain situations warrant professional attention. Contact your vet or a veterinary nurse if you notice any of the following:
- A nail that has cracked, split, or broken below the nail bed
- Swelling, redness, or discharge around the nail fold
- A nail that has grown into the pad or surrounding skin
- Persistent bleeding that does not stop within 5 minutes despite styptic powder application
- Your dog showing signs of pain when weight-bearing on a specific paw
Nail bed infections, known as paronychia, can develop quickly and may require antibiotic treatment. The University of Edinburgh's Royal (Dick) School of Veterinary Studies notes that untreated nail bed infections can spread to the bone in severe cases, making early intervention essential. Similarly, a nail that has curled into the pad — most commonly seen in elderly dogs or those whose dewclaws have been neglected — will require veterinary removal under local or general anaesthesia.
If you are genuinely unable to trim your dog's nails at home due to behavioural difficulties, most veterinary practices offer nurse-led nail trimming appointments at a modest cost. Many grooming salons also provide this service. There is no shame in seeking professional help — the priority is that the nails are maintained regularly, regardless of who does the trimming.
Building nail trimming into your regular care routine from puppyhood is the single most effective way to ensure it remains a low-stress experience throughout your dog's life. Dogs who are introduced to paw handling and nail trimming before 16 weeks of age — during the primary socialisation window identified by the BSAVA (2022) — are significantly more likely to tolerate the procedure calmly as adults. If you have an older dog who has never been trimmed at home, patience and gradual desensitisation will still yield results, though progress may be slower.
Anouk Beaumont
All our authors care for dogs every day — read more of their work on the authors page.