DIY Backyard Dog Agility Training on a Strict Budget
Learn how to build DIY dog agility equipment and train your pup in your backyard on a budget. Save money with these actionable, low-cost training tips.
The Financial Reality of Dog Agility
Competitive dog agility is an incredible way to bond with your dog, providing both physical exercise and mental stimulation. However, the barrier to entry is often financial. According to the American Kennel Club (AKC), agility requires specialized equipment that can easily cost hundreds of dollars for a basic backyard set. Commercial jumps can cost $60 to $150 each, while regulation tunnels easily exceed $150. For pet owners seeking budget-friendly dog care, these prices are prohibitive.
Fortunately, dogs do not care about the brand name on their jump bars. They care about the training, the engagement, and the rewards. By utilizing DIY dog agility equipment and focusing on foundational obedience training at home, you can build a full backyard course for under $50.
Cost Comparison: Commercial vs. DIY Agility Gear
Before we dive into the builds, let us look at the exact savings you can achieve by adopting a DIY approach to backyard agility training.
| Equipment Type | Commercial Cost (Avg) | DIY Cost | Total Savings |
|---|---|---|---|
| Adjustable Jump | $85.00 | $12.00 | $73.00 |
| Set of 6 Weave Poles | $120.00 | $15.00 | $105.00 |
| Training Tunnel (10ft) | $160.00 | $5.00 | $155.00 |
| Pause Table | $90.00 | $10.00 | $80.00 |
| Total Course | $455.00 | $42.00 | $413.00 |
How to Build Budget-Friendly Agility Equipment
1. The PVC Pipe Adjustable Jump
Materials needed: 3/4-inch Schedule 40 PVC pipe, four T-joints, four end caps, and a lightweight wooden dowel or thin PVC for the jump bar. Total cost: approximately $12 at any local hardware store.
- The Base: Cut four pieces of PVC to 18 inches. Connect them using the T-joints to form a rectangular base (18x24 inches). Add end caps to the bottom for stability.
- The Uprights: Cut two 36-inch pieces of PVC. Insert them into the upward-facing T-joints.
- The Jump Bar: Drill small holes every 4 inches up the uprights. Use a bungee cord or zip-ties to rest your lightweight dowel across the uprights. This allows you to adjust the height safely. If your dog knocks the bar, the bungee will give way, preventing injury.
2. Pool Noodle Weave Poles
Regulation weave poles are spaced exactly 24 inches apart. Commercial sets use heavy metal bases, but for backyard training, we can use garden stakes and pool noodles.
- Materials: Six 36-inch steel garden stakes (rebar), six hollow foam pool noodles, and a measuring tape. Total cost: $15.
- Assembly: Drive the stakes into your lawn exactly 24 inches apart in a straight line. Slide the pool noodles over the stakes. The foam protects your dog from hard impacts, and the flexibility of the noodles mimics the action of commercial wire-guided poles.
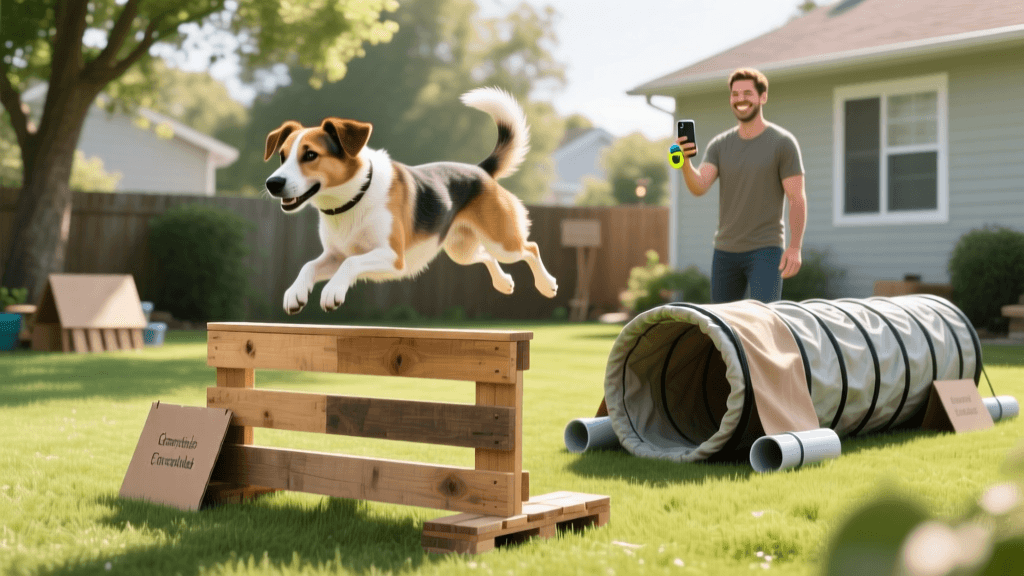
3. The Appliance Box Chute Tunnel
Tunnels are often a dog's favorite obstacle, and they are incredibly easy to source for free.
- Materials: Large cardboard boxes from a local appliance store (often given away for free) or a budget moving box ($4), heavy-duty packing tape.
- Assembly: Tape the boxes together end-to-end to create a 6 to 8-foot chute. Cut a small flap at the entrance to simulate a tunnel entry. Anchor the boxes to the ground using heavy rocks or tent stakes so they do not collapse when your dog runs through.
Prerequisite Obedience Skills
Before introducing your dog to the new equipment, ensure they have mastered basic obedience commands. This costs nothing but time and patience. Your dog needs a solid recall ('come'), a reliable 'sit,' and a clear release word (like 'free' or 'okay'). A reliable release word is crucial in agility so your dog knows exactly when they are allowed to move off a pause table or start line. Spend at least two weeks solidifying these cues in your backyard using low-distraction environments before adding the complexity of agility obstacles.
Budget Training Methodology: Treats and Luring
Effective agility training relies heavily on positive reinforcement. However, buying premium freeze-dried training treats can cost upwards of $15 for a tiny 5-ounce bag. To maintain a budget-friendly dog care routine, you must optimize your treat economy.
According to the ASPCA, treats should not make up more than 10% of your dog's daily caloric intake. To keep costs low and calories in check, use the 'Kibble Subtraction Method.' Measure out your dog's daily kibble allotment in the morning. Remove 20% of that kibble and place it in a treat pouch. Use this for low-distraction shaping exercises in the backyard. Reserve high-value, cheap alternatives for introducing new, scary equipment like the tunnel or weave poles.
Treat Cost Breakdown (Per Ounce)
- Commercial Freeze-Dried Liver: $4.50 / oz
- Zuke's Mini Naturals: $0.50 / oz
- Boiled Chicken Breast: $0.18 / oz
- Generic Hot Dogs (Pea-Sized): $0.15 / oz
- Daily Kibble Subtraction: $0.00 / oz
A $2 pack of hot dogs yields hundreds of training rewards, outlasting expensive commercial treats by weeks while keeping your dog highly motivated.
A 4-Week At-Home Budget Training Plan
Building the equipment is only half the battle. The Humane Society emphasizes that short, consistent training sessions yield the best behavioral conditioning. Here is a structured, zero-cost training schedule to get your dog running the course.
Week 1: Foundation and Targeting
Do not use the equipment yet. Teach your dog a 'hand target' (touching their nose to your palm). Use your subtracted daily kibble. Spend 10 minutes a day rewarding your dog for following your hand near the future location of your agility course. This builds engagement and focus without the distraction of the obstacles.
Week 2: Introducing the Jumps
Set your PVC jump to the lowest possible setting (just a few inches off the grass). Lure your dog over the jump using a piece of hot dog, saying your cue word ('Jump' or 'Over'). Reward immediately upon landing. Gradually raise the bar by 4-inch increments over the week, never exceeding your dog's shoulder height.
Week 3: The 2x2 Weave Pole Method
Do not force your dog through all six poles. Start with only two pool noodle poles. Open them into a 'V' shape facing you. Lure your dog through the gap and reward heavily. Over the week, slowly close the 'V' until the poles are straight. Once mastered, add two more poles and repeat. This shaping method builds deep muscle memory without causing frustration.
Week 4: Sequencing and Flow
Begin chaining obstacles together. Send your dog over the jump, run toward the tunnel, and reward at the exit. Keep sequences short (2 to 3 obstacles) to maintain high enthusiasm and prevent physical fatigue.
Safety and Conditioning on a Budget
Even on a strict budget, safety cannot be compromised. Always train on a soft, forgiving surface like natural grass to protect your dog's joints and paw pads. Never train on concrete or slippery indoor flooring. Ensure your DIY PVC jumps have no sharp plastic burrs from cutting; sand them down with cheap sandpaper before use.
Crucially, puppies under 12 to 18 months of age have open growth plates. They should not jump higher than a few inches, nor should they perform repetitive weave pole motions that twist the spine. For young dogs, keep all equipment flat on the ground and focus entirely on confidence-building and tunnel work. Agility is a marathon, not a sprint, and mindful, budget-conscious training will keep your dog happy, healthy, and engaged for years to come.
The Hidden Value of Mental Enrichment
Finally, remember that mental fatigue is just as important as physical exercise. Fifteen minutes of shaping weave poles or figuring out a new jump sequence burns as much energy as a two-mile walk. By investing a few dollars in DIY materials and dedicating short, daily training windows, you are providing top-tier behavioral enrichment that no expensive toy could ever replace.
priya-sutaria
All our authors care for dogs every day — read more of their work on the authors page.